Collimation has become my nemesis in recent weeks. The seemingly simple task of making the center of one mirror reflect another is deceptively difficult. When I first got the PowerSeeker 127EQ, I hoped this would not become a problem. It was something other people had to deal with not me.
That changed when some debris blew into my scope and got stuck to the primary mirror. I tried tilting the scope and blowing it out with an air can, but it didn’t work. So, I needed to remove the mirror. I consulted the manual and some YouTube clips to see how to best do it. I undid the correct screws and carefully placed the mirror aside on a table where I could remove the debris with a lens cloth and a more direct application of canned air.
I was a little excited to have a reason to clean the mirror, believing getting the shipping dust off of it would give me a clearer image than I’ve had before. While I’m sure it did help, my first look at the moon and the bright February crescent of Venus was more like viewing them through a telescopic prism. The images were terribly skewed by the “coma,” which is the technical term for the telescope reflecting a smeared and stretched image, giving it a reddish and bluish light tail. Even the moon, which is the first and easiest thing to see, was blurry and I couldn’t focus the image to make it sharp.
I knew what the problem was and also knew what I read about the difficulty of collimating the 127EQ, but I believed I was better than others. I believed I could just follow the directions in the manual and do it by eyeballing things without even using a collimating eye piece. I was wrong.
Peering into the open (no lens) eyepiece, I could see the reflection of the primary mirror was well off center. I made some adjustments to the secondary mirror with a screw driver. The secondary mirror is held to the scope with a single, long middle screw and angled with a triangle of shorter screws. You turn those three screws one at a time to try to center the view of the primary mirror in the eyepiece. I did that, as best as I could, but I was just making my best estimation that the image of the primary mirror was centered in the circular darkness of the eyepiece.
The next step was to center the reflection of the secondary mirror inside the reflection of the primary mirror by adjusting the primary mirror.
On the 127EQ, the primary mirror has six identical screws spaced out in pairs in a triangular pattern. The most clockwise of the pair is the locking screw and the other screw is the adjustment and mounting screw. Yup, the adjustment screws are what hold the mirror into the bottom of the telescope.
Furthermore, the screws can really only pull the mirror tighter against the scope mounting. The pushback comes from three rubber sleeves or plugs the screws pass through. So as you tighten the screws you compress the rubber. As you loosen them, the rubber ideally expands to push the mirror out.
In practice, this is really problematic. Unless the mirror is horizontal to the ground, it’s weight tends to tilt the screws and the metal disc its mounted on against the edge and mounting brackets inside the tube, meaning the rubber plugs or plugs aren’t “strong” enough to push the mirror out as you loosen the screw or screws. There’s an entire video on the web about how to replace all six of these screws with finger-adjustable wings and how to replace the rubber plugs with springs.
I devised a simpler solution than replacing the plugs with springs. I know you’re supposed to be able to purchase some at the hardware store, but I didn’t figure it was worth the effort of trying to find some that might fit. Nope, I used gravity instead.
I learned that the best way to adjust the mirror was to keep it horizontal to the ground so gravity would do the job the rubber plugs couldn’t do and more evenly. There is some risk of the mirror falling out of the bottom of the tube by doing this, but it’s a really small risk since you would need to unscrew all three adjustment screws completely. By the time you popped the second screw out, you should be able to recognize the peril.
I found this gravity method also worked for adjusting the secondary mirror, at the risk of dropping a screw driver into the tube and cracking the mirror.
Figuring I mastered the mirror adjustments and after hours of tinkering, my eyeball results improved the image, but were still inadequate. I realized I needed a tool. Despite seeing all the reviews that suggested using a laser collimator, I opted to purchase the collimation eyepiece listed in the Celestron manual. I thought it would be cheaper than a laser collimator and almost as effective.
Thinking I had the problem licked, again, I slotted the eyepiece, which was recommended in the manual, and found it had two problems. First, it was too long. Unlike other reflector telescopes, the 127EQ is of the variety that needs a corrector lens in the base of the eyepiece to fix and focus the image bouncing off the secondary mirror. It’s kind of an inexpensive way of increasing the focal length of the scope without increasing the actual length of the scope or the size of the mirror. The collimation eyepiece wouldn’t slot fully into the eyepiece mount because the bottom of it would hit the corrector lens.
The other problem was the eyepiece tube was just a little too slender and the bottom of it was just loose enough when slotted in the eyepiece mount to move around. Meaning, I was eyeballing centering the eyepiece so I could center the image of the primary mirror so I could center the image of the secondary mirror in the middle of the eyepiece crosshairs. After many more hours, I got improved results but not enough to warrant the $30+ I paid for the eyepiece.
So, I returned it and bit the bullet. I purchased an inexpensive laser collimator, the SVBONY Red Laser Collimator, for about $25. Many reviews claimed the laser needed collimation itself because it didn’t come out of the projector completely centered. But there was an easy way to test this by rolling the pointer in place and seeing if the laser dot on the wall turned a circle of stayed mostly in place.
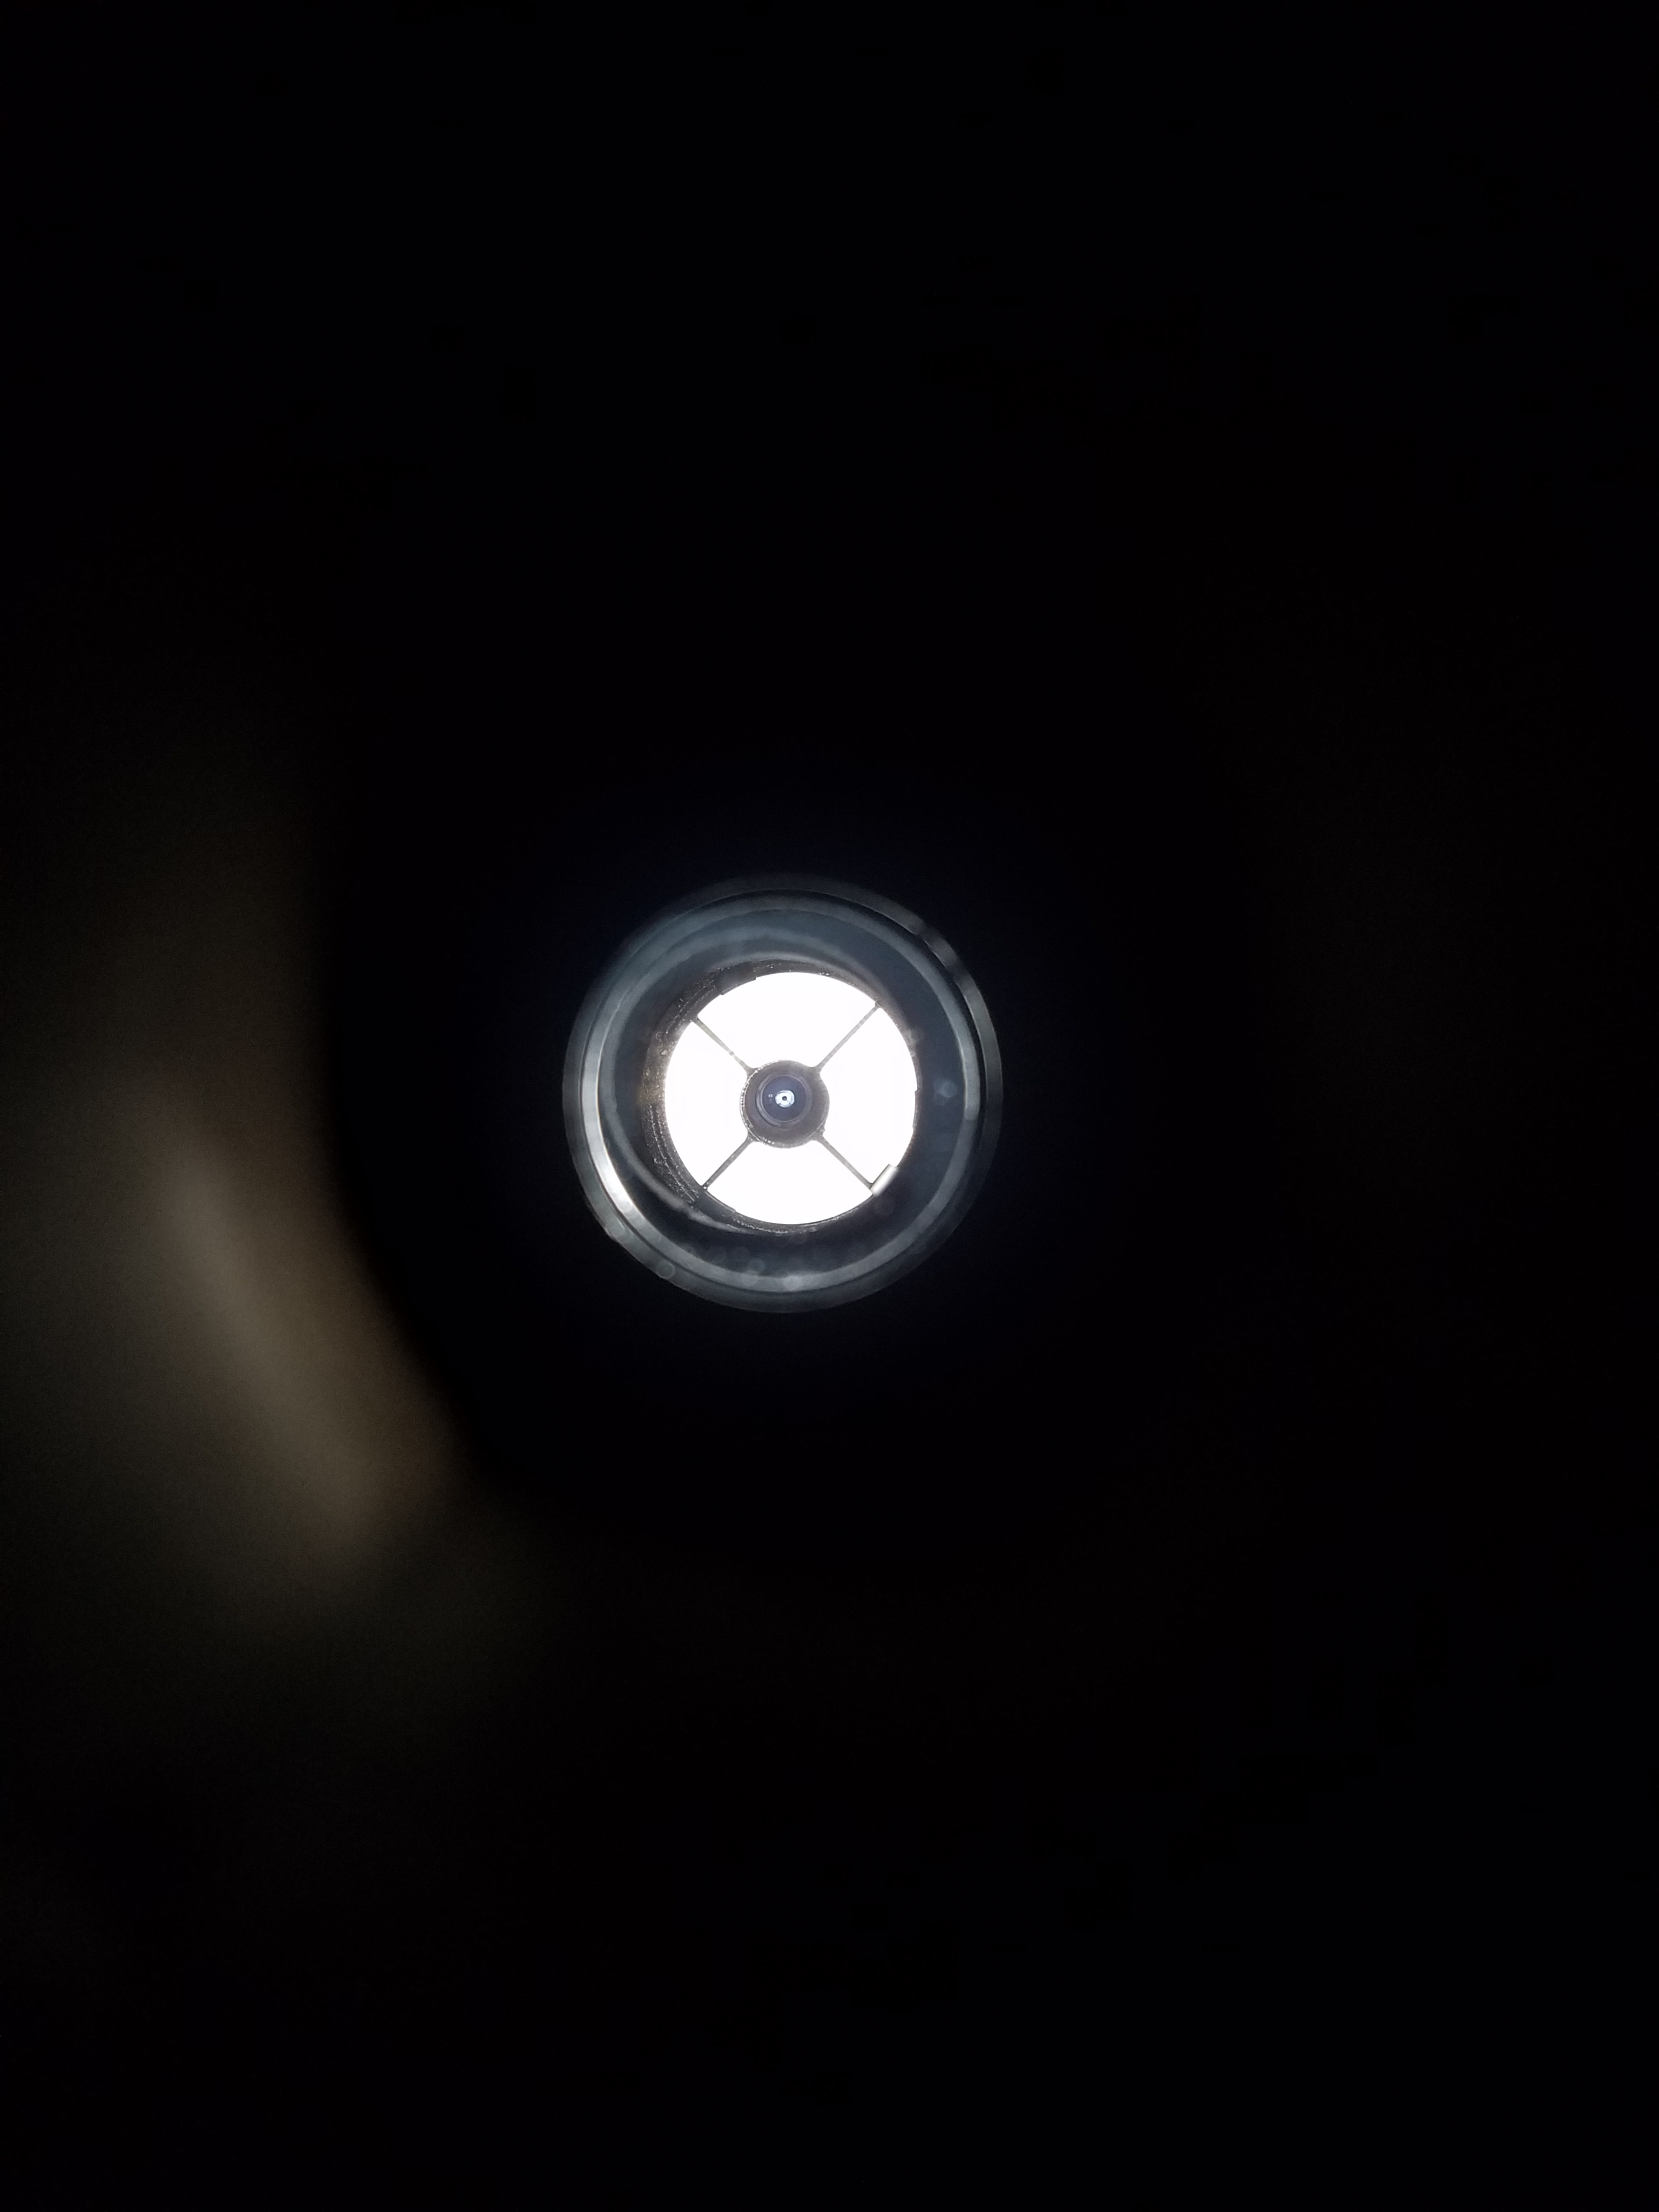
The one I got stayed mostly in place, but because of the corrector lens in the 127EQ I couldn’t just slot it and go. Nope, I had to take apart the eyepiece mounts, remove the corrector lens, and put it back together without the lens and without forgetting the proper orientation of the lens. That done, I slotted the laser collimator and tried not to blind myself as the beam lit out of the telescope. The collimation was well off.
I followed the directions as best as I could. The primary mirror of the 127EQ doesn’t have anything marking the center of it, so you’re doing your best to reflect the laser from the secondary mirror onto the middle of the primary mirror. More eyeballing. And yes, there are plenty of sites and videos about how to mark the center of the mirror with a sticky 3-ring reinforcement ring. I wasn’t even going to bother at this point. I ended up loosening the secondary mirror and adjusting it by hand before locking in the adjustment screws and then doing the same to the primary and then going back to the secondary and then back to the primary. For whatever reason, I wasn’t able to get the laser to strike the perceived middle of the primary mirror, reflect back into the eyepiece off the secondary mirror and hit the target in the laser collimator.

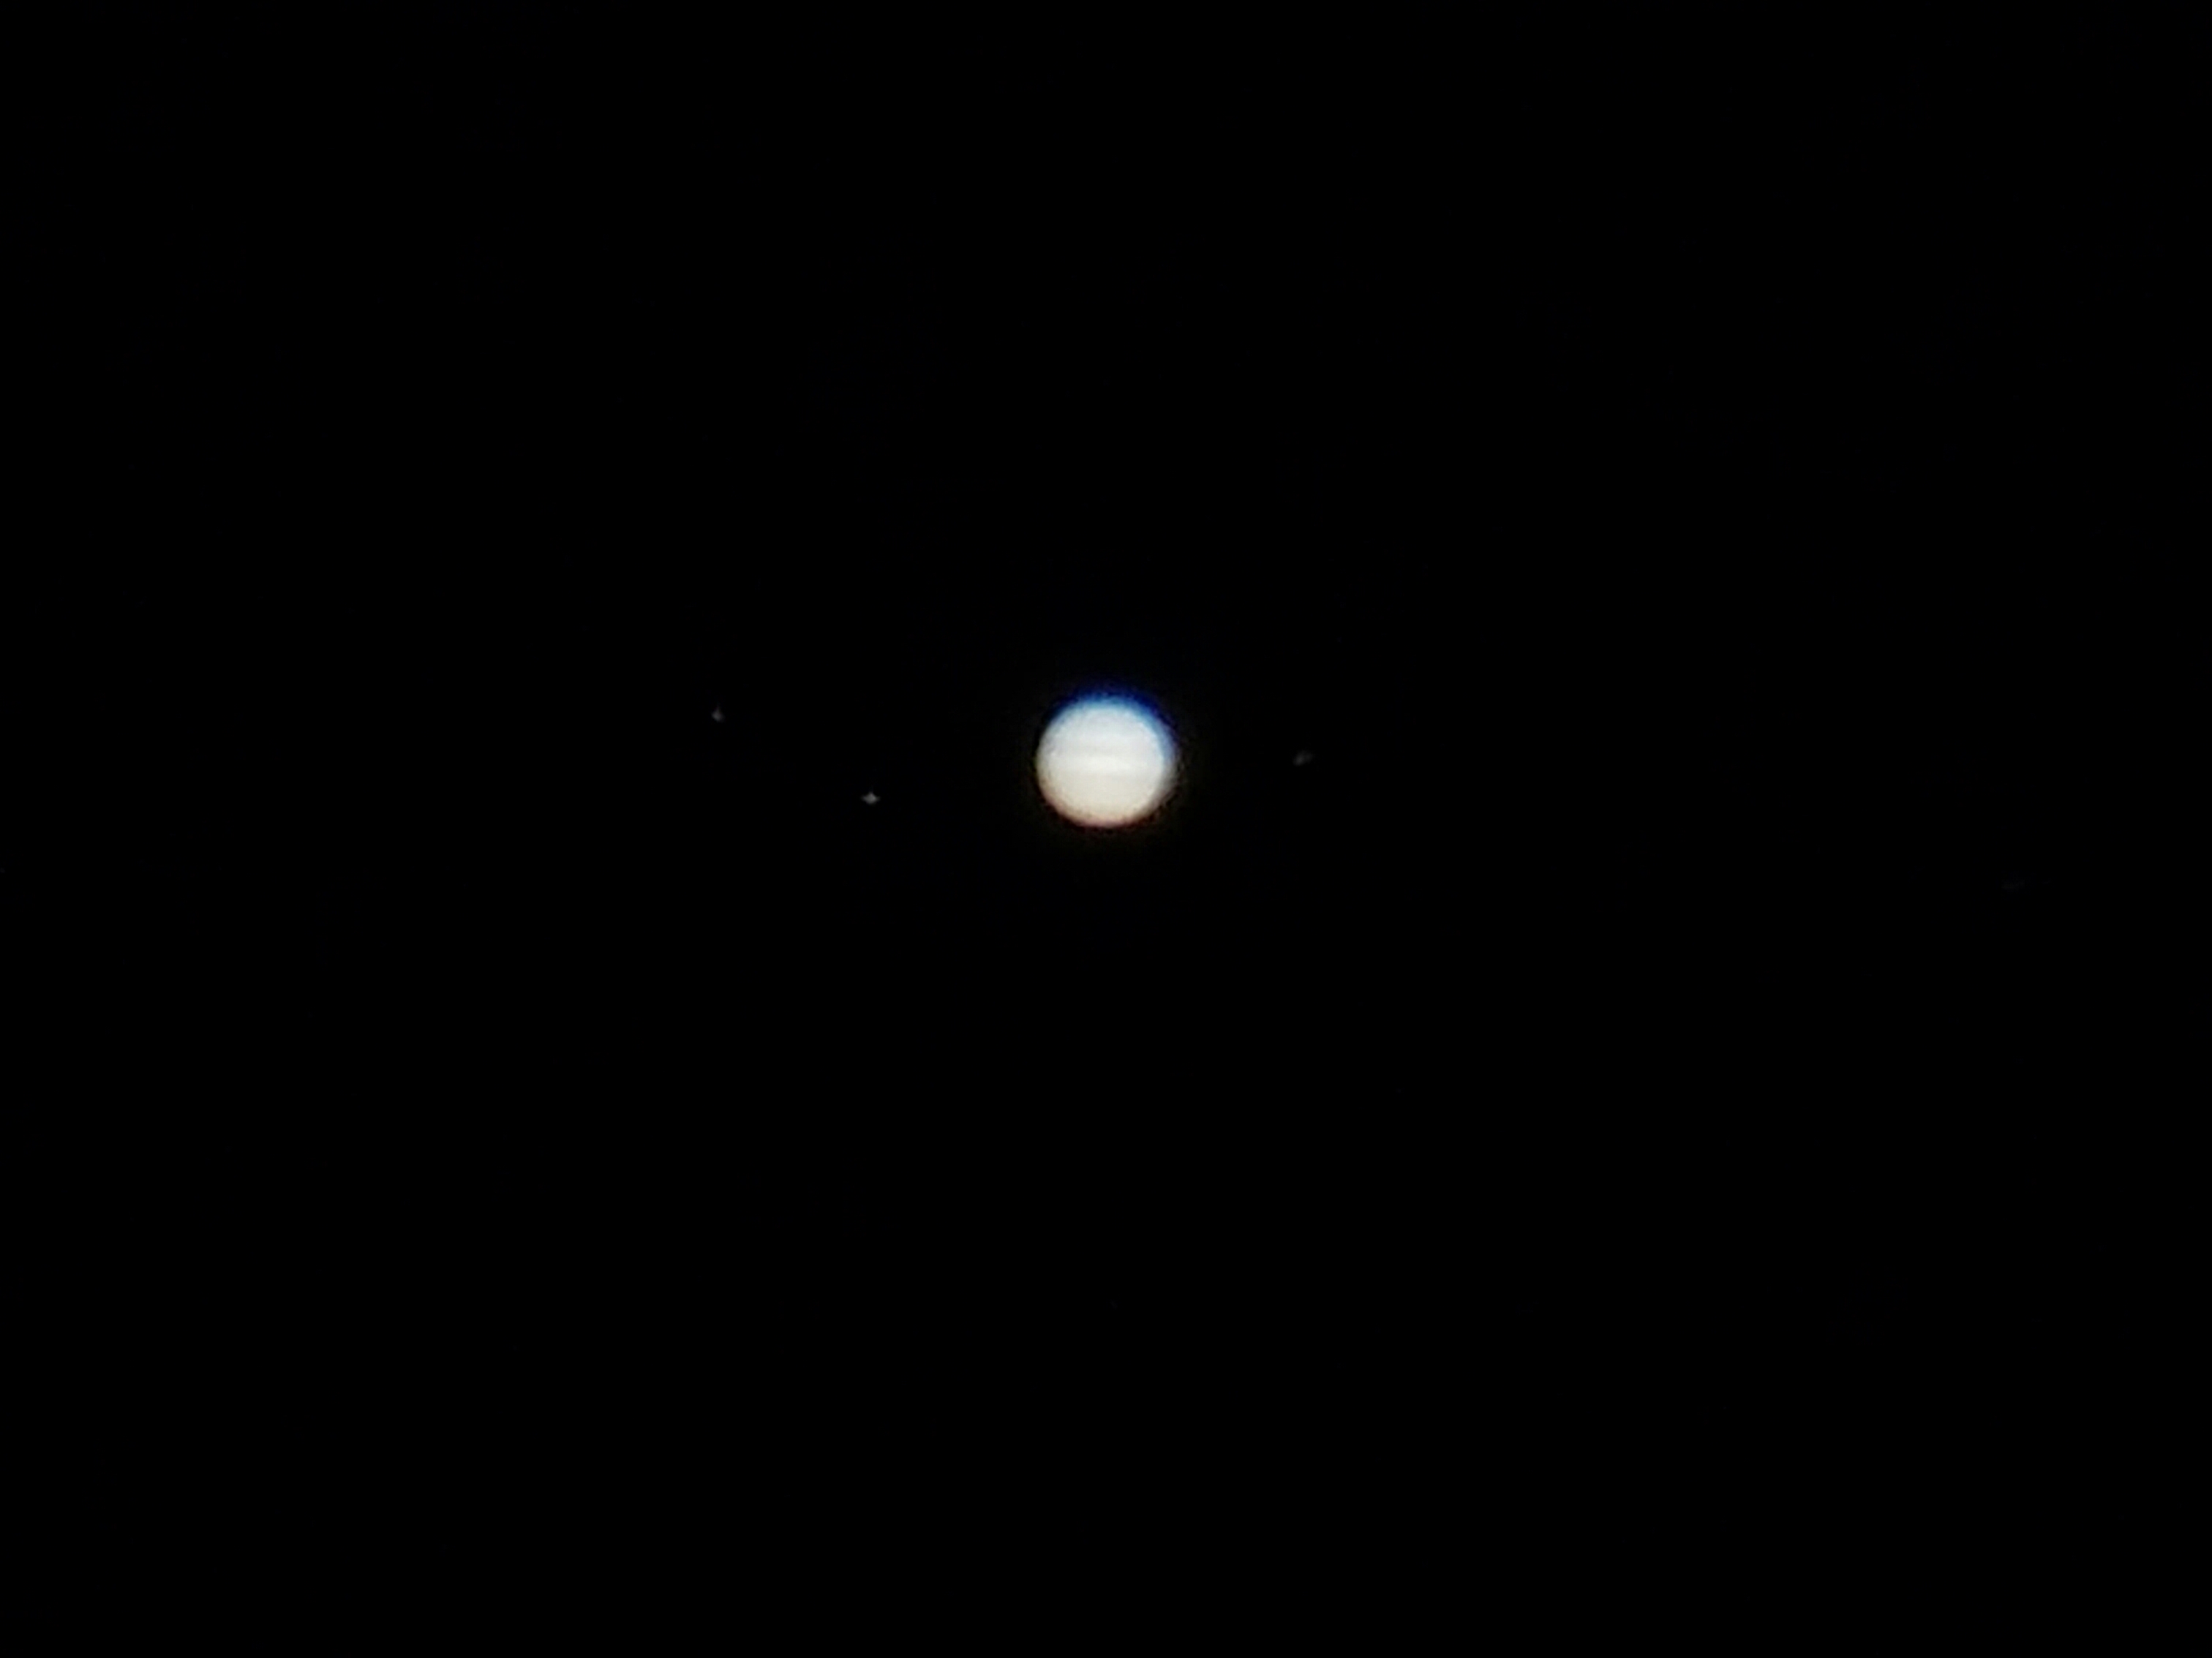
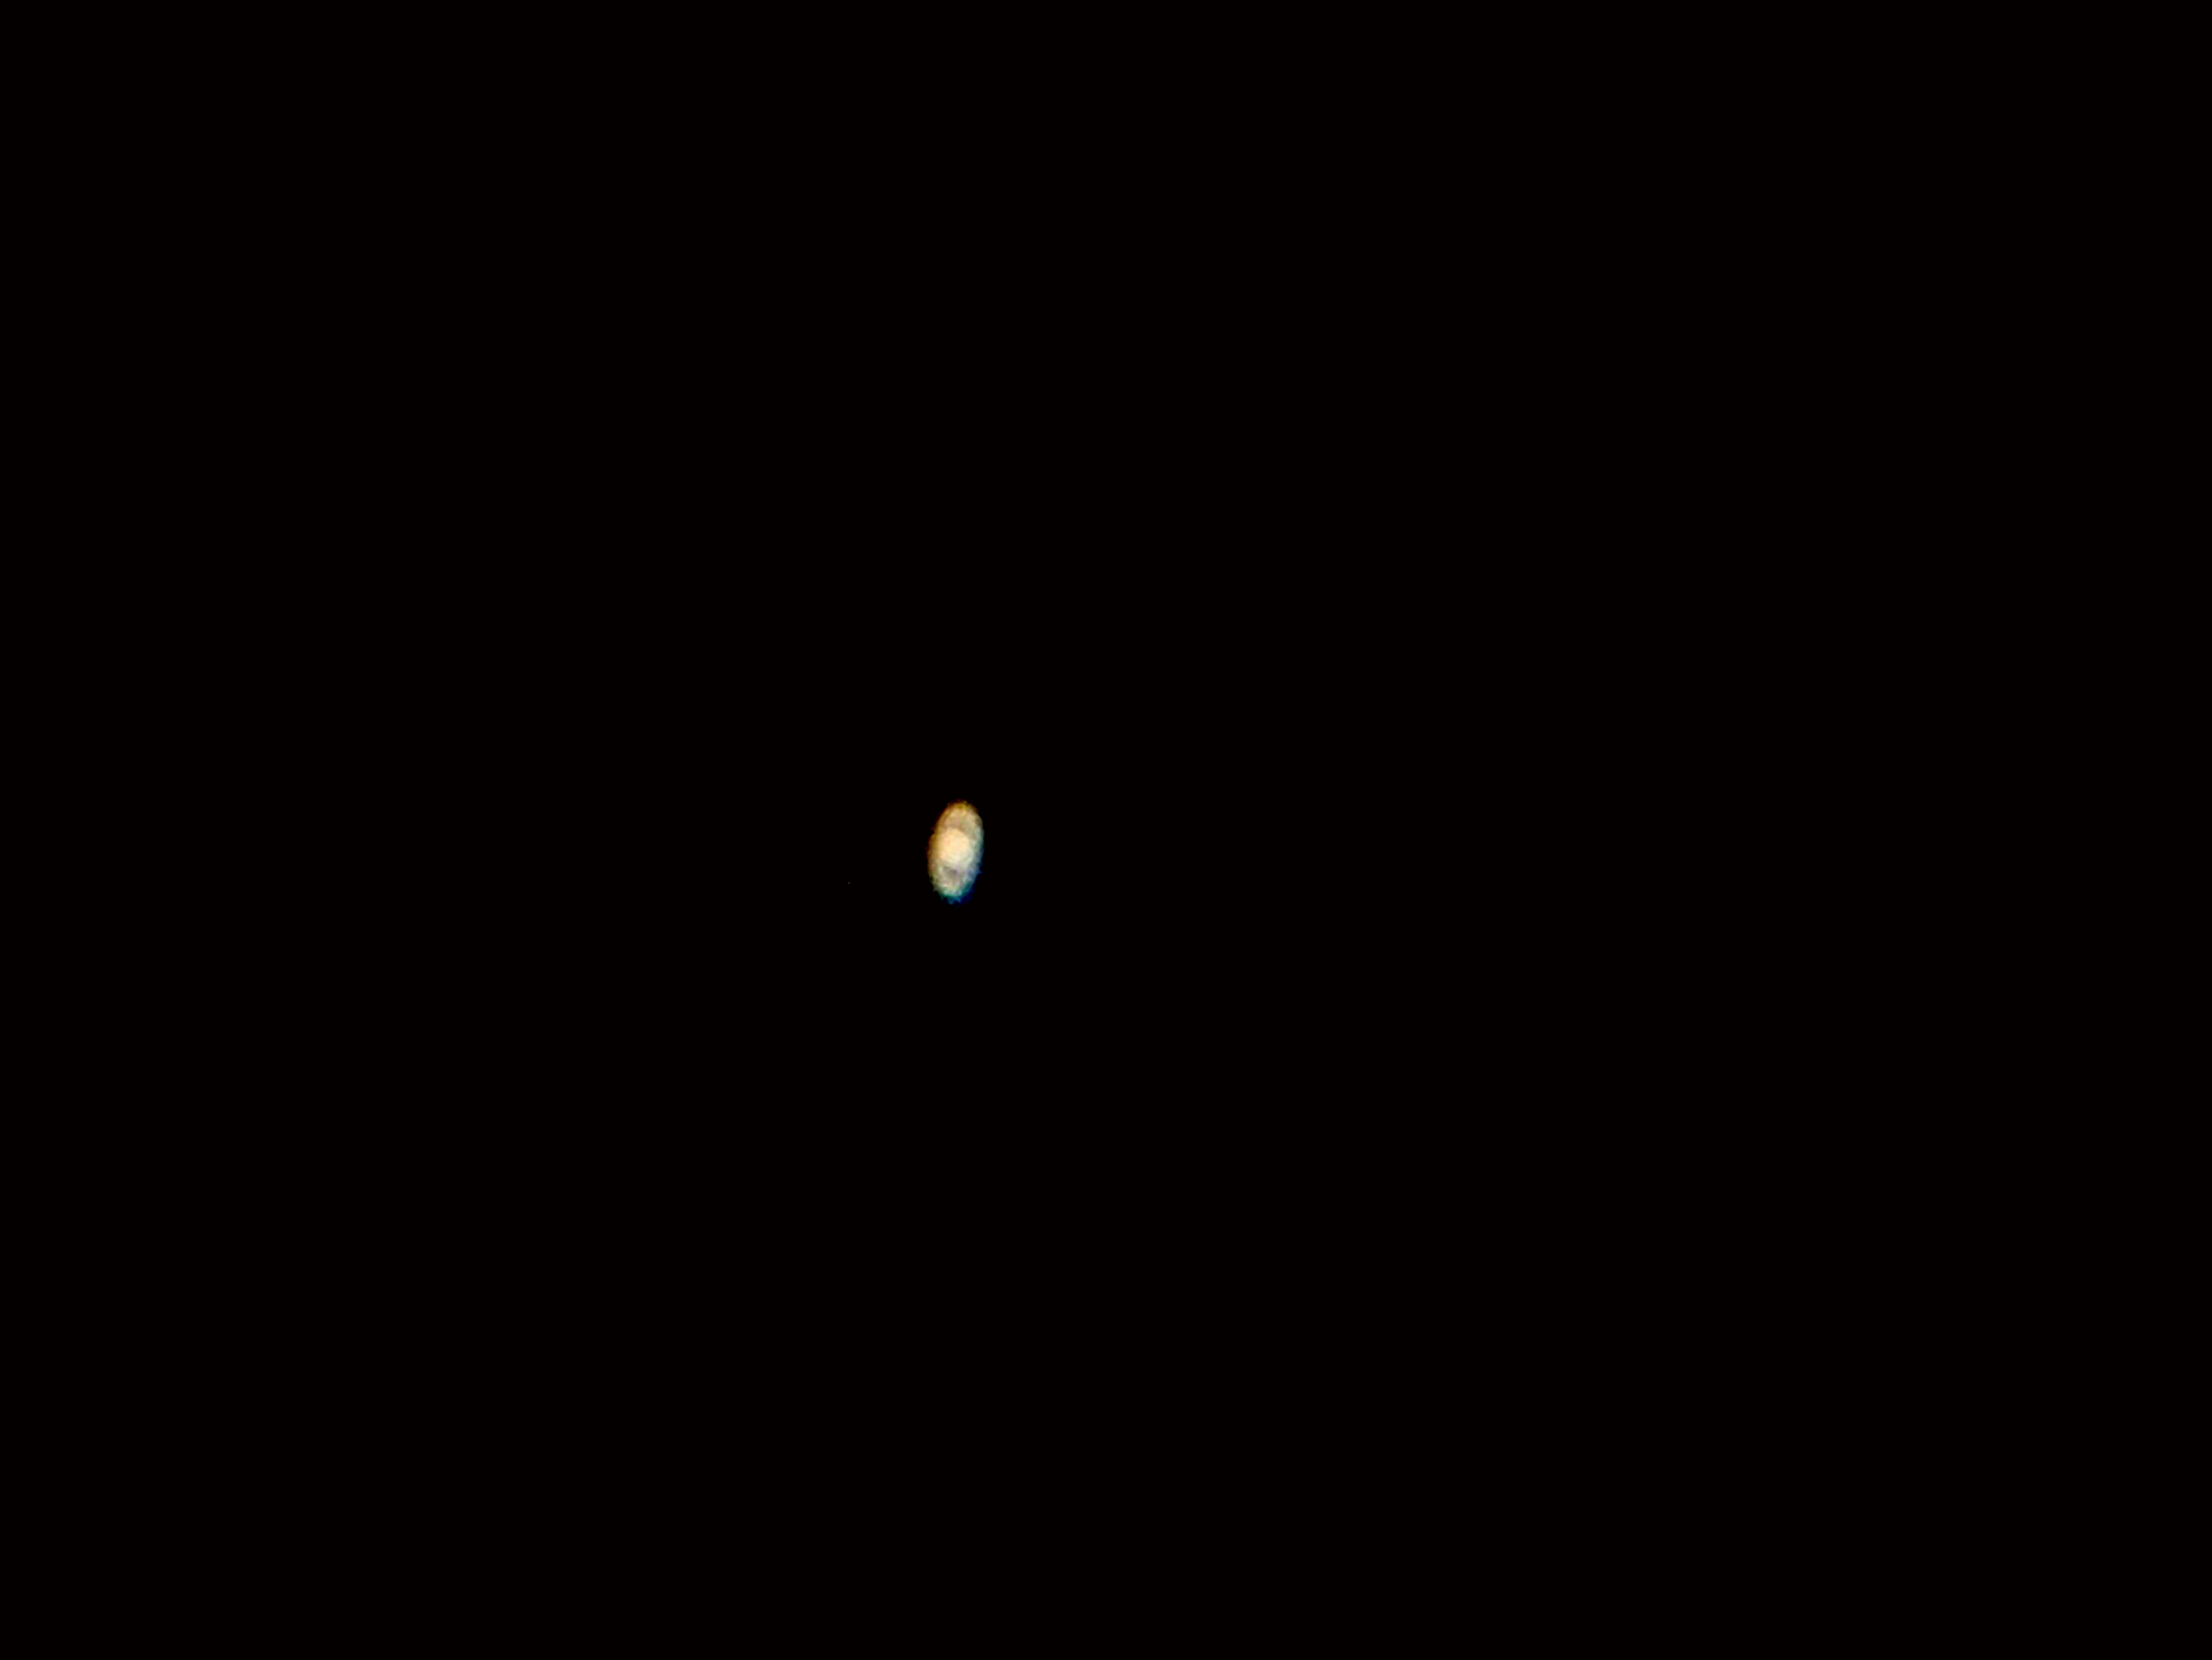
But I got much, much better results. I stayed up way, way too late on a clear and very cold night to get these. The lighting conditions were not ideal thanks to a lit parking lot and neither planet was especially close at the time, but I’m still proud of what I was able to do and my view of things with my eye was inspiring and far clearer and more vivid than my Galaxy S7 can capture.
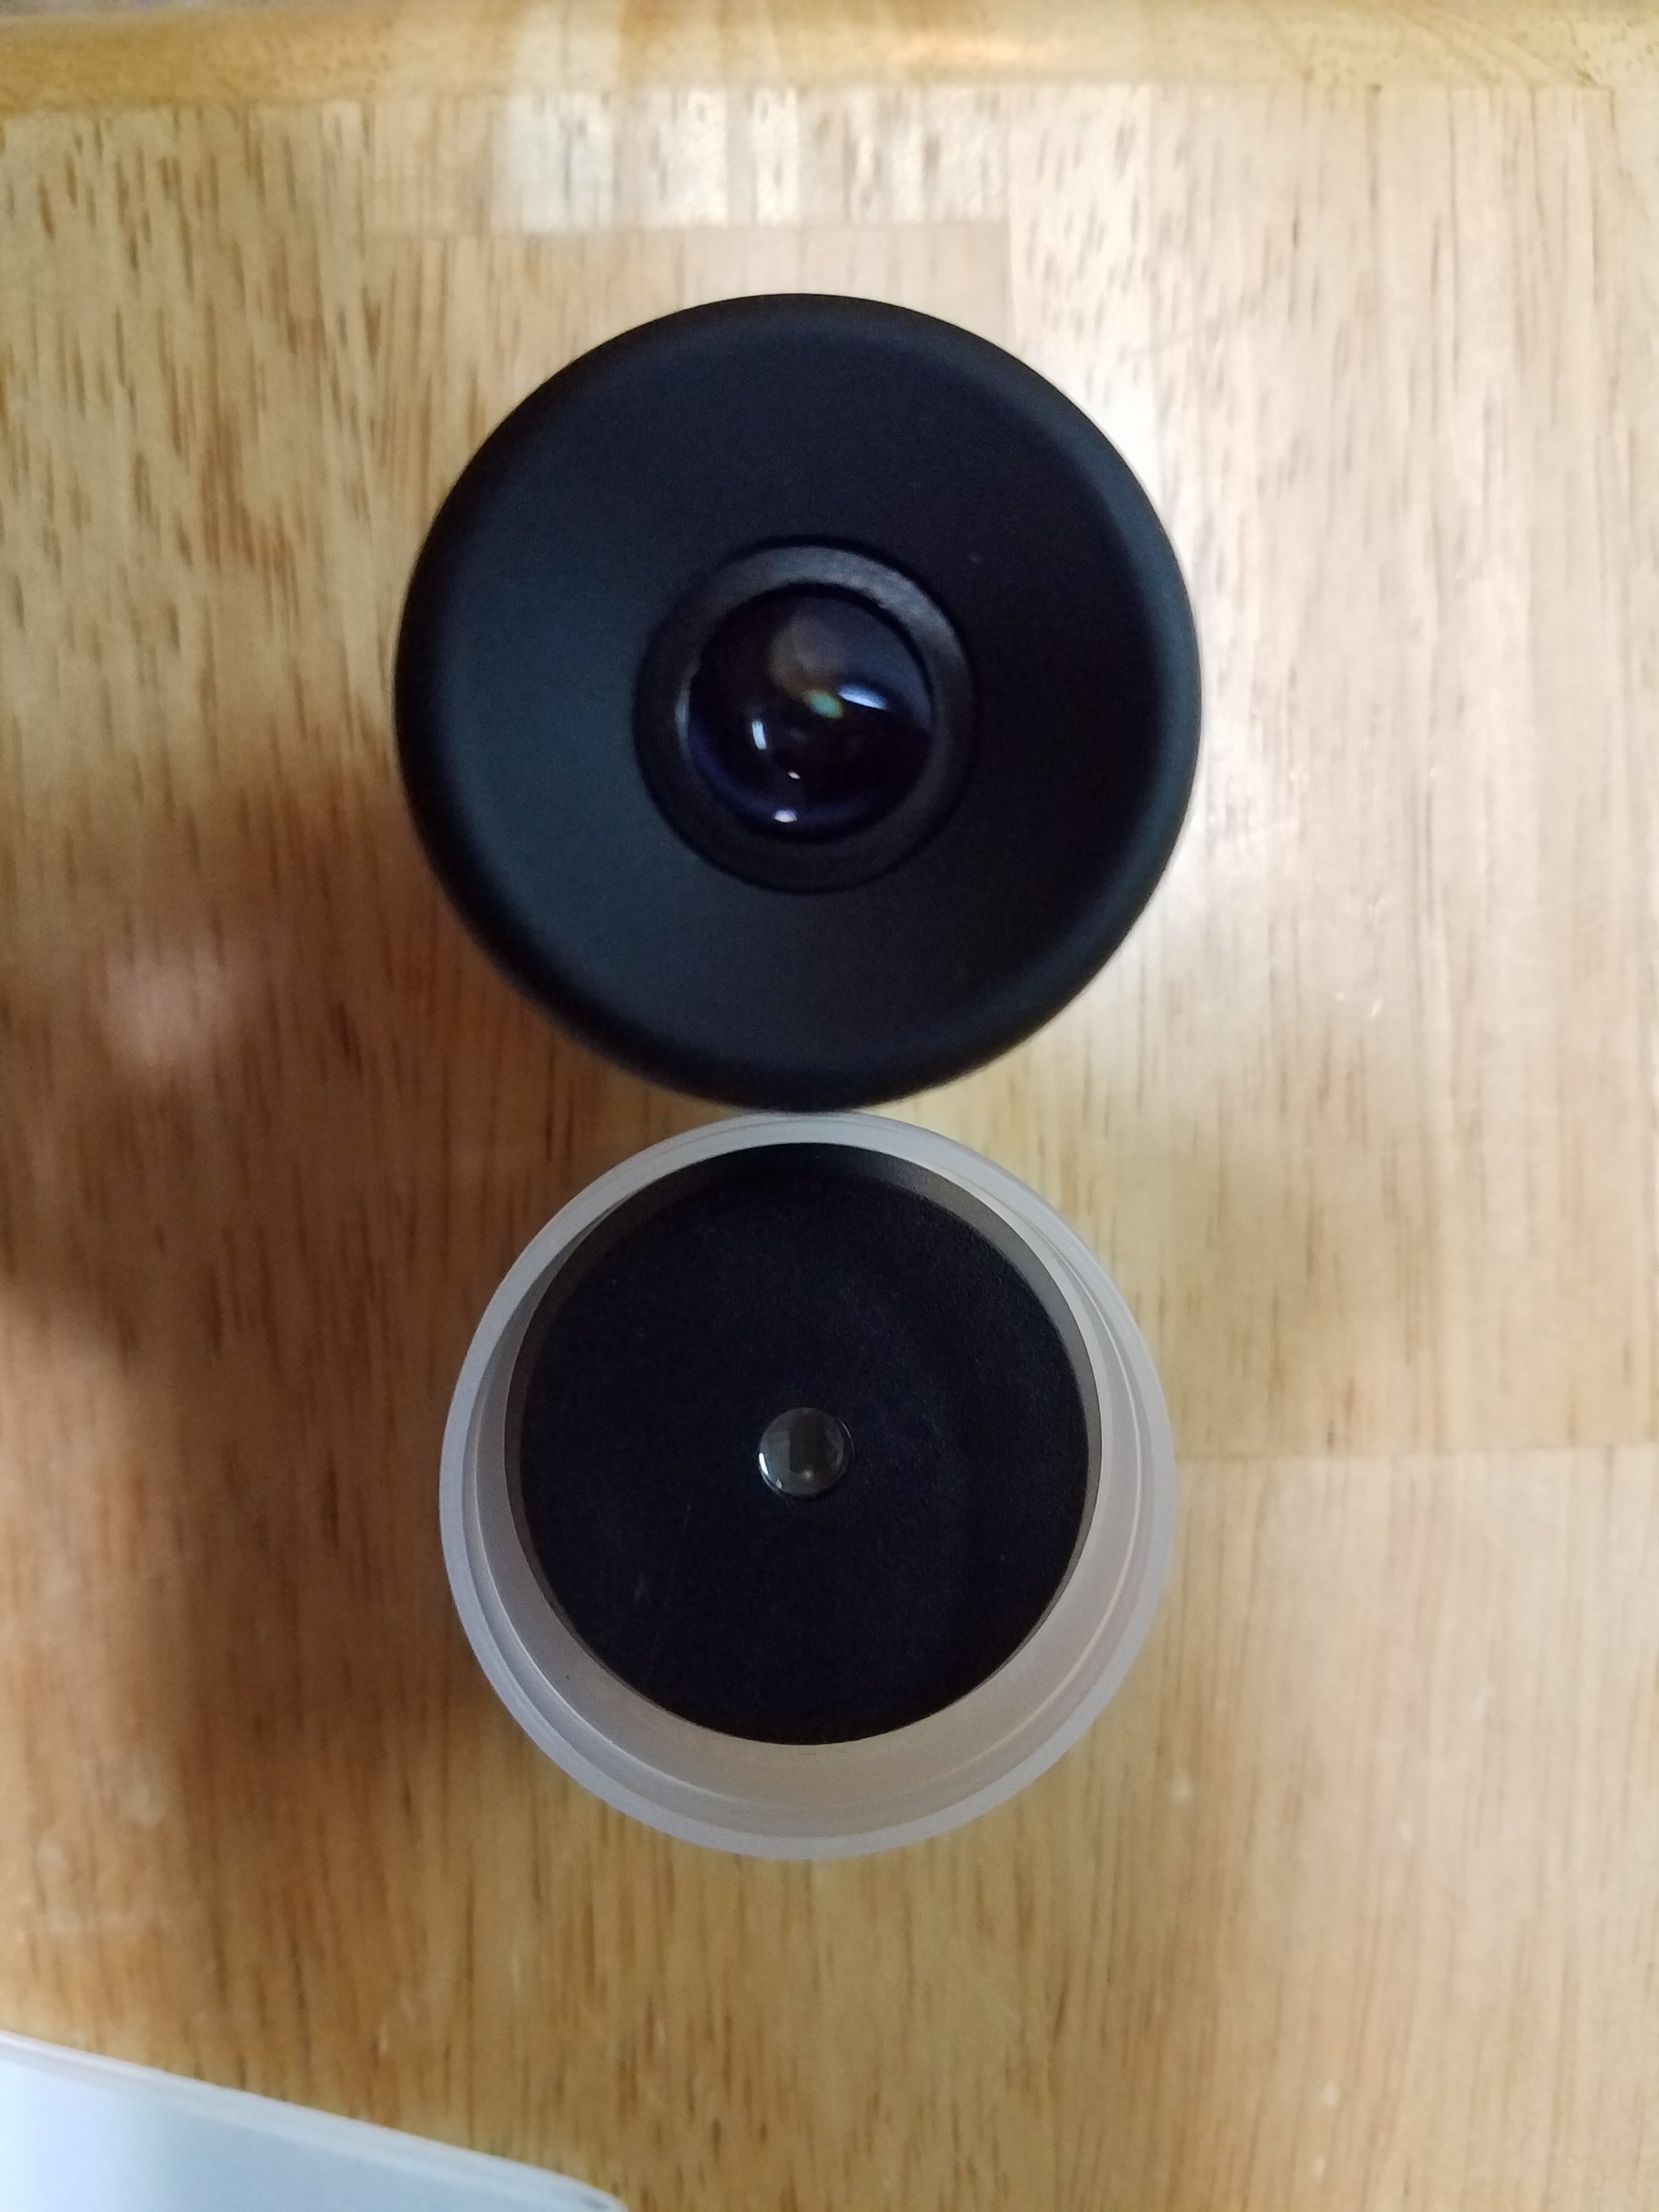
The most powerful lens I used was the extra 9mm lens I purchased as part of a kit separate from the scope. Those kit lenses are by far my favorite to use. They manage decent magnifications with a great viewing area for my eye and pictures. I have the 4mm lens that came with the scope that can push it to its maximum, practical magnification of 250x, but that’s really kind of pointless if you’re getting a little more than twice the magnification at a quarter of the viewing area.
So, I picked up another after market lens I’m desperate to try when the sky clears. It has the 4mm focal length for maximum magnification, but with a 10mm lens to see it through. Check the pictures below to see the comparison. It’s also worth mentioning the lens is a lot clearer than the one that came with my scope.
My scope is collimated for the time being, but I’m not looking forward to doing it again. I spent hours figuring it out and researching it. When it comes to astronomy and this telescope in particular, collimation will remain my nemesis.
And thanks to theskylive.com for providing so much useful info about the planets.
@DivergentZen
I can see the ads but not the pics.
I’ve been having some hosting issues. Try refreshing or opening just the entry. Thanks!