Since getting my old PowerSeeker 127EQ and snapping some quick shots of Jupiter through it, many people have asked me how to do the same. They most often assume it to be a relatively complex thing to do, but it’s not. It’s actually pretty simple and not actually that expensive to get started.
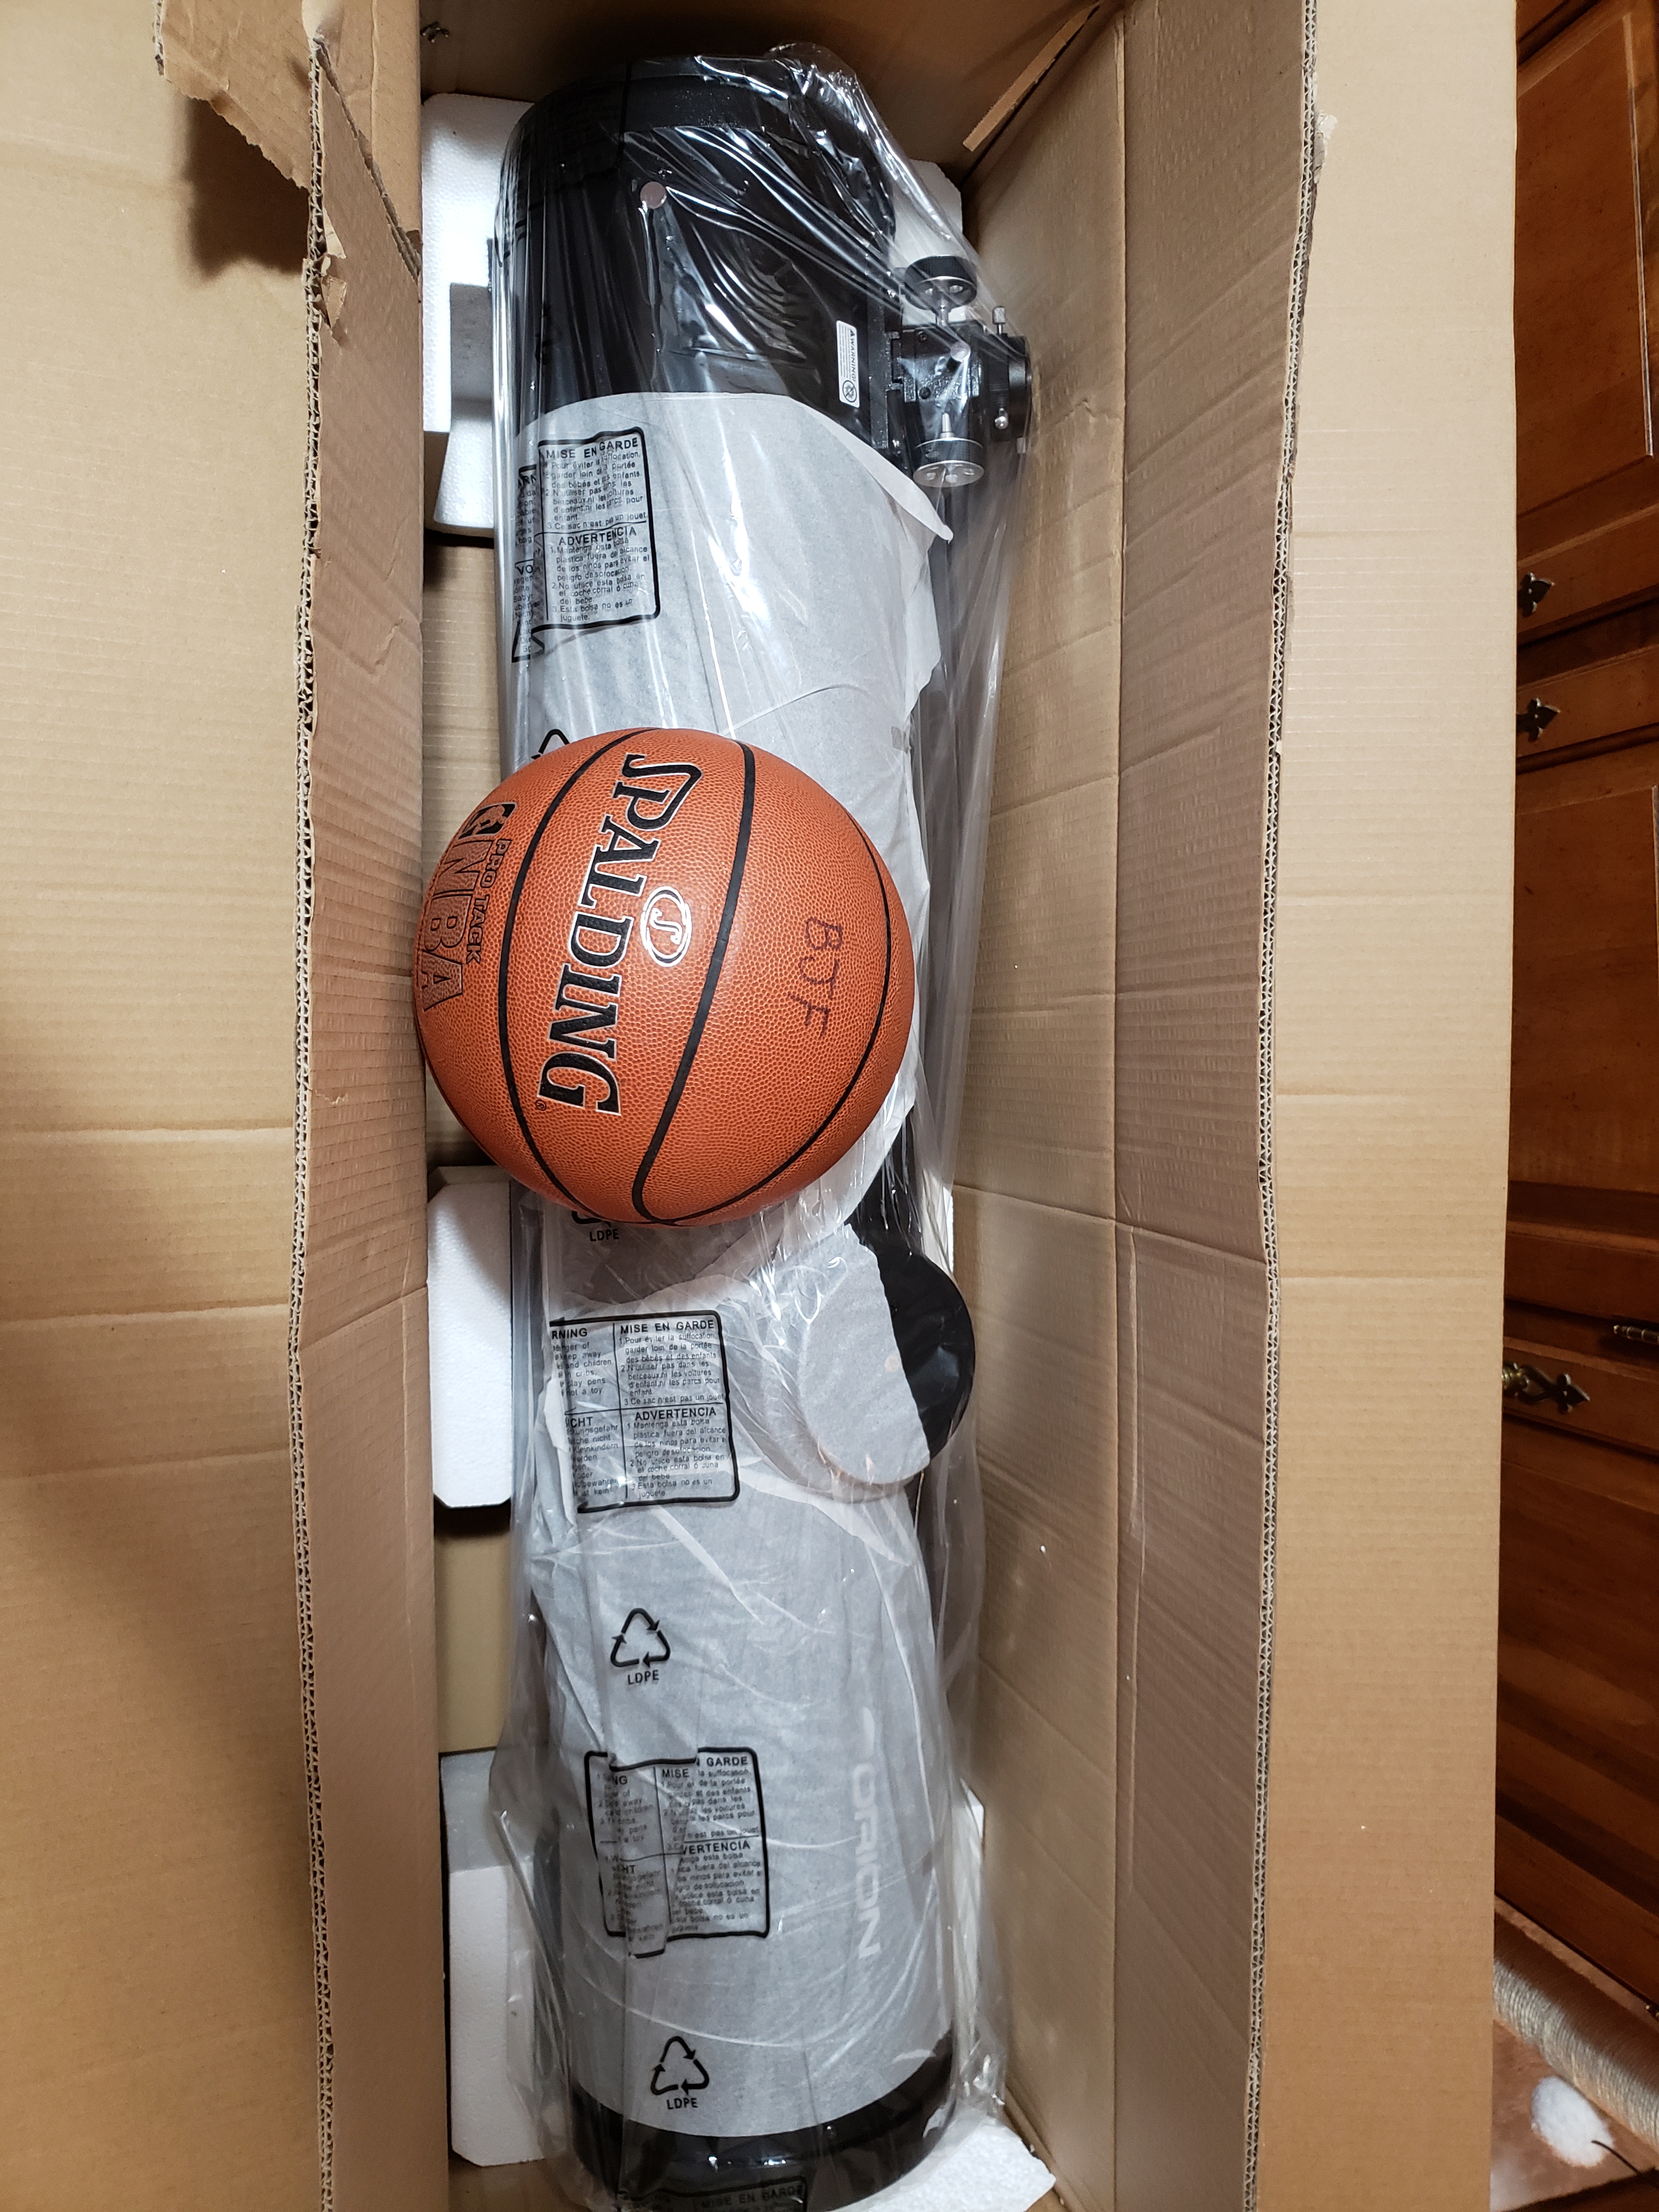
First, you need a telescope. I started with the 127EQ, but I now almost exclusively use my Orion SkyQuest XT8. Both are reflector-type scopes in that they use a mirror to focus the light they receive. Bang for your buck, it’s hard to beat the 127EQ. It’s cheap, has a 6-inch mirror, comes with a sturdy-enough mount, and provides a nice, entry-level viewing experience. Collimating it, however, is a bit of a nightmare. But you can benefit from my experience with doing so.
If you can spend three to four hundred dollars, the Orion XT8 is a great scope. It’s a bit bulky, but it’s powerful, offers some surprising optics, and is easy to use and maintain. It benefits from mounting a right-angle view finder and having a strong back to lift it. It’s about 40 lbs.
Be warned. Neither scope will allow you to perform complex astrophotography with a DSLR camera that requires auto-tracking mounts for long exposures. The 127EQ theoretically supports a motor to turn its equatorial mount, but I was never able to get mine to work.
But that’s fine, because this is about doing astrophotgraphy without a headache or spending too much money. You can purchase a much less expensive scope, but those scopes tend to be smaller and less stable. You can’t take pictures if your camera/phone keeps tipping your telescope over or the weight of it bends the eyepiece focuser, which I’ve had happen to a $50 scope I bought for fun that I won’t name.
Once you have a scope you’re going to want your smartphone to have a decent camera. Almost all the modern flagship models from recent years have pretty solid cameras. Most importantly, the cameras have modes that let you manually adjust their capture settings. I started with a Samsung Galaxy S7 and migrated to an S9, which is what I use now. But the new iPhones and Pixel phones are supposed to have even better cameras now.
With your phone in hand, make sure the back camera lenses are clean. Next, open your camera app and look for your image capturing settings. On my Samsung phone, I access these through the “Pro” mode.
The important settings you’re looking to adjust are the ISO, the shutter speed, the focus (manual/auto), and the aperture (if your phone supports more than one aperture). You will also want to set your phone to take as high a resolution picture as it can. The more pixels the better!
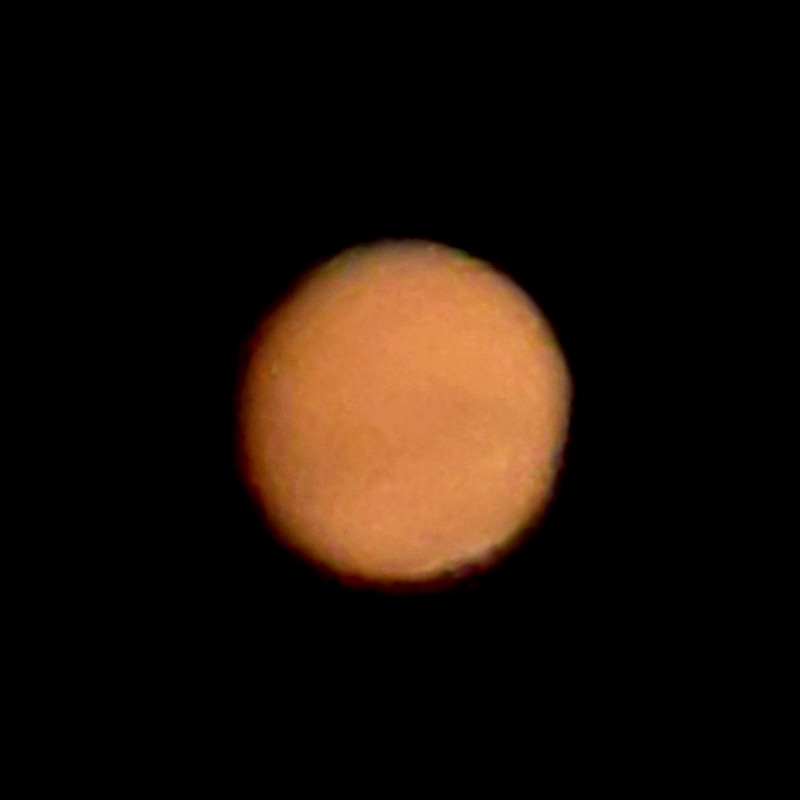
The ISO affects your camera’s sensitivity to light. The higher the ISO, the more sensitive it becomes but also the more “noise” you get. The shutter speed controls how long your camera’s sensor is exposed to incoming light. The longer you leave it open, the brighter your image will be. Leave it open too long and your image will blur if it’s moving. When trying to take pictures of planets and other bright objects, you’re going to want to use less ISO and a shorter shutter speed. That generally gets you more color and detail in your image.
The focus is important, too. You can almost always set your camera to manual focus and set the focus distance out to “infinite,” as if you’re focusing on mountains in the far distance. But, sometimes if you have a bright enough and big enough planet or moon, you can play with your camera’s autofocus to see if it’ll work. When it does, the results can be much better than the manual “infinite” focus.
If you can change your phone’s aperture, you should know that the larger the aperture, the more light the sensors receives. The focusing issues with the smaller depth of field from the larger aperture aren’t usually a problem with astrophotography, but sometimes too much light can be a bad thing, especially with brighter objects like the moon and some planets. Trying take pictures with each aperture setting to see what’s returning the best image.
Lastly, learn how to set your camera’s delay timer. Unless you want to invest in a remote for your phone’s camera, the next best thing is setting a 2-5 second delay on taking pictures after you click the button. Even sturdy mounts can momentarily vibrate and wobble after you manipulate your phone and these movements are dramatically amplified at higher viewing magnifications. The timer delay lets these things settle down and stop before the camera goes off, protecting your shot.
Once you have a grasp of these settings. It’s time to purchase a Cell Phone Adapter Mount. This little device connects your cellphone to whichever eyepiece you’re using in your telescope. They range in price from around $10 to $40. The things to consider are the quality of the material, the weight of the mount, how well your phone will fit, and the depth/height of your eyepieces after they’ve been completely slotted into the focuser. If your favorite eyepiece is shallow, pay careful attention to how the adapter you want to use will attach to it. And you want to get the best combination of sturdy material and low weight. I linked the one I use above.
Whichever one you purchase, it will take a little practice and/or some careful marking to be able to slot your phone into the mount in such a way that its camera (note: some phones have multiple cameras on the rear) is center positioned over the lens you mount it on.
In my experience, the easiest way to do this (and redo this because the adapter will probably need periodic readjustment) is to slot your phone and slot a wide angle eyepiece. Meaning, connect an eyepiece with a wide diameter lens. Then open your phones camera and point the combo at a lamp across the room. You should be able to see the lamp on your phone through the eyepiece. If you don’t make some adjustments and try again.
Once you have the wide angle lens good to go, it’s time to refine your adjustments with a narrow angle lens. These lenses tend to be tiny in diameter but offer the most magnification when viewing. Replacing the wide angle eyepiece with the narrow angle eyepiece and check for the same lamp. If the camera is centered properly, you should just get a circle of light in the middle of your screen. If not, make some careful adjustments.
As always, take care not to drop or dirty your eyepieces. Take reasonable precautions before you start.
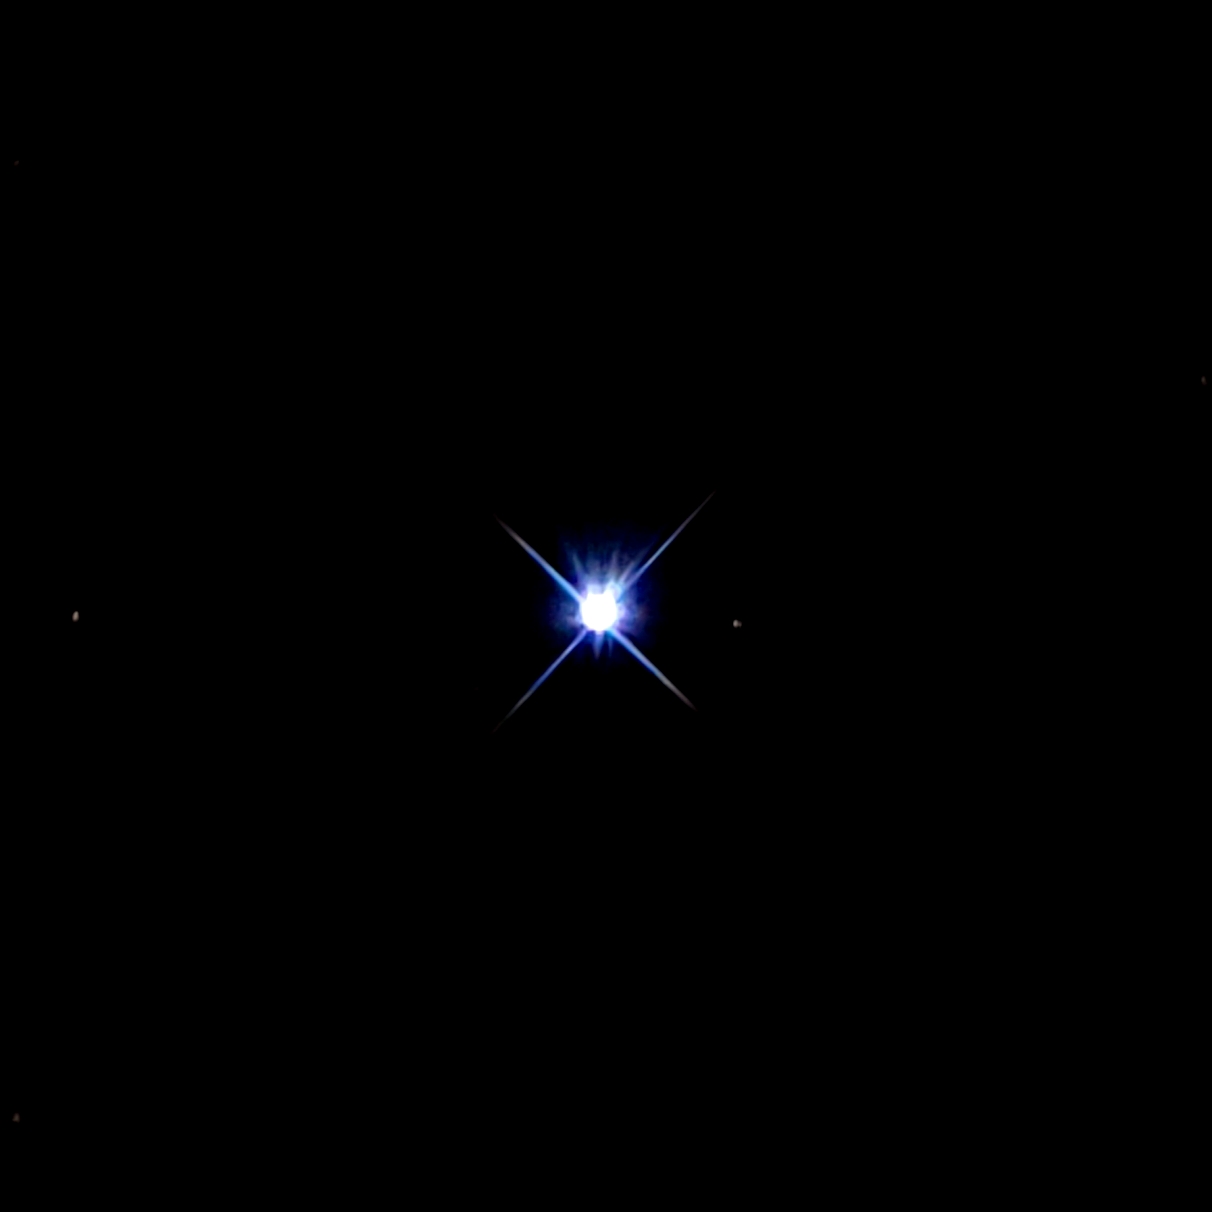
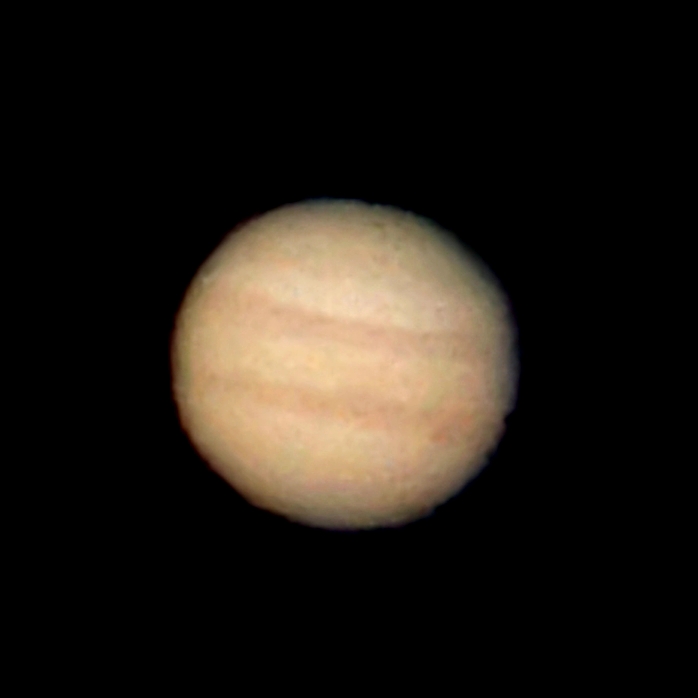
So now, you have a telescope, you have experience adjusting your phone’s camera settings, and you have an aligned mount. Go find yourself something to take a picture of. It’s easiest to start with a big bright planet like Jupiter, but it’s also pretty easy to shoot the moon. Whatever you choose, direct your scope toward it and focus it for the eyepiece you intend to use for the photo. If you have the ability to tighten up or lock your focuser in place after doing this, then do so. You don’t want it to move for the next step.

Now, slot your phone into the mount if it isn’t already slotted. Make sure it’s snug and not going to slip out. Then carefully attach it to the eyepiece with the object in view and in focus. You need to make sure the eyepiece is secure in the focuser and that the mount is secured to the eyepiece, all while not moving your scope. This can get tricky, especially at high magnifications.
For bright objects, you should easily see them appear on your phone’s screen, even with an automatic camera setting. If not, switch to your advanced settings and increase the ISO and/or reduce the shutter speed. The latter usually works better in my experience. Once you can see the object through your phone’s camera, you can begin to make the adjustments to bring out the objects color and detail.
For high magnifications and even lower ones, you’re going to have to readjust your scope to keep the object centered. Whether it’s a star, a planet, or the moon, it’s going to be moving. And the higher the magnification you use the faster it will travel through your field of view. This, too, takes some practice. If you over adjust, you’re probably going to have to detach the mount and find the object all over again unless your view finder is perfectly aligned with your scope.
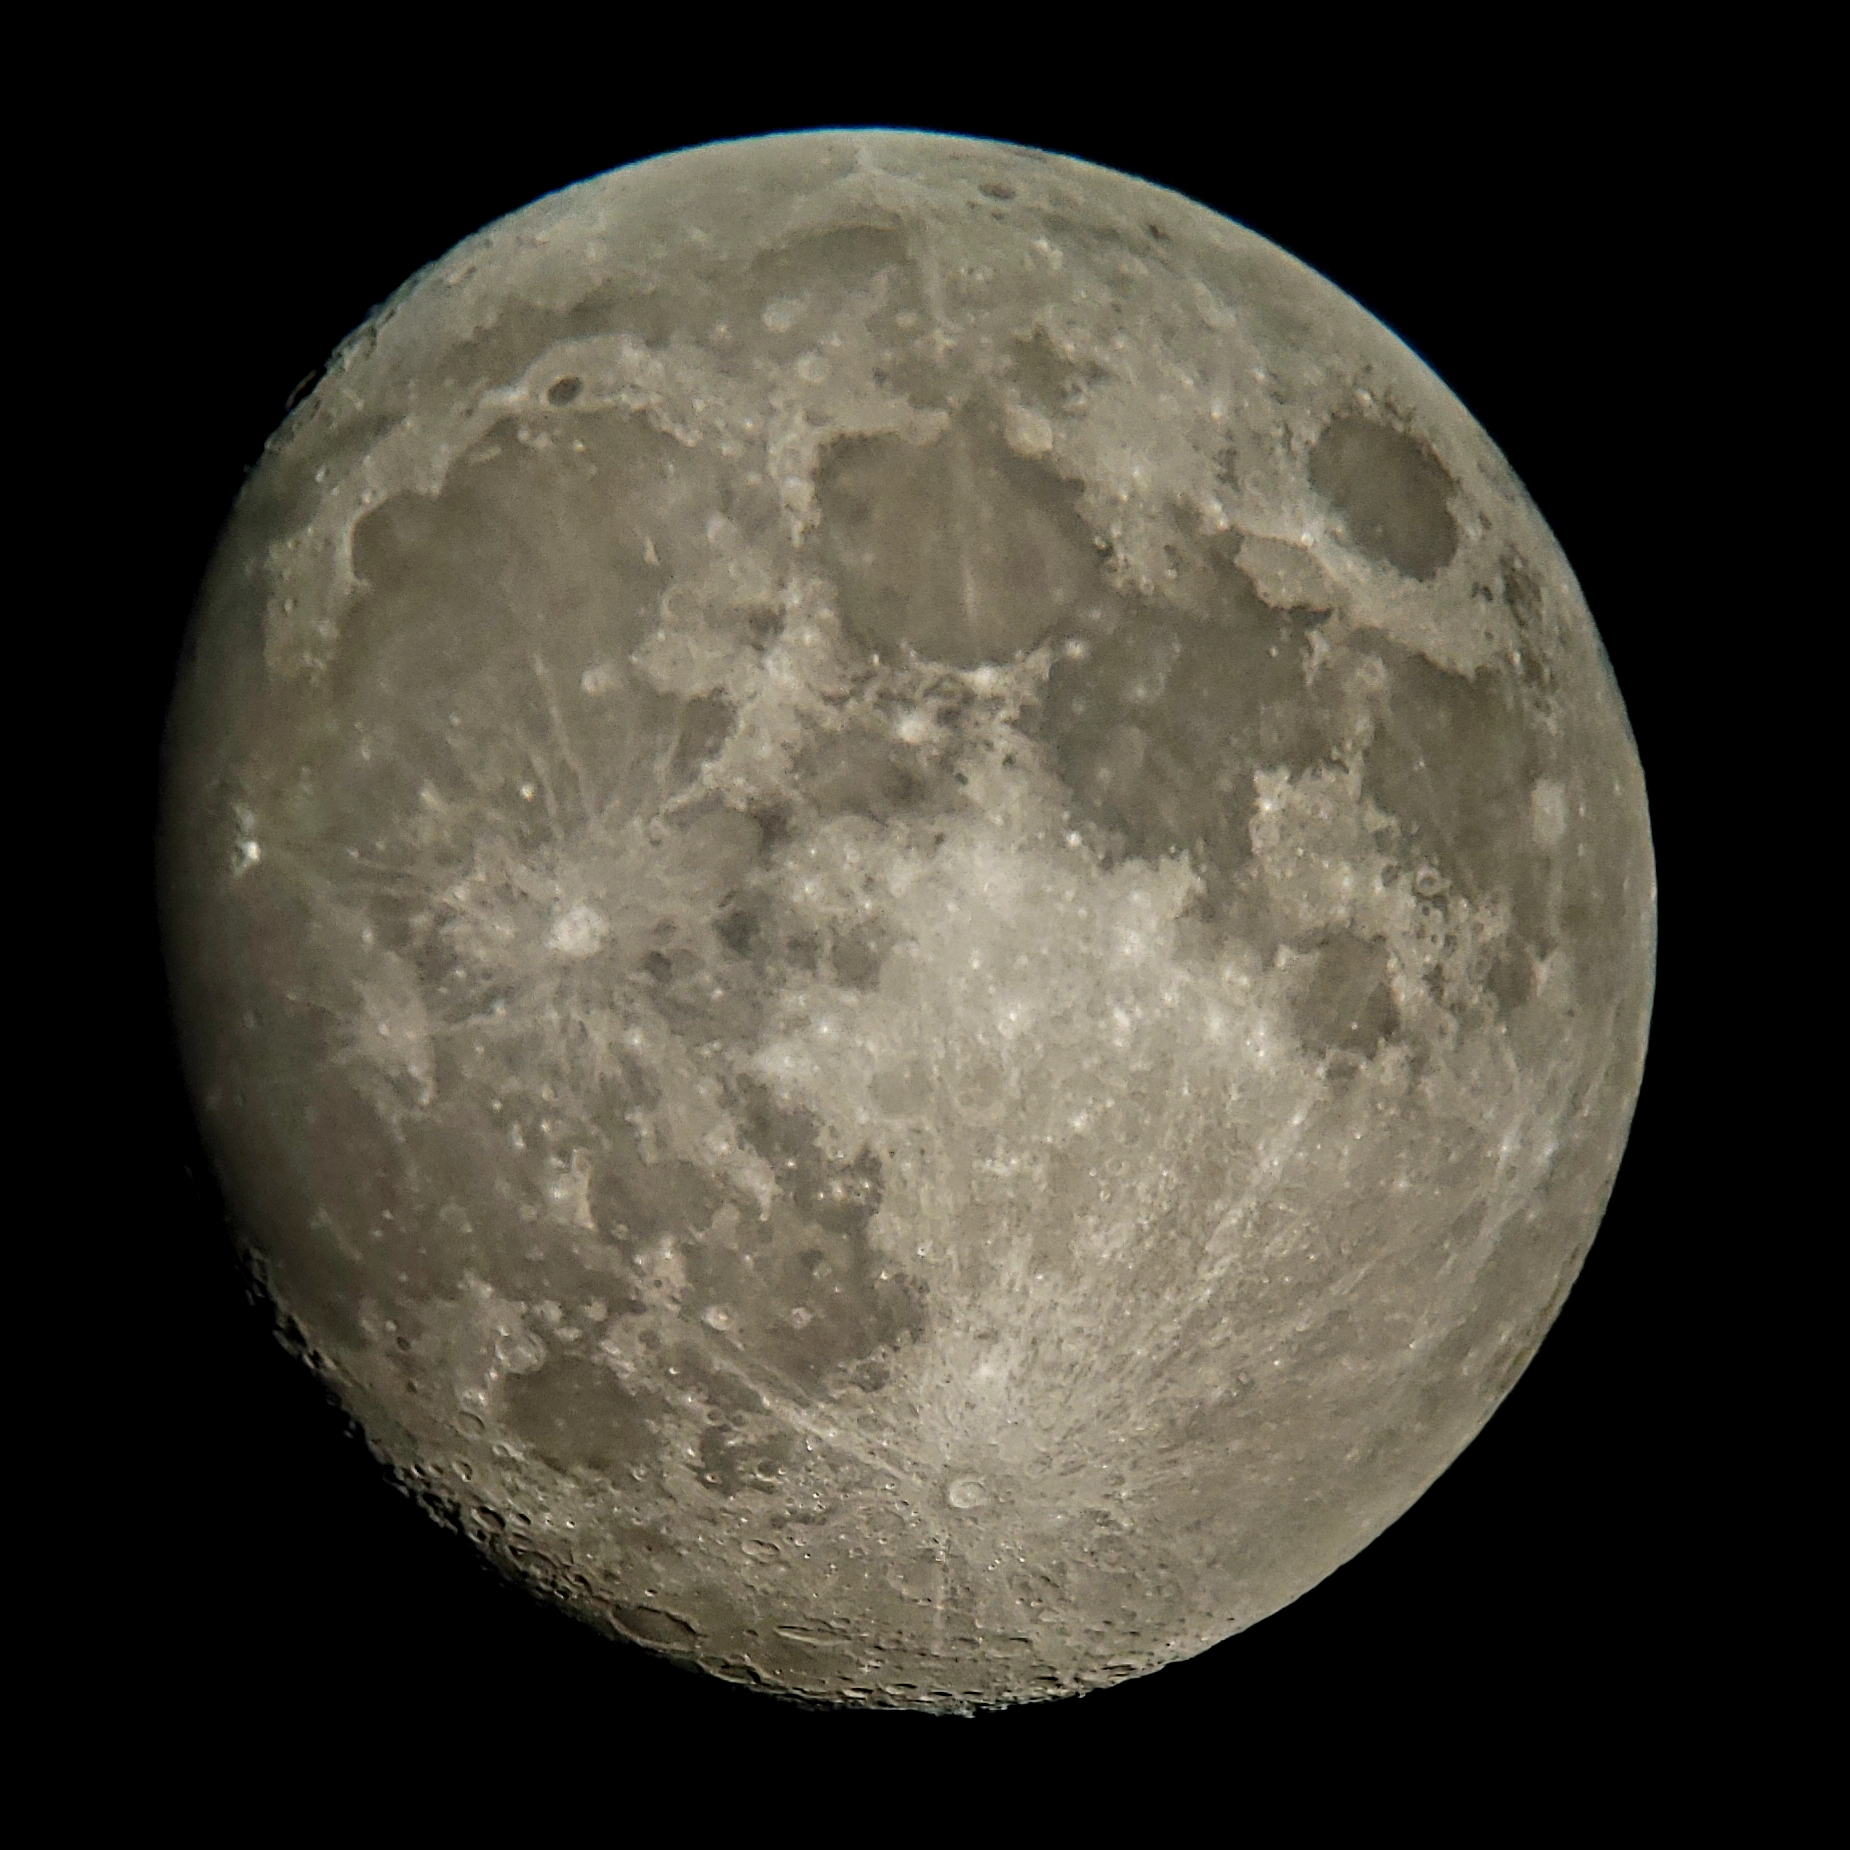
Note: If you decide to shoot the moon, especially when it’s near full; it’s going to be really bright. Don’t be afraid to increase the shutter speed to hundredths of a second.
Once you have a mix of settings that look good, take a picture using the timer. But keep in mind, what you’re shooting will be moving, so you may want to slightly offset the objects position in your camera before taking the picture to correct for this movement. This can also get a little tricky, but you’re not trying to be perfect. You can always crop the image later. It’s more crucial for “large” celestial objects like the moon or nebula. As parts of them can move out of frame.
Keep readjusting and trying a mix of settings. While I suggested the “Pro” mode, there are new and specialized modes you can also try like the “Night” mode. I don’t suggest taking pictures with the digital zoom. Feel free to use the zoom to adjust settings to bring out color and detail, but zoom back out when you’re done. You can always enlarge the photo later without losing the initial data.
You can be methodical about all of this or correct it on the fly. The photo metadata usually captures most of the settings you’re using. You can even experiment with video, which can be used to get many frames of images for image stacking. Image stacking is a more advanced concept I’m currently learning about it, but it really produces some fine images.
When you feel like you’ve taken enough pictures (the more the better), go through them. Zoom in, examine them closely. Try some basic cleanup with a photo auto-adjuster or import them into a more complex application like Adobe Photoshop or some photo editing app.
To summarize, all you need to get into astrophotography is a telescope, which can run as little as $100 or as much as you like; a $10 phone mount; a smart phone, which you probably already have; and some patience and practice.
And to be fair, you don’t technically need a telescope. Venture out to a dark enough place with clear skies and you can manipulate all the same camera settings on your phone or DSLR/non-DSLR camera to take some incredible pictures of the Milky Way or other deep sky objects (DSO).