Make Astrophotography Simple – Seestar S50

The Seestar S50 makes astrophotography simple. It’s nearly a push-button tool to take some decent pictures of distant celestial objects even when surrounded by city light pollution. ZWO produces it and it is controlled with their app on Android or iOS via Wi-Fi or Bluetooth. All you need is a tablet or phone and a stable surface on which to set the Seestar.

I received mine as a Christmas gift. It costs about as much as a PlayStation at $500 but rolls together features that would normally cost much more than that and require hours of experience processing images to produce similar results. I’ve been using it in my yard and took it once to the local observatory to demonstrate it. I captured a video short of it in action. It’s not super thrilling to watch it move to a target, but it gives an idea of its compact size, portability, and how it looks while in operation.

It weighs only 8lbs and fits inside a small foam case provided with it. In some sense, it’s too compact. During the demo at the local observatory, lots of people kept walking in front of it while it was imaging because they either couldn’t see where it was pointed or didn’t understand what part of it was pointed.

Setting up the Seestar involves little more than attaching the tripod, turning it on, connecting it to the app, and then telling it to align itself so it can go to objects. So long as the Seestar has line of sight with stars, it performs the alignment automatically. This is such a huge time saver over performing manual 3-star alignments with larger computerized scopes and mounts. The app then provides a list of recommended objects for the night but lets you search its library for many more, including comets, which is nice.

It comes with some neat bult-in features like a light pollution filter that can be turned on or off and is mechanical and internal to the Seestar; a built-in dew heater than can be turned on or off depending on how much you want to conserve battery life; a solar filter to attach to the outside of the scope; and the ability to change exposure times from 10s to 20s to 30s. I’ll get more into the exposure time aspect further down in this blog.

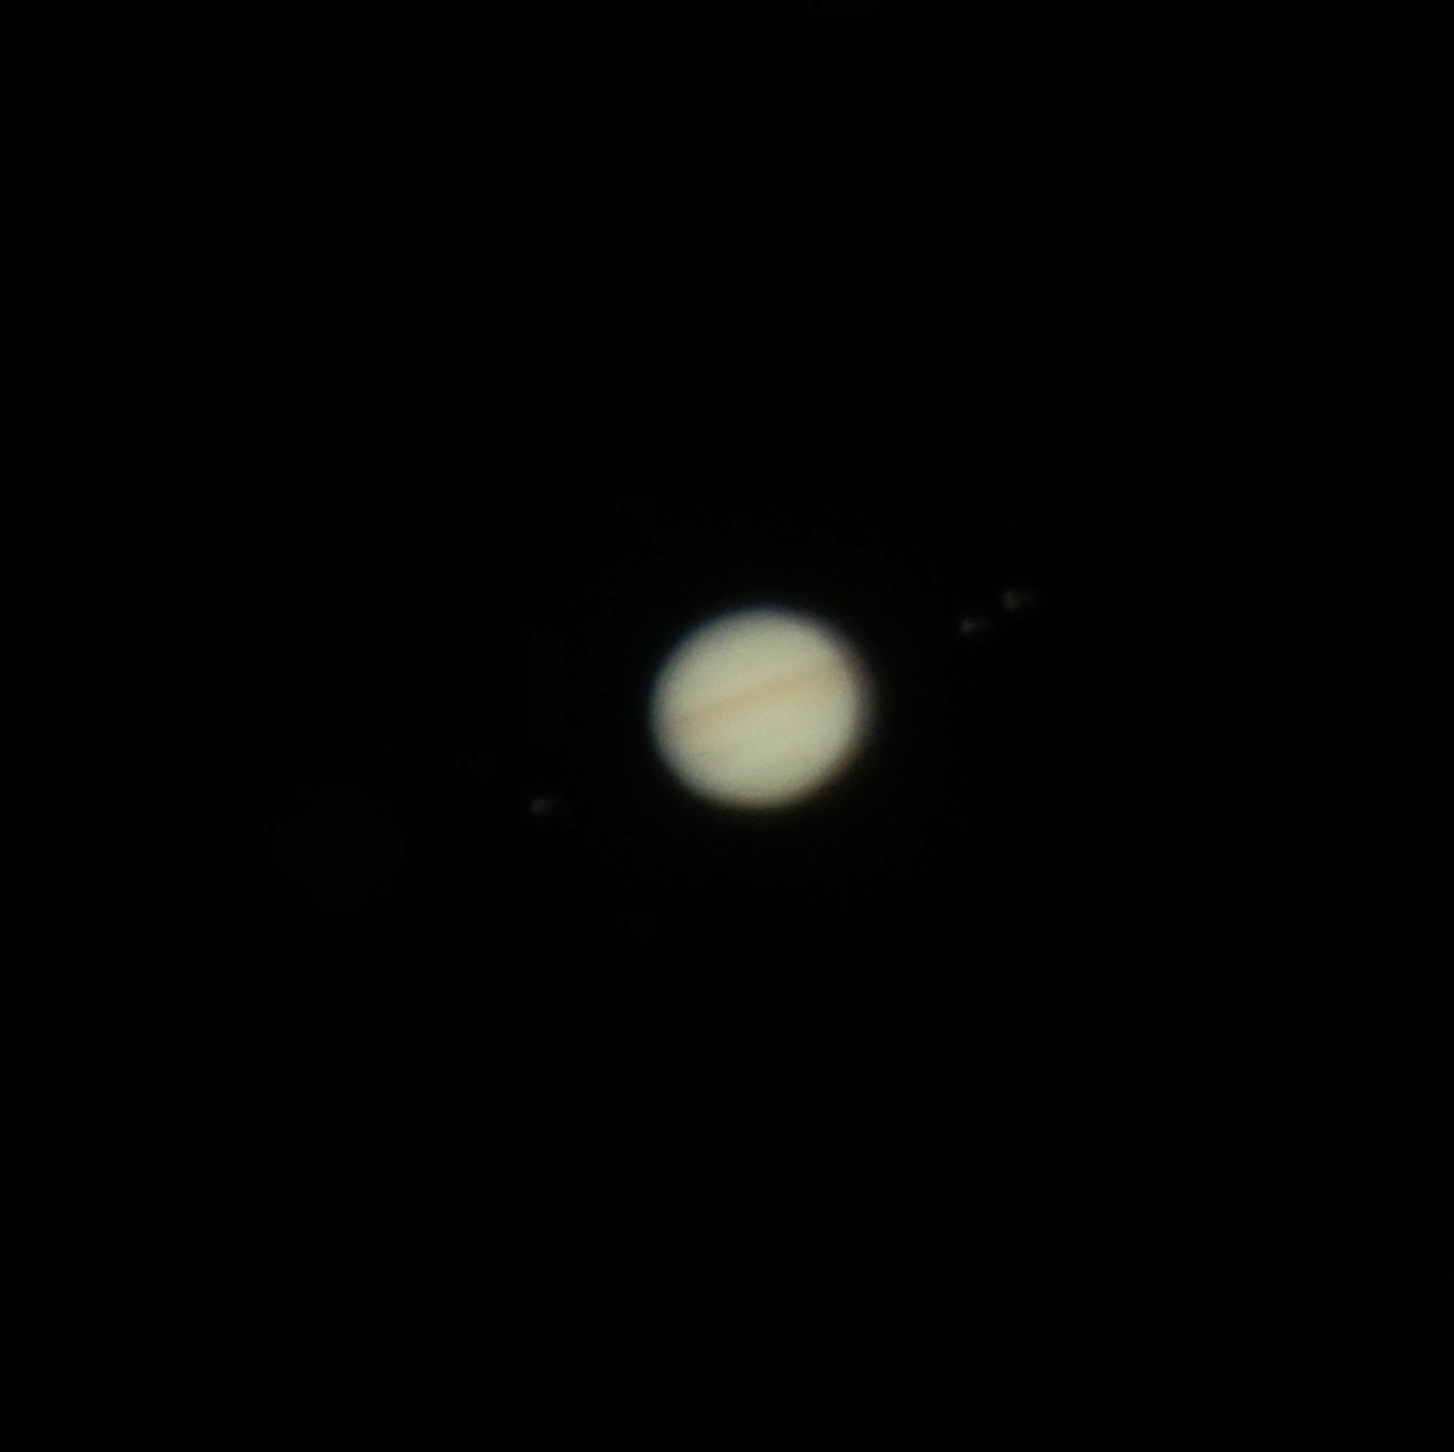
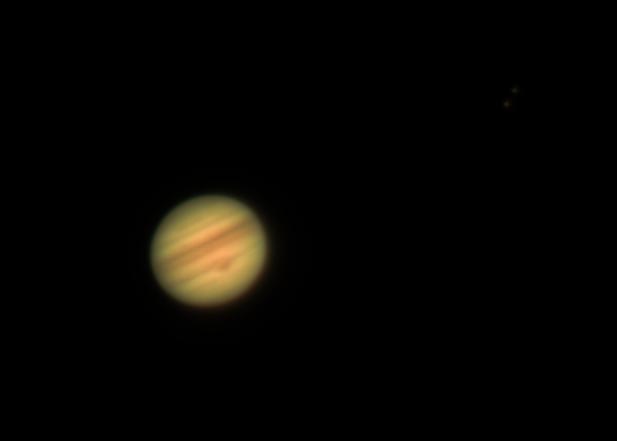
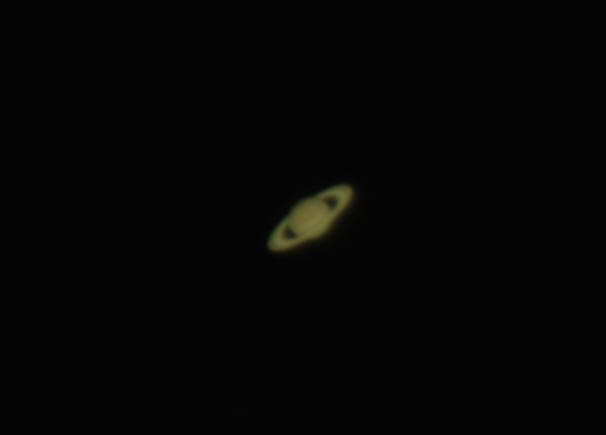
As just a telescope, it’s not especially powerful as far as magnification. While it is capable of some planetary imaging, don’t expect amazing results, especially with anything smaller than Saturn.

Jupiter captured by Seestar S50.

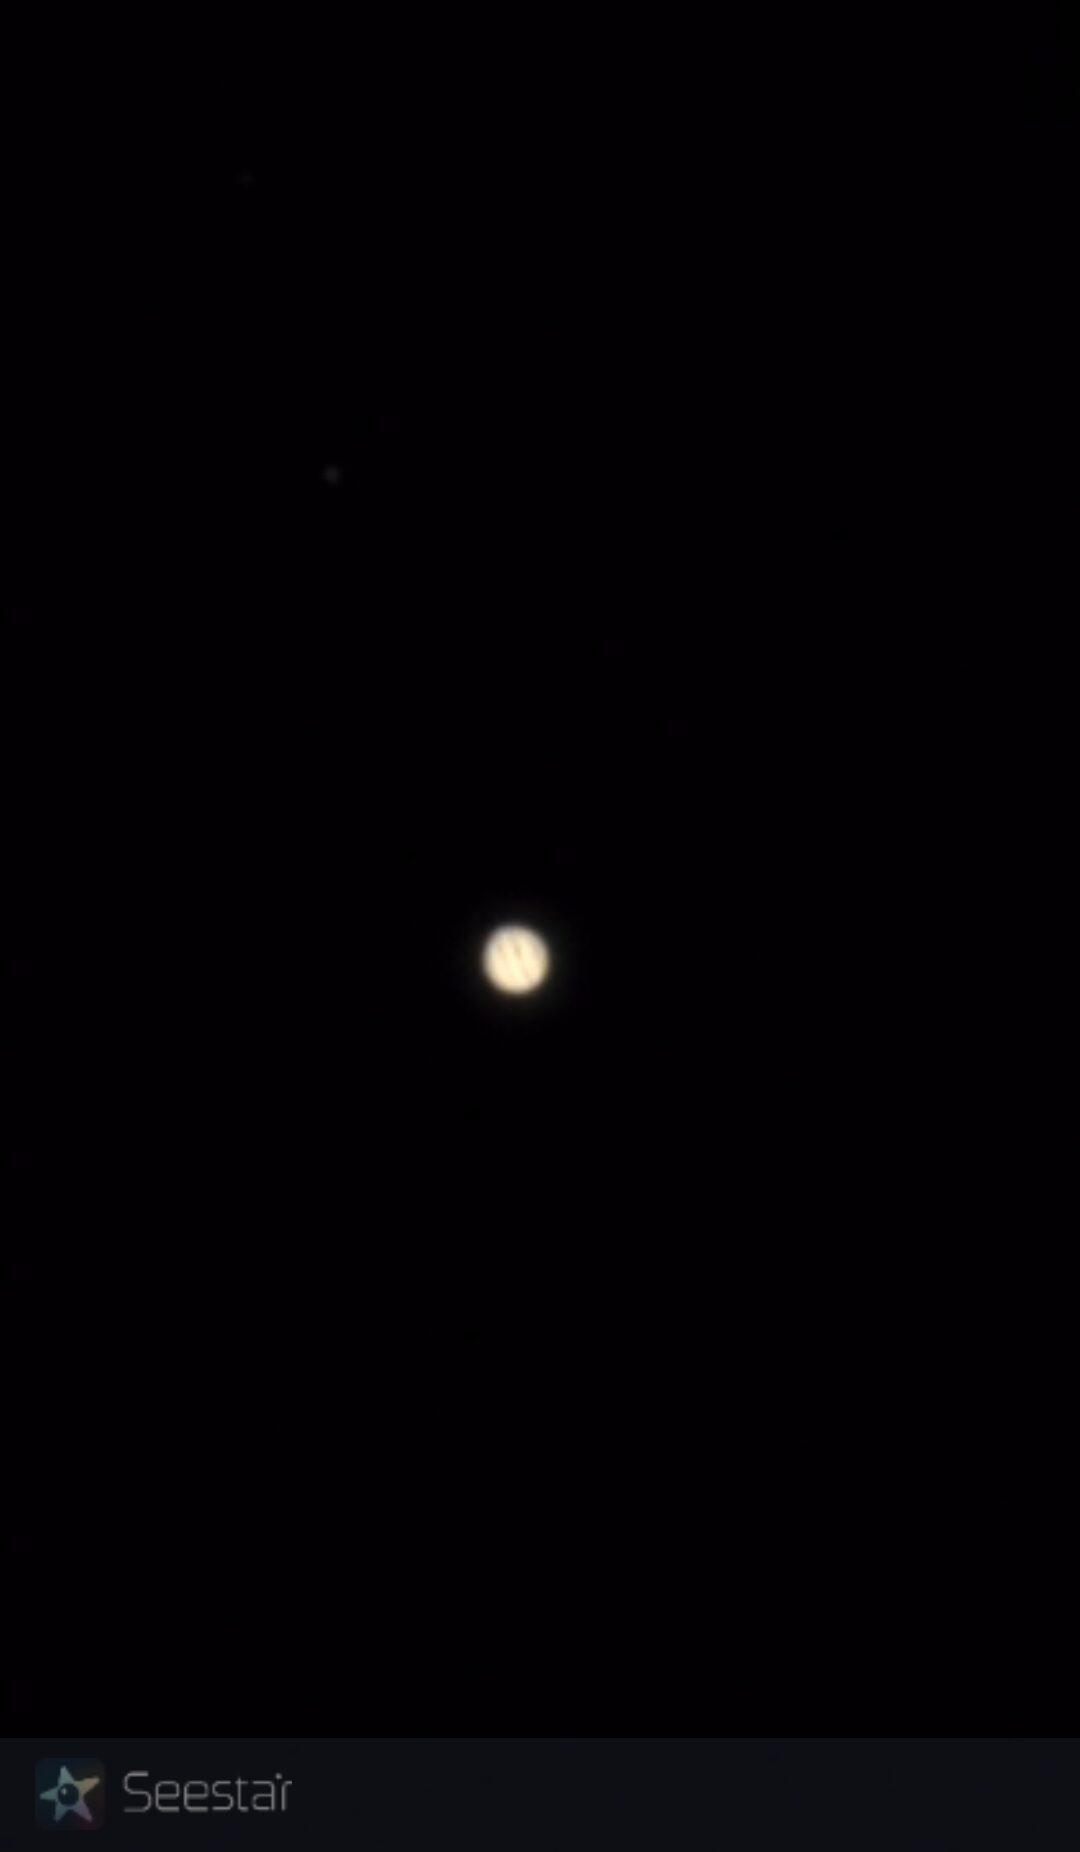
It performs great with the Moon, but you’re limited to this perspective. Unless you want to zoom in on the image, you’re not getting any close-up views of other features.

The Moon captured by Seestar S50.

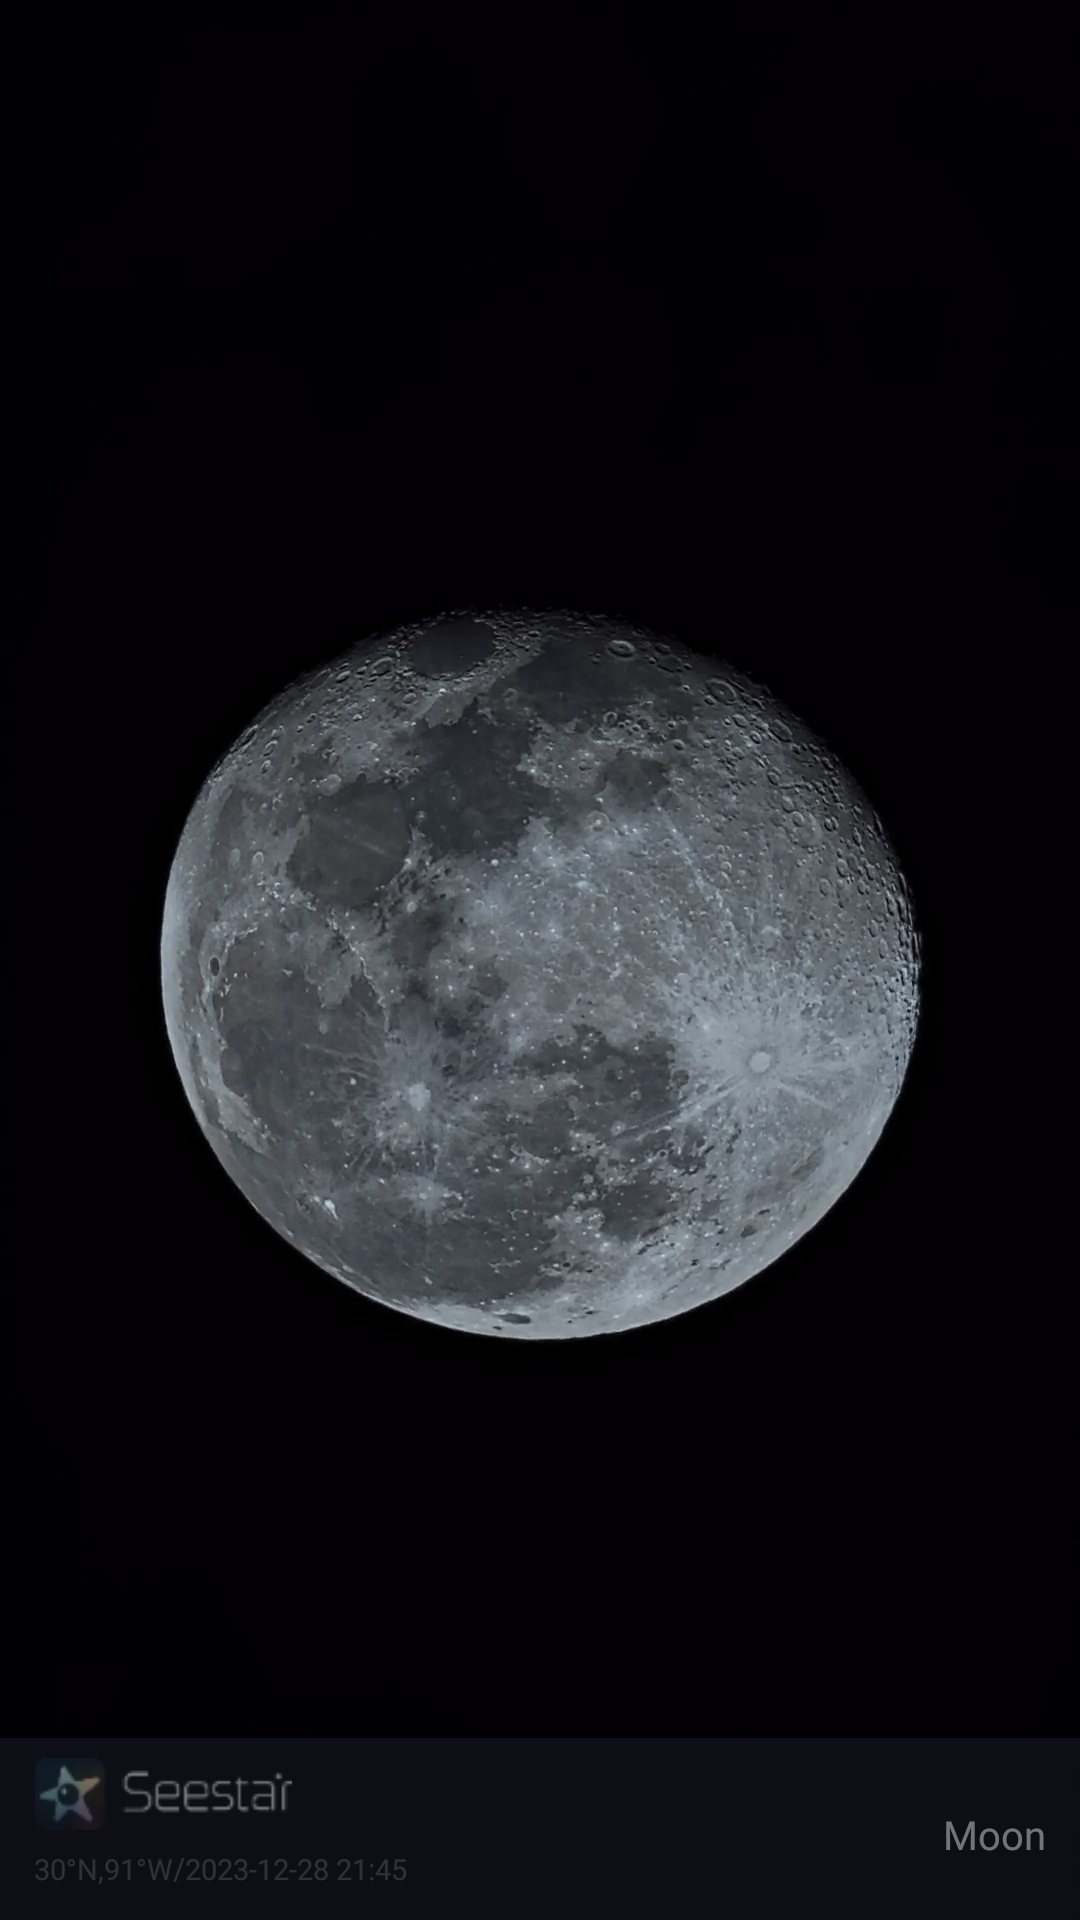
The Seestar, as far as I’m aware, doesn’t perform image stacking on planetary imaging and Moon imaging (and presumably Sun imaging, which I haven’t tried). What you see is what you get when you take photos of those objects.

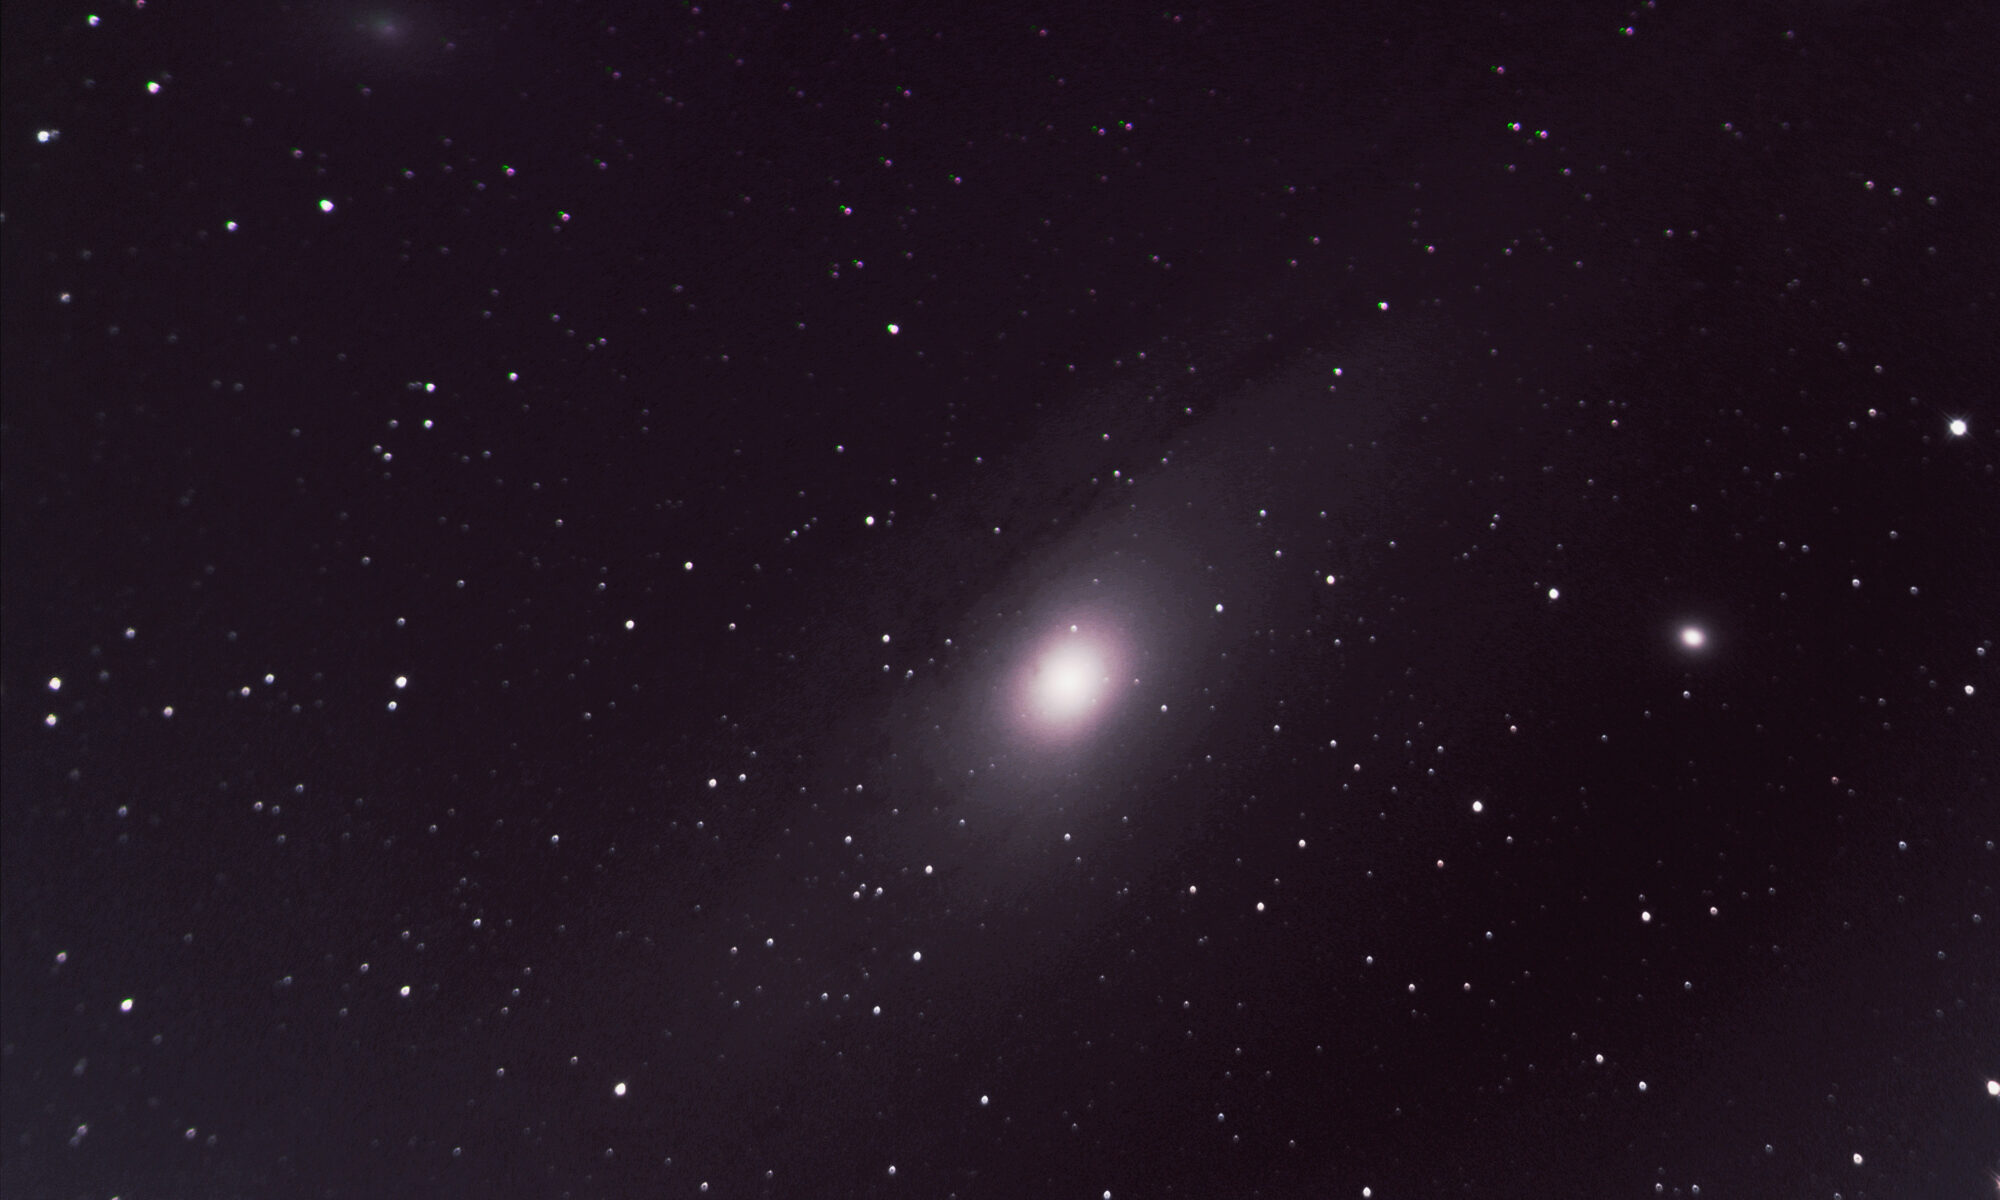
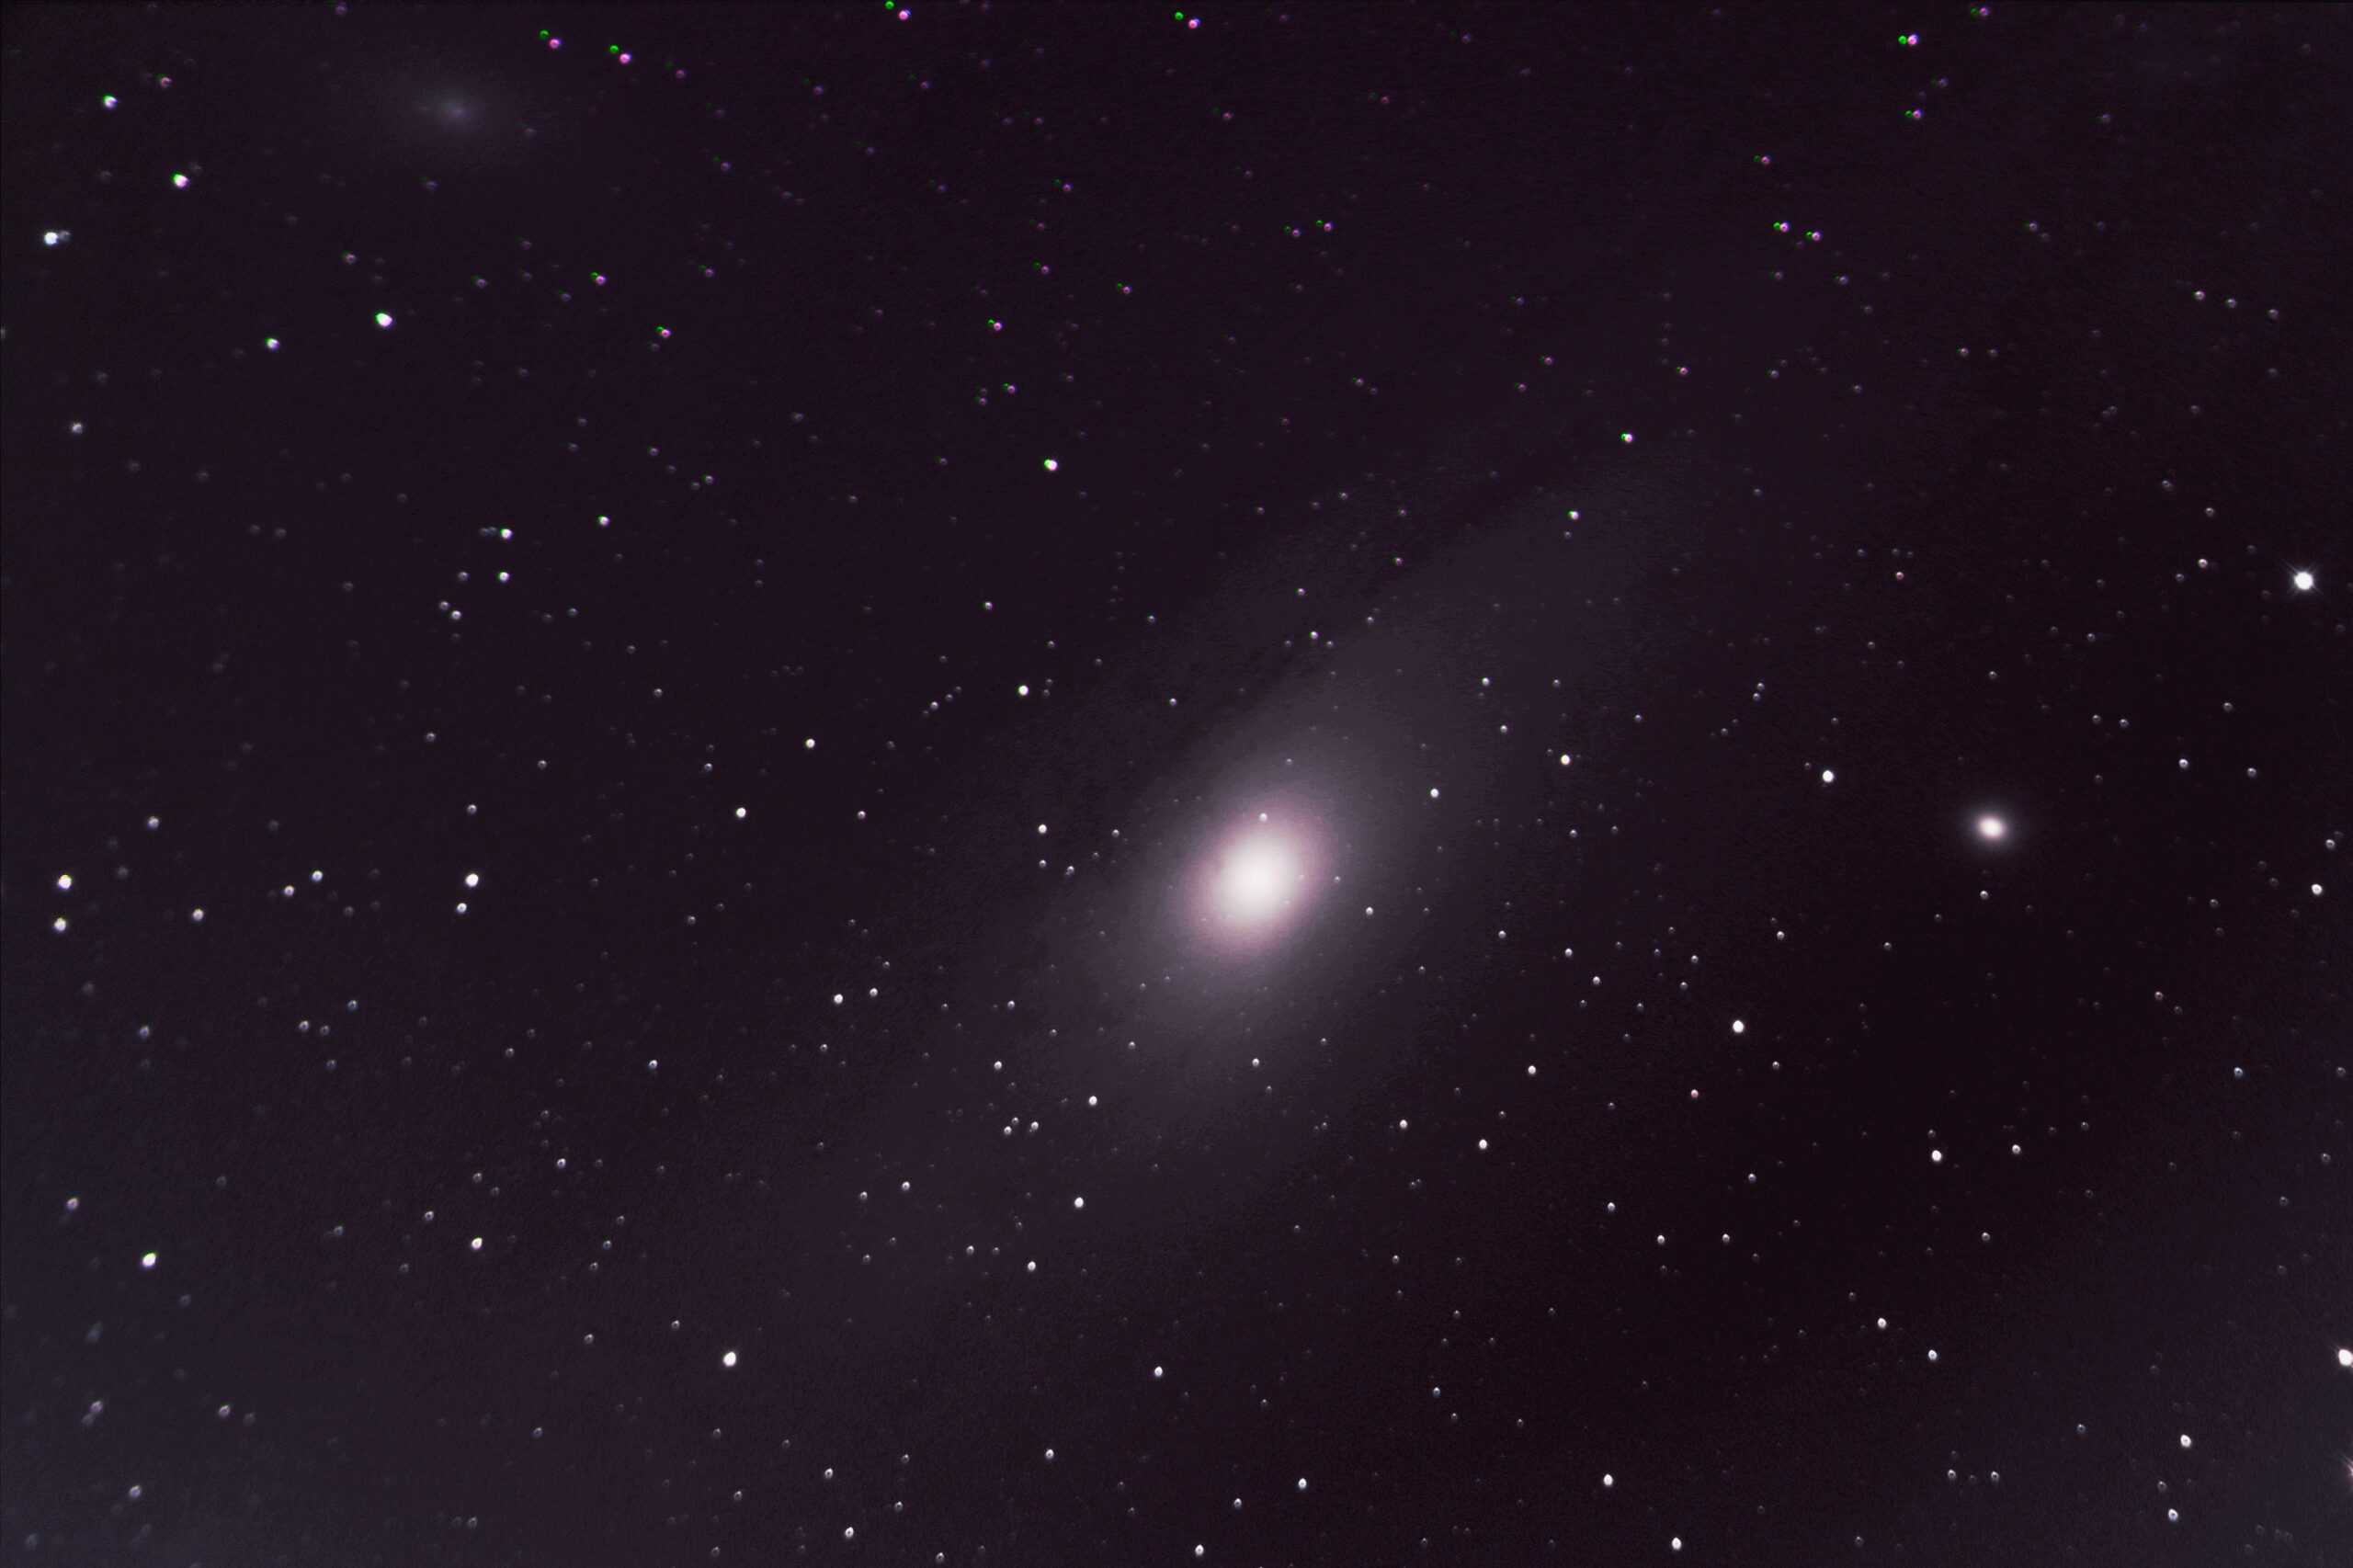
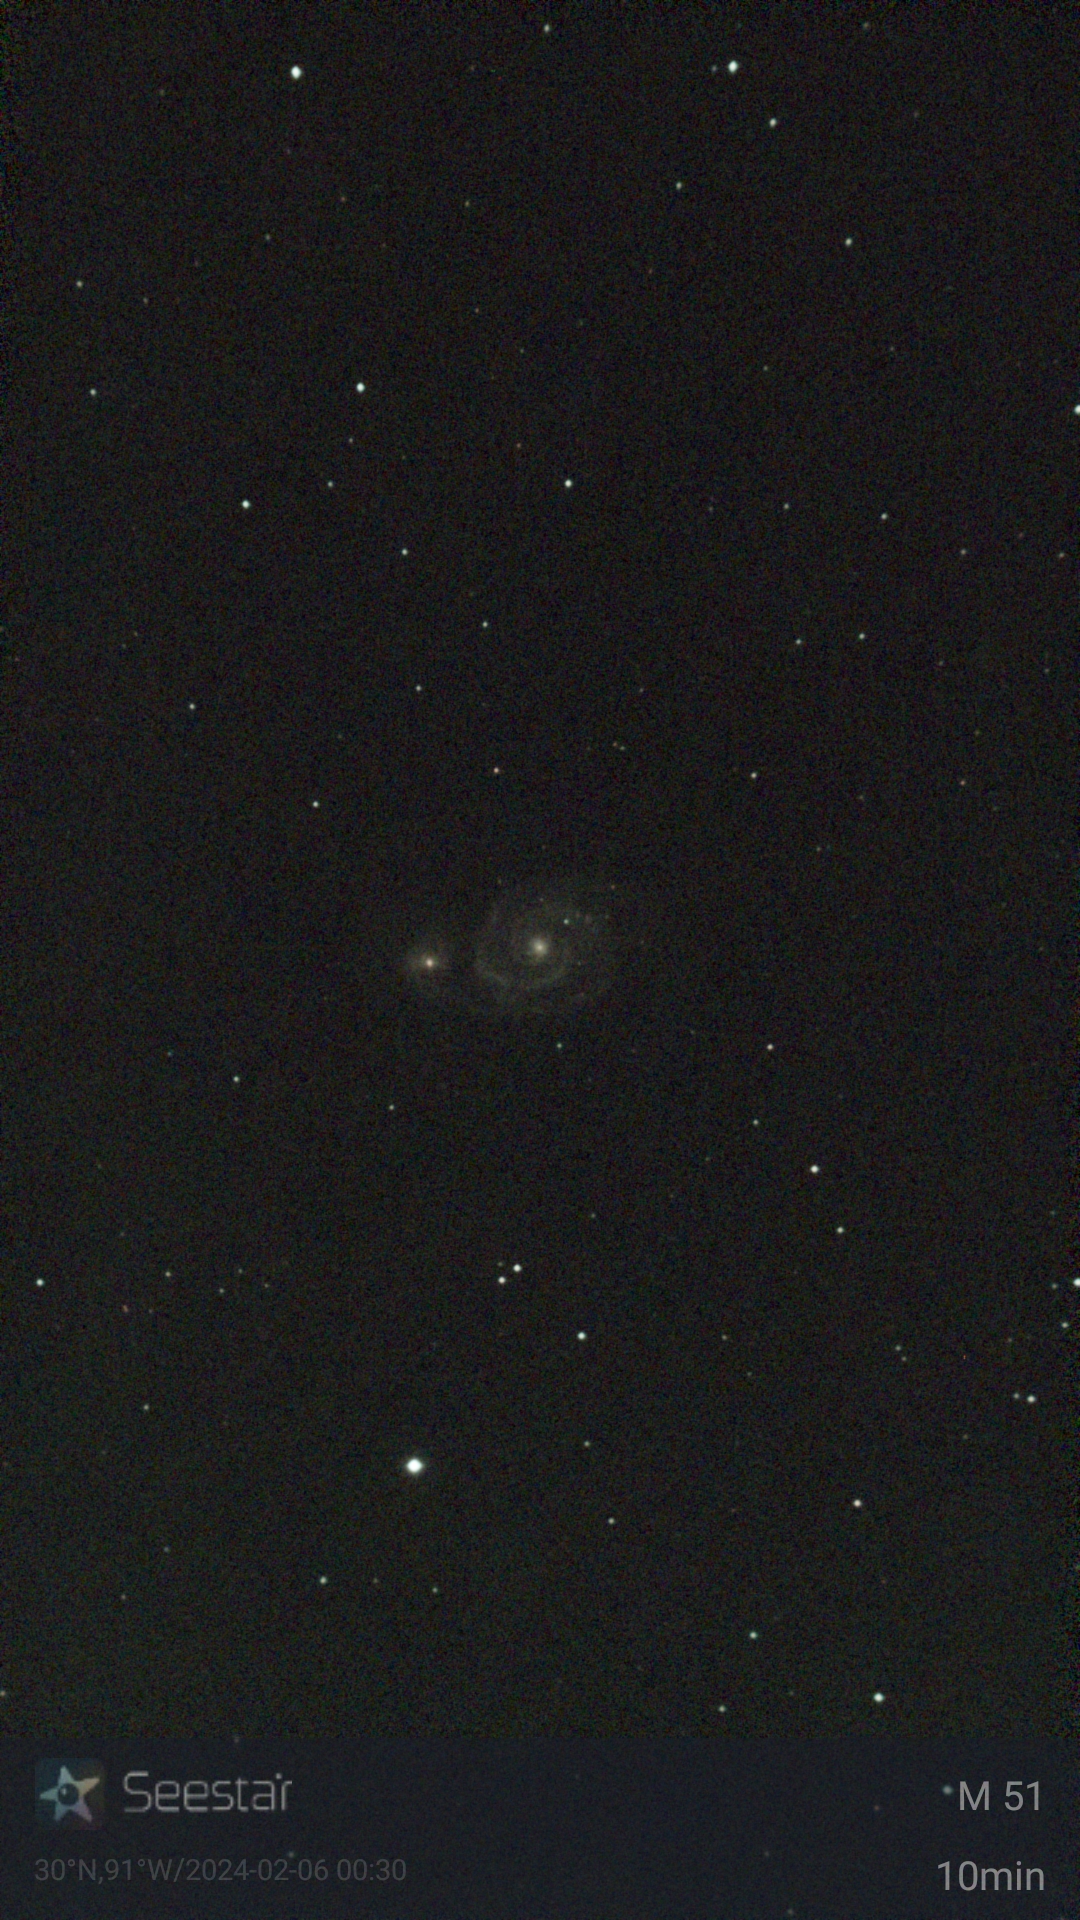
As far as the deepsky imaging, the Seestar displays a live imaging once it acquires a target. When you’re ready to take an image, it switches over to its live stacking mode. For the uninitiated, this means the scope begins to take picture after picture and combines them by finding the best average of each pixel from the images. This produces fine details and highlights otherwise dim aspects of the images.

Messier 42 Orion Nebula captured by Seestar S50.

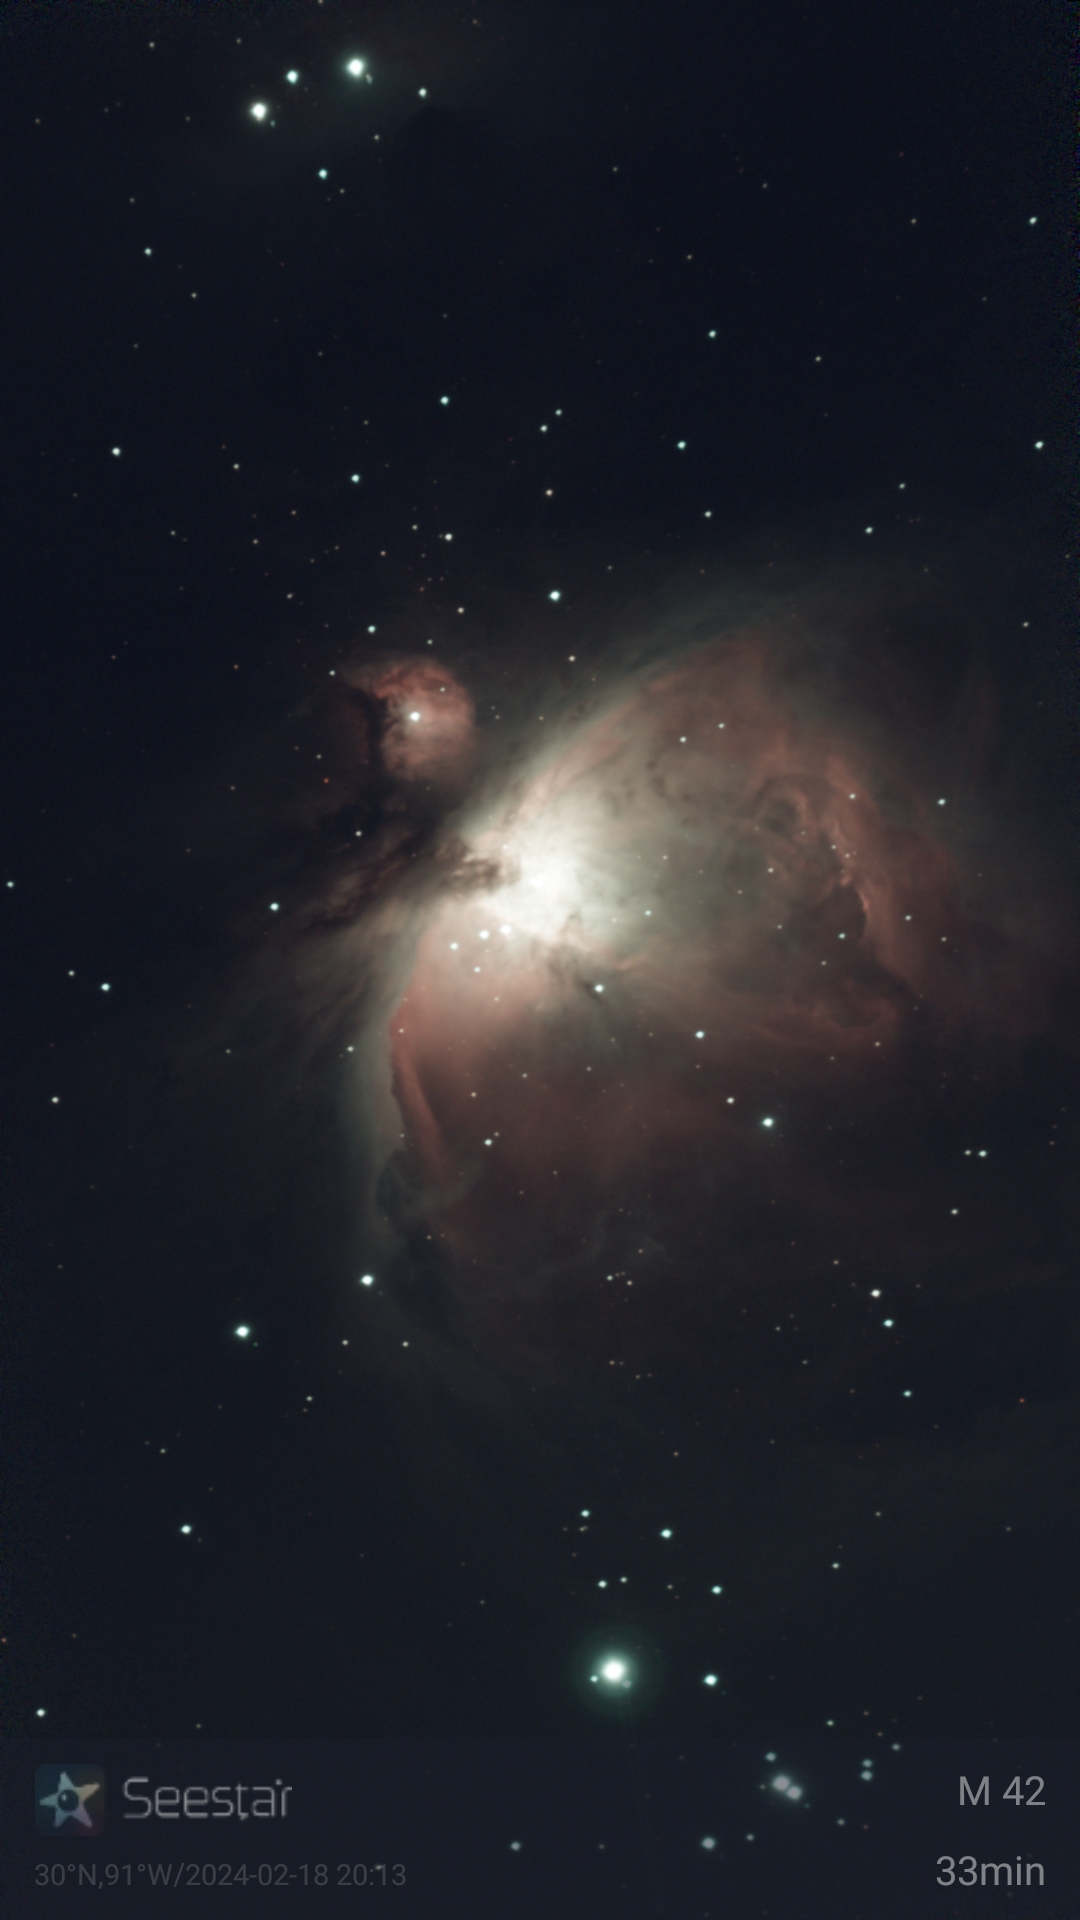
Depending on the exposure settings selected in the advanced options, it begins taking 10/20/30s exposures of the target and live stacking them. You can watch the image of a practically invisible object come to life on your phone or tablet screen. After about 5 minutes of data collection, you typically can make out the target. This data collection time can take longer than 5 minutes because the Seestar software identifies star trailing and boots bad images automatically instead of stacking them. I’ve run it on a single image for over half an hour and there does seem to be a limit to how much more detail you can wring out of object. Clearer, darker skies contribute to this, of course.

NGC 2359 Thor’s Helmet captured by Seestar S50.

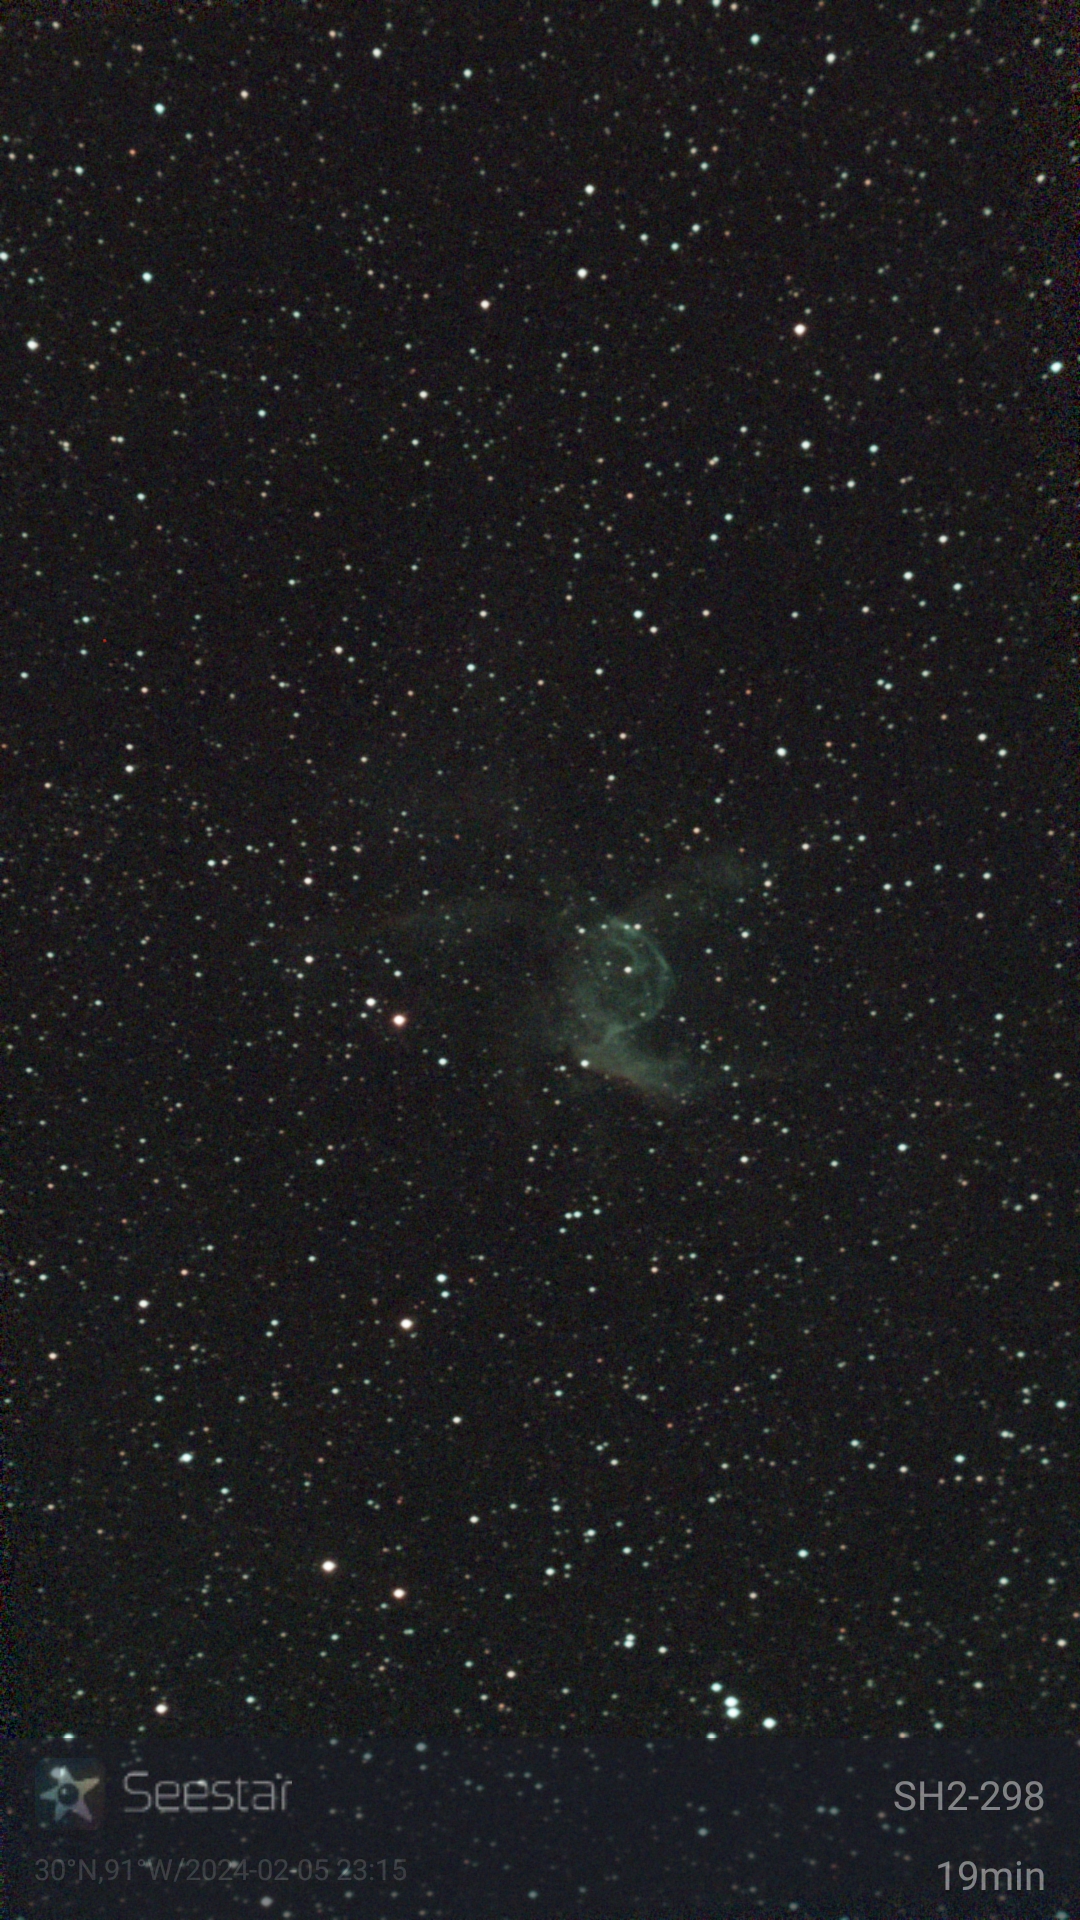
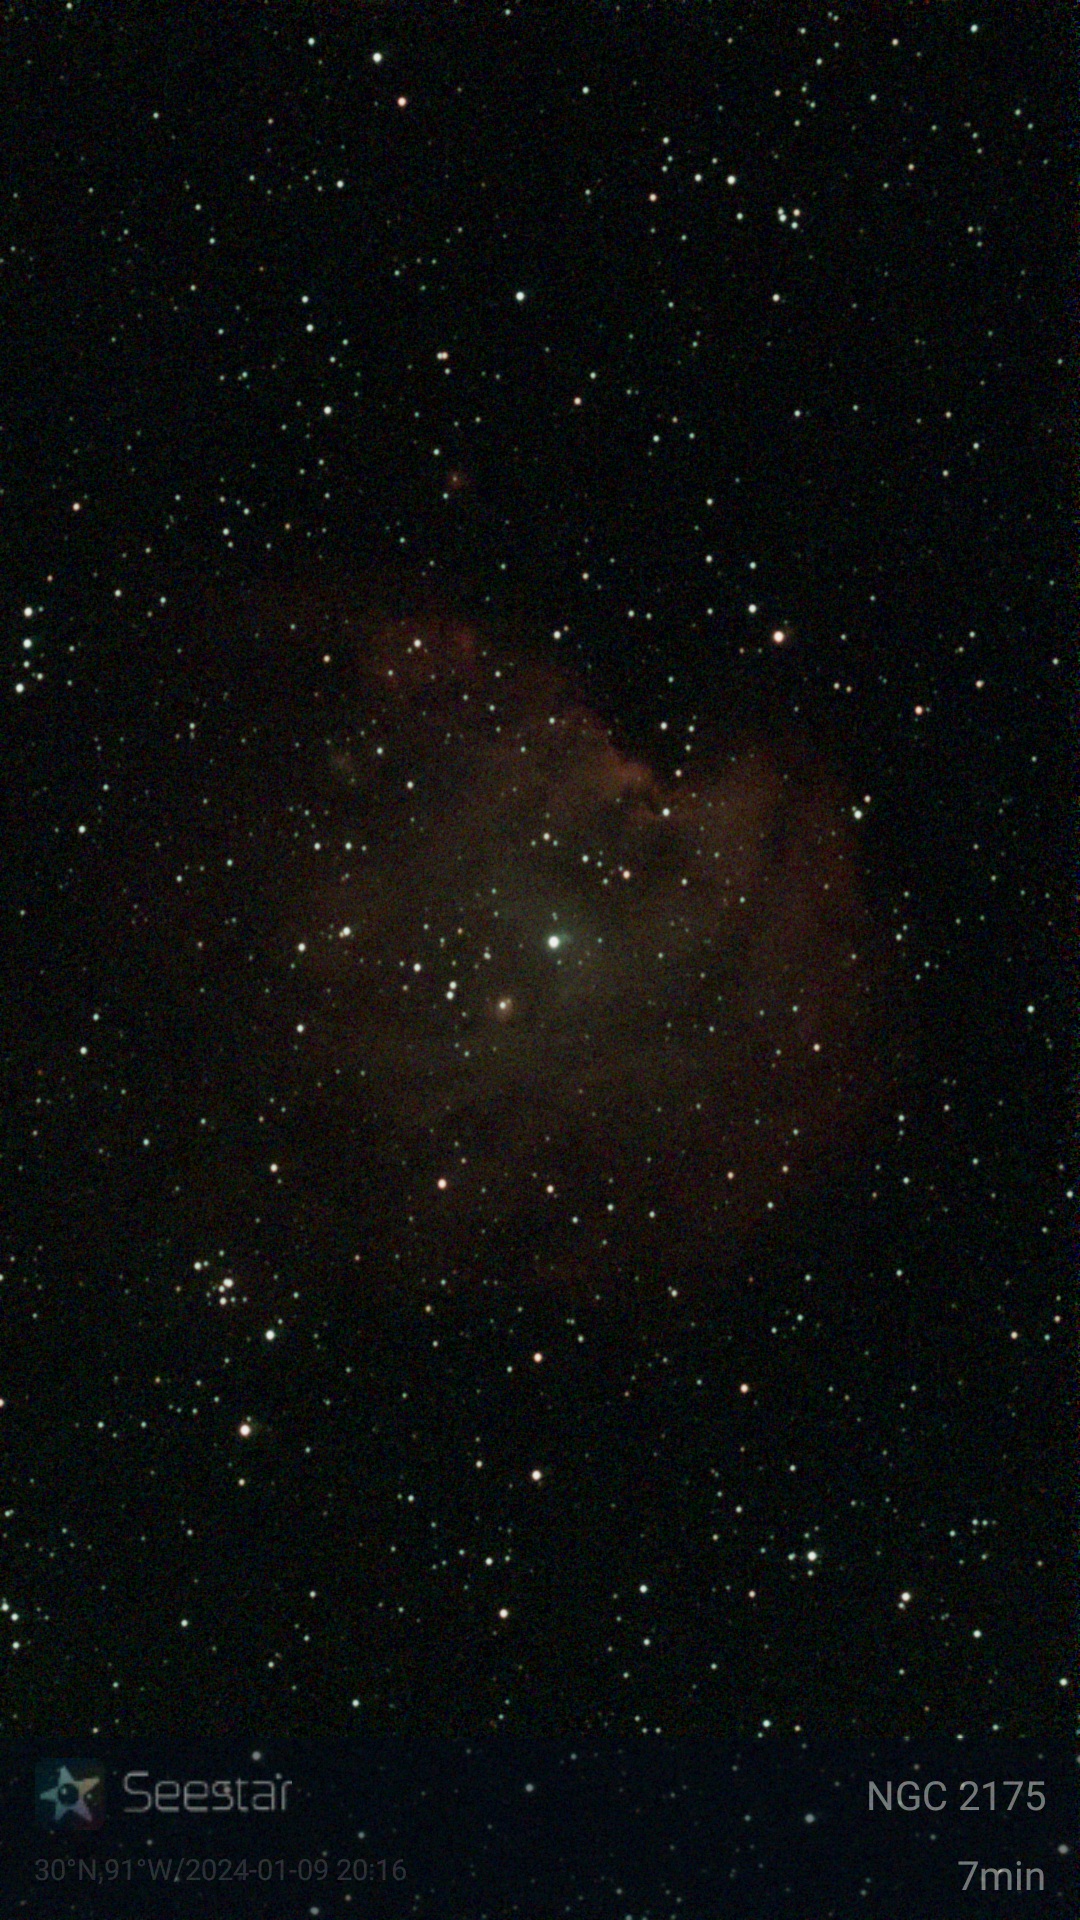
This is also where the exposure setting becomes important. I’ve experimented with exposure times greater than the default 10s setting, but I keep running into the same two issues. First, it takes forever to capture data because any slight vibration or bump to the scope will cause star trails and the image will get discarded at the end of the exposure. So, a strong breeze or even tapping the controlling tablet if it is placed on the same table as the Seestar can delay the final result another frame. Second, the images get noisy. While you can adjust the sensitivity of the scope/ISO, expect to see lots of those off-colored green/yellow/red hues in your images. Maybe this improves with better skies and less light pollution, but I haven’t been able to take it out to a dark site, yet, to find out for certain.

Messier 31 Andromeda Galaxy captured by Seestar S50.

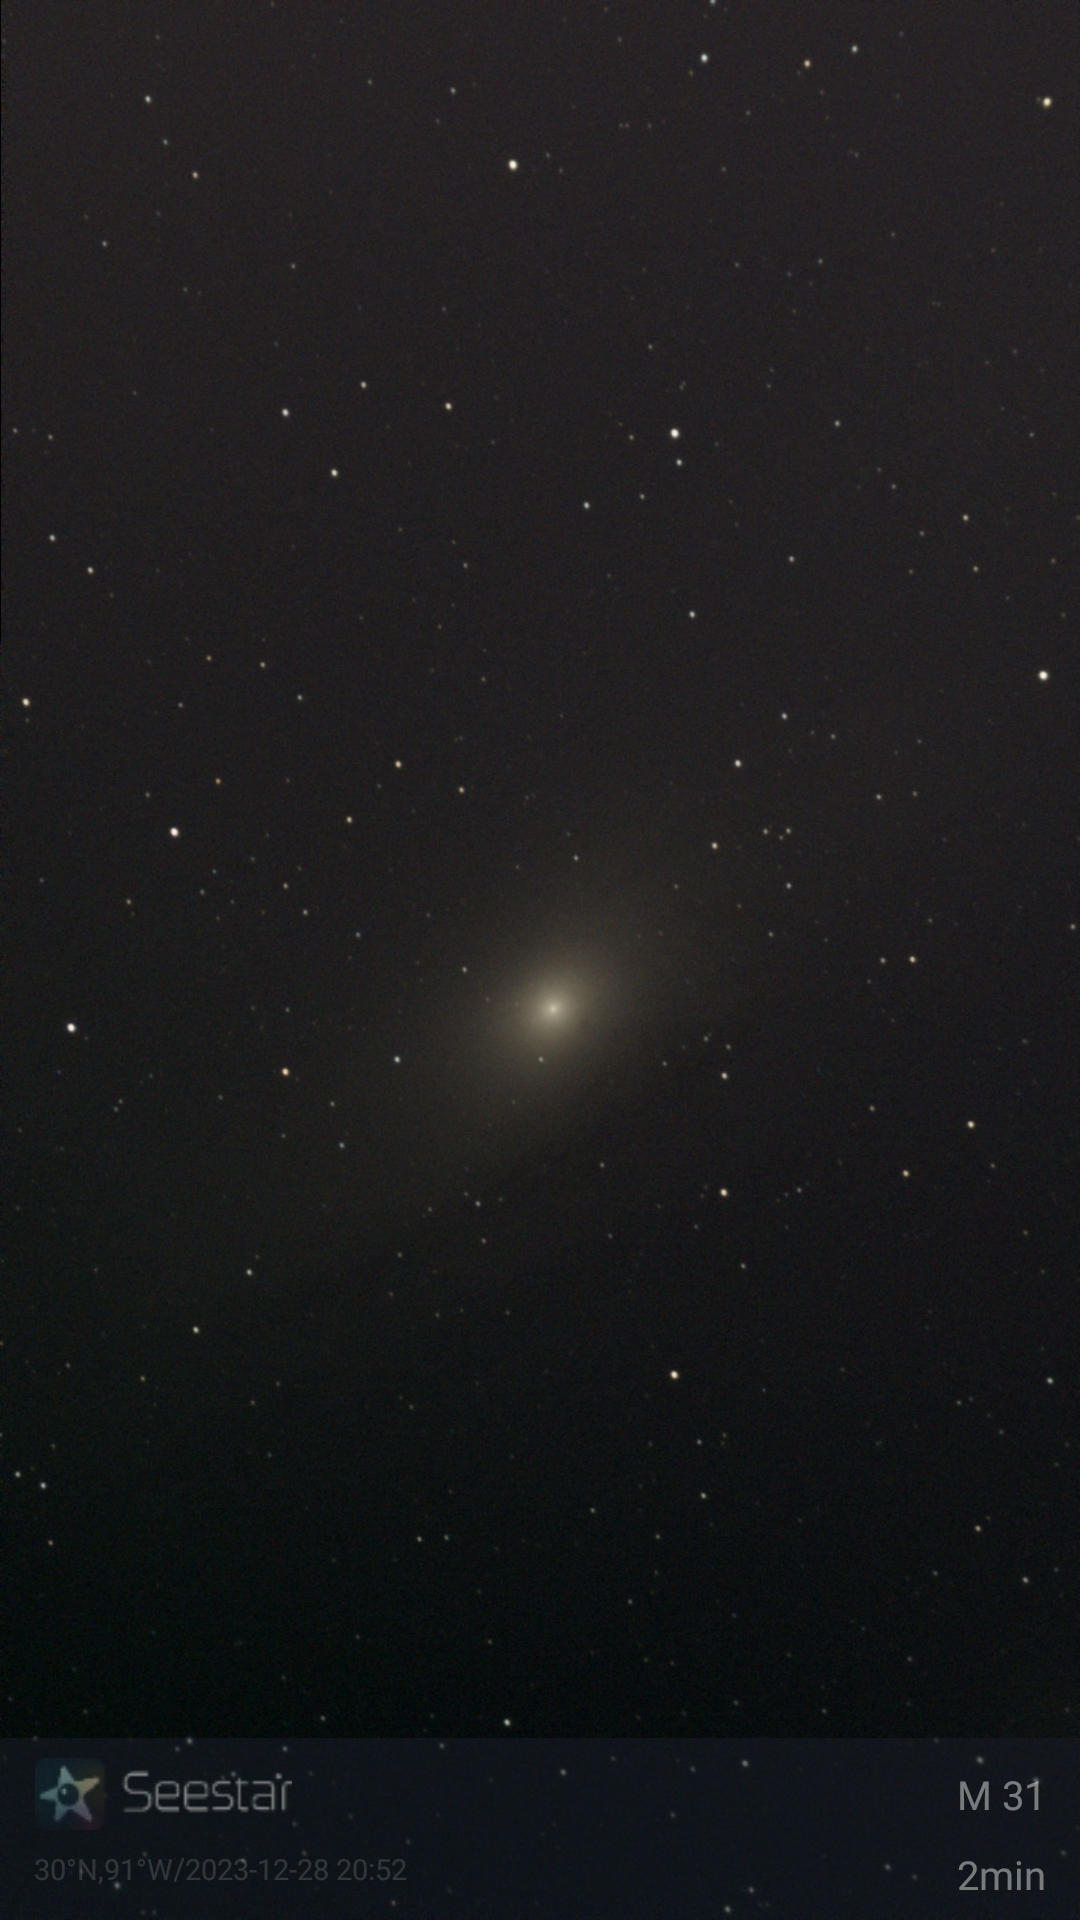
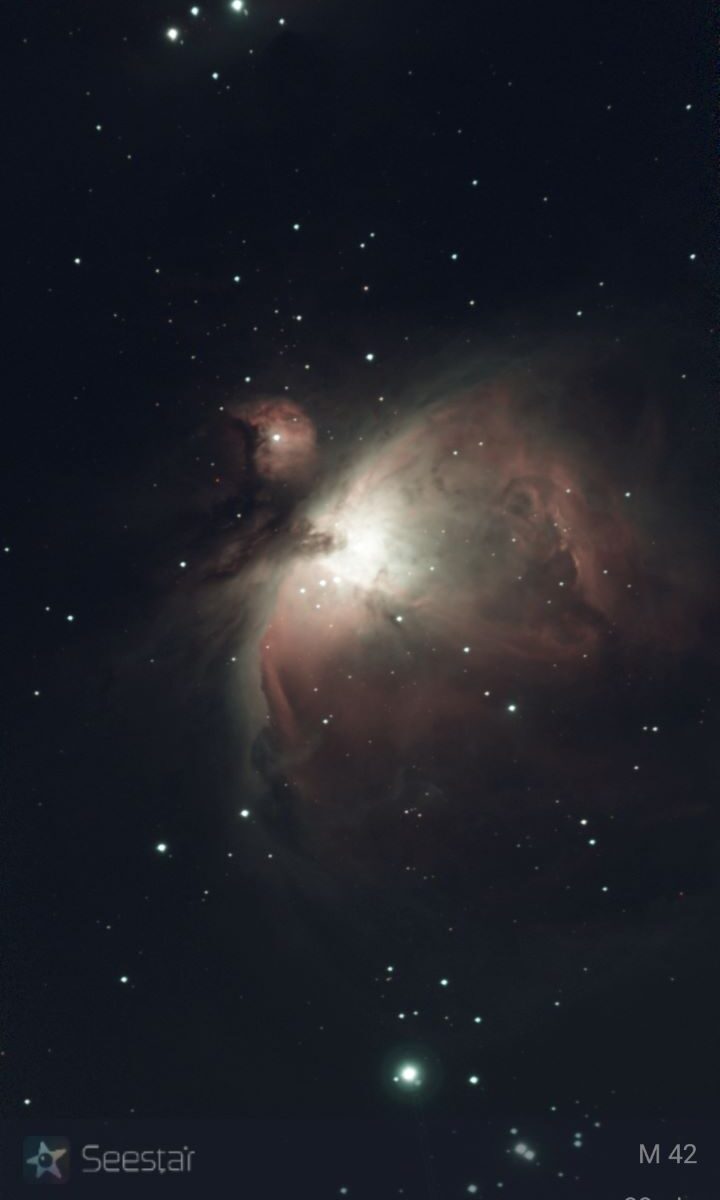
The Seestar does all the stacking and image captures onboard and sends the final result to your phone or tablet. So, it has its own onboard storage and someone using it heavily will need to connect it time to time and move the images off the Seestar through a USB cable. The benefit of this is your phone or tablet isn’t being deluged with imaging data. Once you end the imaging session or take a single picture, as is the case with the Moon or planets, the images save to your phone/tablet image gallery as a JPG. I’m not certain if the output file type can be changed, but if it can that would be beneficial for photo editing veterans.

The final image also includes borders and branding identifying it as coming from the Seestar. I could see this be annoying for some people but it can be cropped out easily. One benefit of this is the data collection time and object ID are saved on these borders. When I’m not attempting serious, dark-site level imaging of an object and I just want to look at things and take pictures, this saves me the embarrassment of forgetting what I was even looking at and not being able to identify the object.

Messier 51 Whirlpool Galaxy captured by Seestar S50.

To summarize all of this, I like the Seestar but I’m of two minds about it. While it makes astrophotography simple and approachable for so many people, it’s not suited for people that want to get into the hobby seriously or are already veterans. For them, it’s a toy. Also, if this is the only scope someone has, there is something lost by not being able to see the night sky optically and not on a tablet screen. It creates a layer of unreality, like taking a virtual tour of a location instead of visiting the location.

NGC 2175 Monkey Head Nebula captured by Seestar S50.

However, the Seestar is the best way to bring space to the masses. Schools, observatories, libraries, etc., can use this tool (with a little A/V work) to show people the things in the sky they can either no longer see due to light pollution or could never see with just their eyes. People can learn about the different objects, the seasonality of some of them, and how things in the sky move.

The device also appeals to many of us that want to check out what’s happening in the night sky but don’t want to go through the hassle of setting up a full astrophotography rig or driving out to a dark site. You can plop this little thing down in your yard (Christmas lights/streetlights/parking lot lights be damned), sit on your porch, and sip a beer while you watch it image a galaxy.

Clear Weather Returns But the Humidity Remains

After 2 or 3 months we finally saw some clear night skies and I was able to do some basic, crappy imaging of the Messier 31, The Andromeda Galaxy, and attempt some planetary imaging.

I will qualify what I said about the weather a little. We have had the odd clear night, but either the timing was bad for me or it was clear but the humidity was above 90%. The imaging I did do over last week saw the humidity hanging around 70% and I still finished the night sopping wet. Not comfortable at all. It feels like waiting for someone to finish a long hot shower so you can go in right after them and start setting up a heavy telescope.

All that said, I managed to get some snaps on Thursday night, staying up a little later than I should have. I got my whole computerized rig with laptop set up in my backyard and got everything aligned properly. The sky wasn’t great. There was some wispy high cloud cover, but I thought it would be fine for planets, especially one as bright as Jupiter is right now. Saturn, while relatively tiny at the moment, just passed opposition a few days before, so it was also pretty bright.

The problem was, and I later confirmed, that trying to image directly above a house that’s been baking in the sun for the entirety of the daylight hours causes a lot of heat shimmer. The focuser on my primary astrophotography scope has a normal and fine adjustment nob. And I was viewing the images directly through the eyepiece on a zoomed-in digital image on my laptop by way of my Orion StarShoot Mini. But I could not obtain a clear focus.

Still, I was ready to go, had all my gear out, and was sweating like a pig. I shot some video with the StarShoot to use for stacking later in Registax6. And I dug out my old smart phone mount and expensive planetary imaging eyepiece. Despite far more magnification, the result was the same with auto (sometimes you get lucky) and manual focus. Fuzz.

Somewhat dismayed, I broke everything down and went in to grab a shower. I then stayed up even later running alignment and stacking on my laptop. The resulting image was pretty crappy. So much so, I didn’t save it. What you see below are the better, touched up images from my Samsung Galaxy S20.

Jupiter. Taken with Samsung Galaxy S20 and my Orion Ritchey-Chretien 6 inch with house heat shimmer.
Saturn. Taken with Samsung Galaxy S20 and my Orion Ritchey-Chretien 6 inch with house heat shimmer.

The following Saturday, aware of the shimmer issue, I tried again. But I was smarter (lazier) this time. Rather than drag out all the computerized mount stuff and align everything, I carried my old Orion SkyQuest XT8 scope out to the front of my house and set up in my driveway. There’s way, way more light pollution out front from nearby streetlights to neighbors porchlights and the occasional passing car. But for planets, that’s fine, unless you’re trying to find Polaris to polar align your mount. Thankfully, I wasn’t.

This second attempt I actually got some cleaner video, roughly 4GB for each planet. I didn’t bother much with my smartphone this time. Unlike my computerize mount, this scope doesn’t follow the planets, so grabbing video of them with a 2x Barlow lens seemed like a better idea. Both scopes have roughly the same focal length and magnification but the SkyQuest does gather more light. The planets are so bright, though, that light isn’t much of a problem. Here’s the result after a little aligning and stacking.

Jupiter and its moons taken with Orion StarShoot Mini and Orion SkyQuest XT8 without house heat shimmer and some image stacking.
Saturn taken with Orion StarShoot Mini and Orion SkyQuest XT8 without house heat shimmer and some image stacking.

Encouraged, as that Jupiter pic was the best result I’ve gotten so far with the StarShoot Mini and Registax6 of a planet (first time done in my front yard), I planned to set up for some deep sky imaging the following night.

The humidity was definitely worse than the previous night. Water began beading on my scope, tripod, and mount before I even got all the cables connect. I spent several minutes warming everything up with a hair dryer and de-fogging all the lenses. That lasted the rest of the night, thankfully.

I did the same to my laptop so I could connect the StarShoot Mini to use as my auto guider. I then connected my Canon Eos Ra and all the other cables before attempting to balance the scope. I thought the balance was pretty good, except for maybe being a little heavy on the backend. I assumed the mount could tolerate that and proceeded to fire things up, begin the alignment procedure, and check to be sure all the finder scopes were pointing accurately.

The 3-star alignment seemed to work like a charm, but when I tried to lock onto a star to allow P2HD to guide things, I got an error that it couldn’t make sufficient adjustments to the declination. So, I attempted to slip my scope just a little bit forward to balance the backend but ended up cause the mount to turn. That was bad. It meant I had to zero everything out and start over.

The problem with performing the 3-star alignment is I have to contort myself into some pretty awkward angles sometimes to find a star in the finder scope so I can adjust the telescopes position properly. The other problem is the alignment procedure often selects stars I can’t see from my backyard because of trees and houses. It’s not the programs fault, but it’s still a pain.

An hour later I got everything re-aligned and the object search function to be mostly spot on, which is really important when you can’t actually see the object you’re looking for with your naked eye. I adjusted the focus and exposure time on the StarShoot Mini and could clearly see Andromeda as a bright, cloudy orb on my laptop screen. That was much more of a delight than it should have been, but it was also 1 a.m. and I was drenched in sweat and chugging bottles of water.

I picked Andromeda as my target for night, because I knew it would be relatively bright and wouldn’t be obstructed by anything (except massive light pollution from the city). I’ve also been wanted to get a much improved image of it since it was one of my earliest targets, even with my old Samsung Galaxy S9.

Since I lost an hour to adjustments, I set the camera to grab 15 images with 4 minute exposures at a 1600 ISO. That’s more ISO than I’ve typically used with so much light pollution, but I hoped by Photoshop skills and tools would let me filter more of it out than in the past.

The hour passed as I listened to an audio book, sipped water, and wiped my face over and over with a rag. It was R.A. Salvatore’s latest addition to the Drizzt saga, Starlight Enclave. It’s a guilty pleasure at this point but it kept me entertained. I did check the LCD screen a few times as images would snap and display. It all looked good and I was relieved to be able to begin picking up and snapping some darks and flats once the last image clicked. It was nearly 3 a.m. before I got everything picked up and moved back inside. And dear god, I needed a shower.

While I remembered basically everything about setting up my gear and aligning it, I wasn’t so fortunate with Adobe Photoshop. In the past few months I had forgotten so many hotkeys and procedures. I need to go back and refresh my memory with some of the tutorial videos I watched. In the meantime, this was the best I could do. The light pollution in the bottom is just horrible. Either GradientXTerminator stopped working due to some update or it just couldn’t save me.

Messier 31, Andromeda Galaxy. Taken with Canon Eos Ra and Orion Ritchey-Chretien 6 inch.

Strangely enough, after comparing the image to some of earlier attempts, this one is actually the best of the bunch. You can actually see some of the nebulosity in the disk, rather than just a ball of light. I think I can do a lot better with a darker sky and more time to collect data. I might also try to reprocess the image once I’ve regained some of my Photoshop skills.

Verified by MonsterInsights