We finally had some clear skies during the new moon over a weekend, and I got the opportunity to take the Seestar S50 and my usual rig to the dark site for some long overdue astrophotography. I’m a little late writing about this, as this trip was in early June. If I had to summarize my experience with the Seestar, whether it’s from my backyard or the dark site, I could do it with one word: convenience.
The little bugger is lightweight. It connects easily to my tablet or phone. It aligns it self. It finds objects. And it starts capturing data. I set it to grab images of Messier 51, the Whirlpool Galaxy, which is relatively bright and easy target, and let it run while stacking 20s images. While it was doing that, I wrestled with getting my Celestron 1100 EdgeHD going.
The evening didn’t start great for me. I began setting up my tables and gear and realized I forgot my power supply at home. I needed it to power my mount, so that meant a return trip home and cost about an hour of time. Fortunately, a friend was out there and watched my gear for me so I didn’t have to break it down and repack my vehicle.
Warding off mosquitos (mostly) and trying not to step in ant piles, I got the hefty scope going and powered up with the Hyperstar and my trusty Canon Eos RA attached. The Astrophotography Tool App was spitting out live images onto my new laptop screen. But, I ended up wasting another hour and a half trying to align the scope over the Skyportal app.
I went through the three-star alignment process half a dozen times, even powering the mount down and restarting the app. I swapped from the device I intended to use for the Skyportal app to using my phone. Eventually, I realized I was misunderstanding the language of the alignment process. It starts on star 0, not star 1. So the alignment kept failing because I was basically aligning on my first star, Polaris, twice.
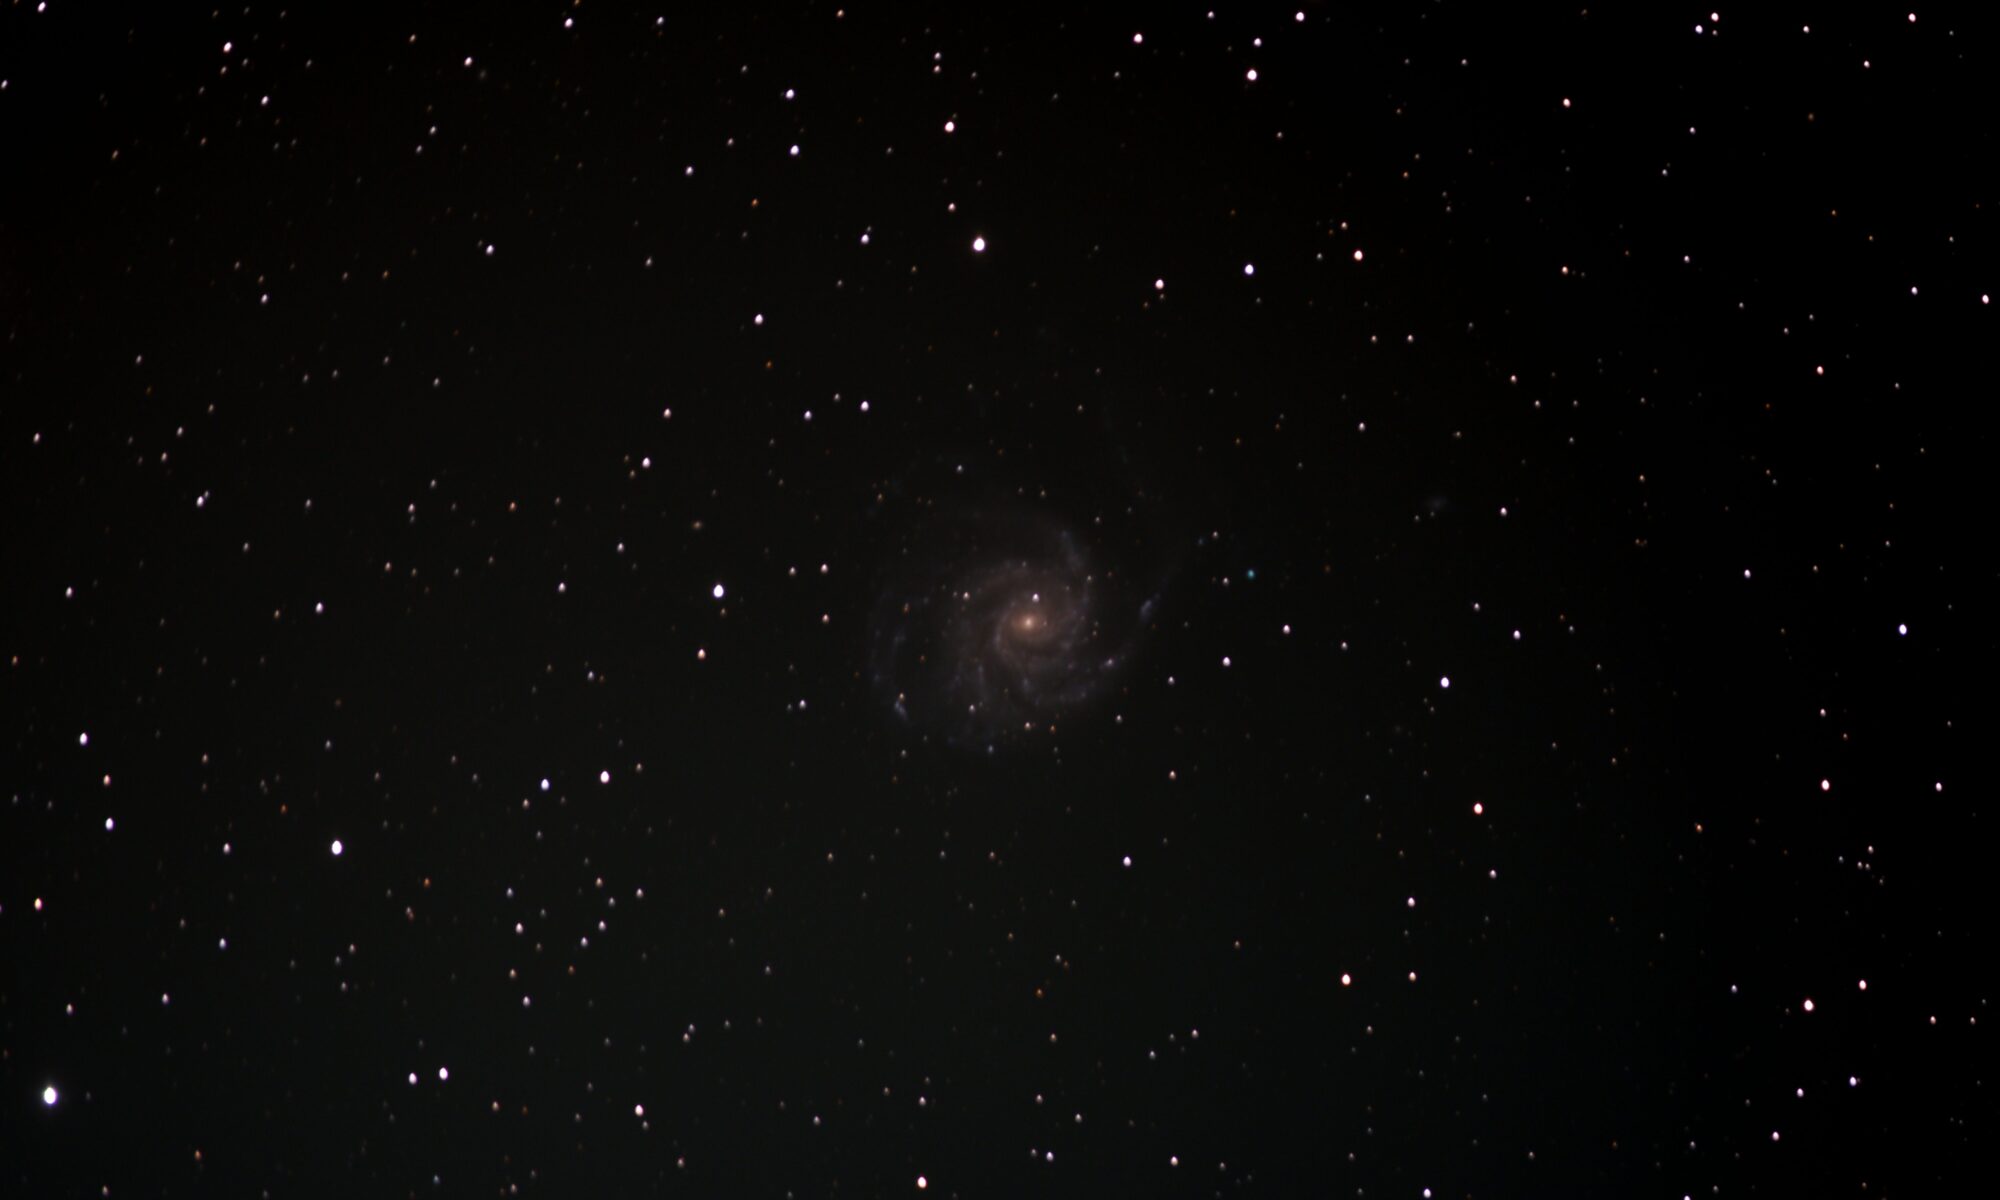
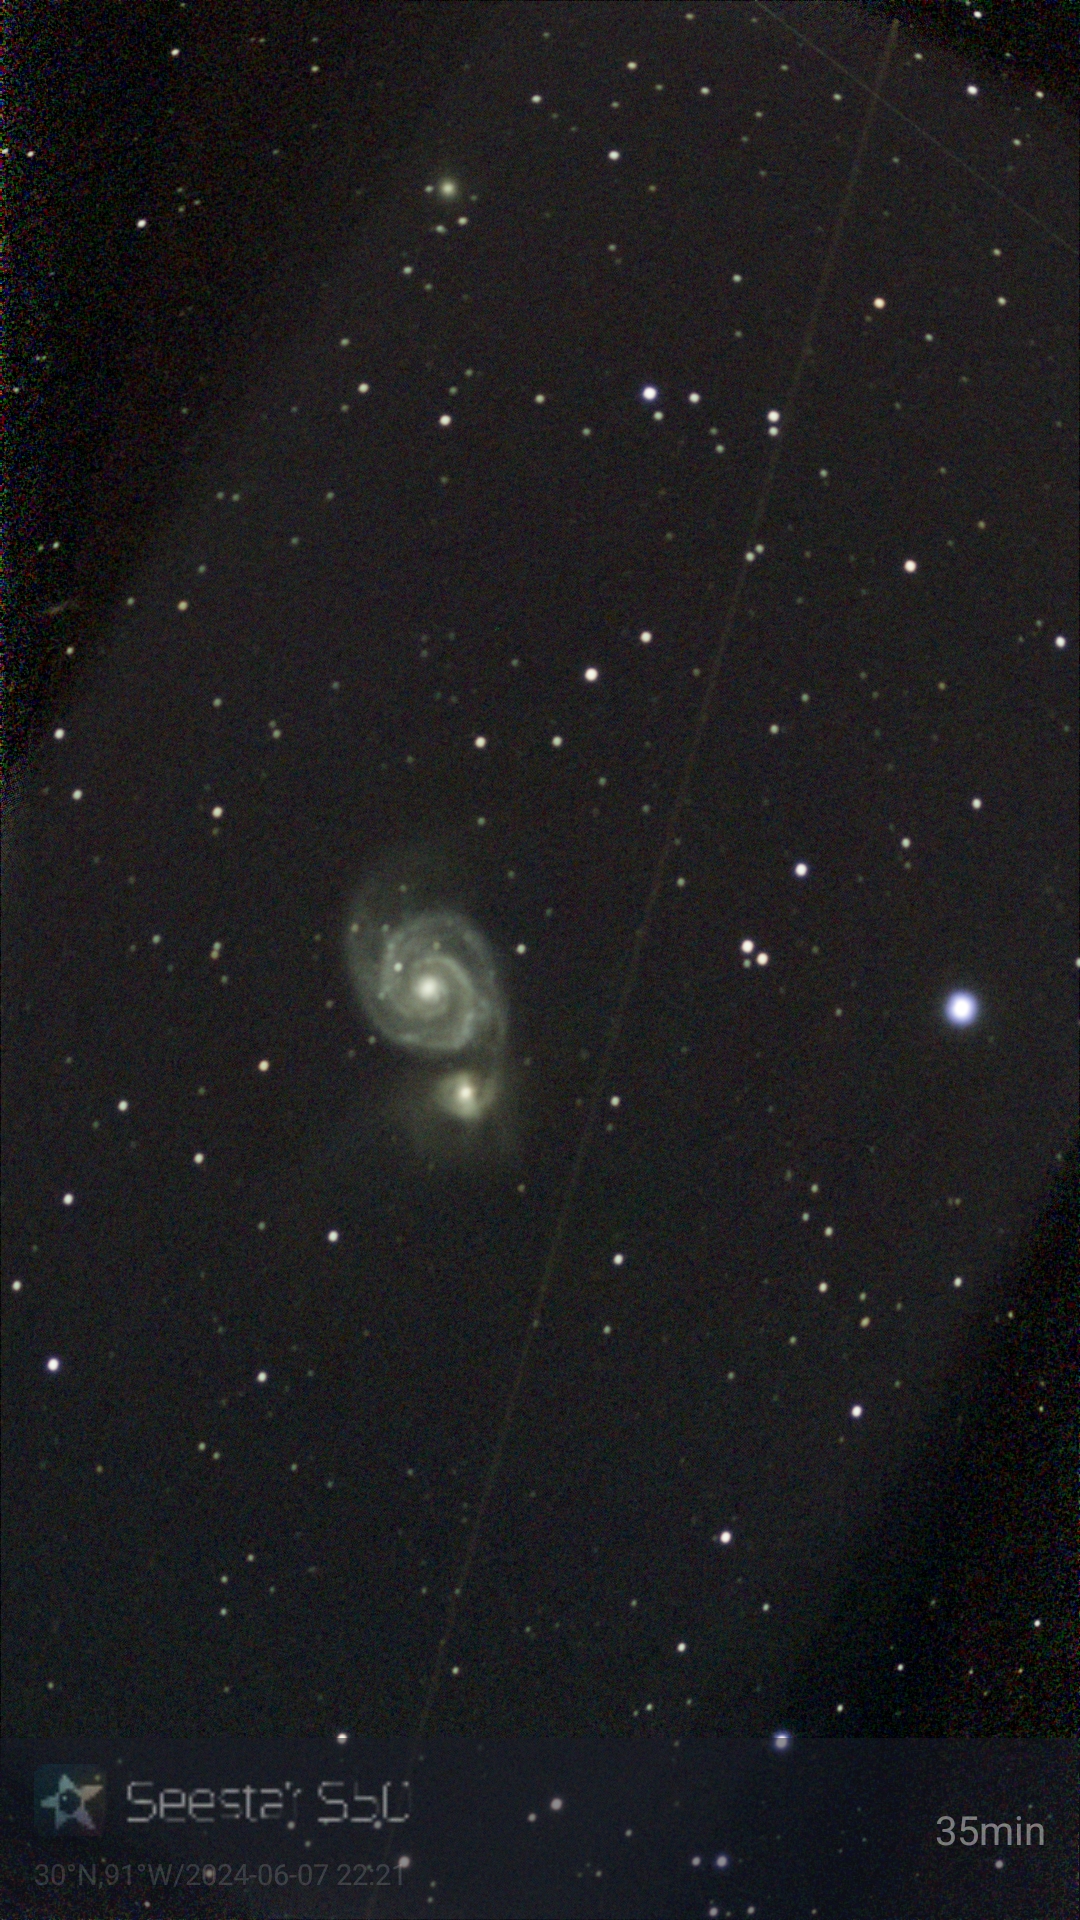
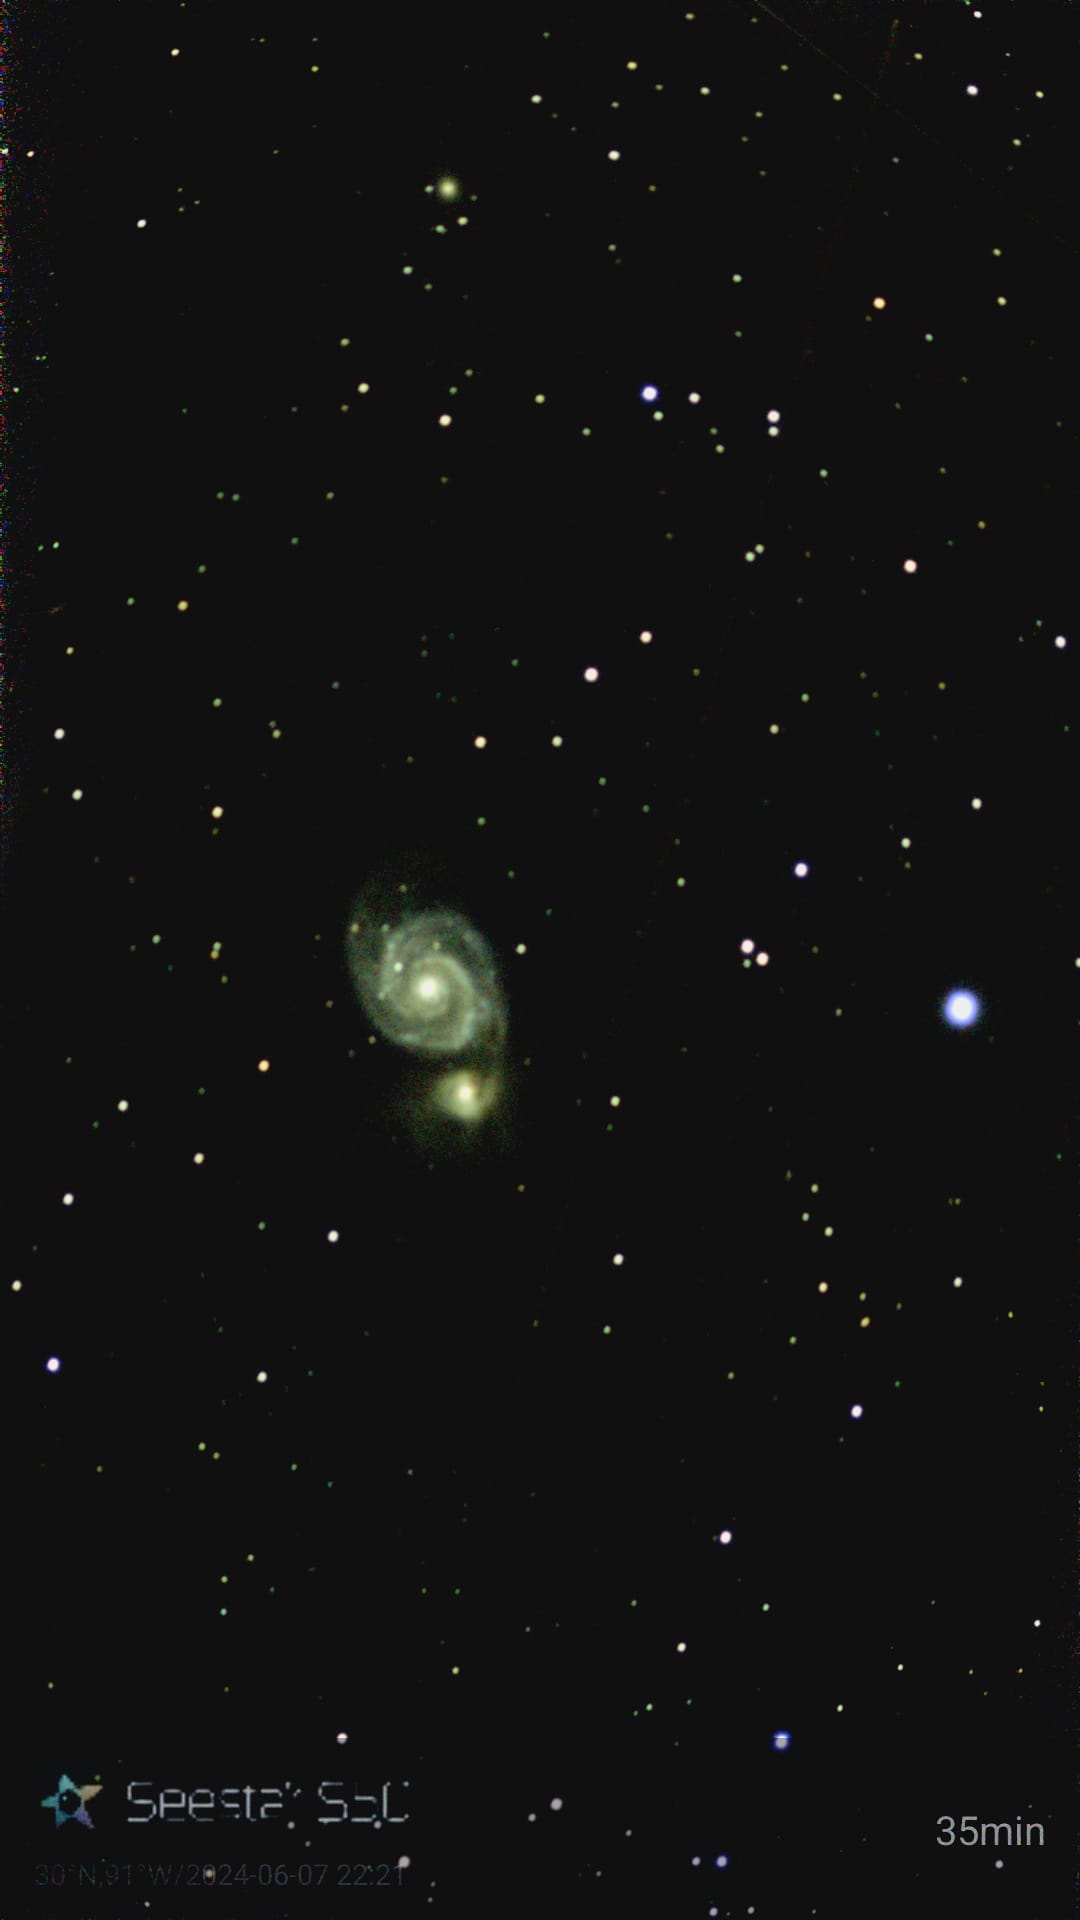
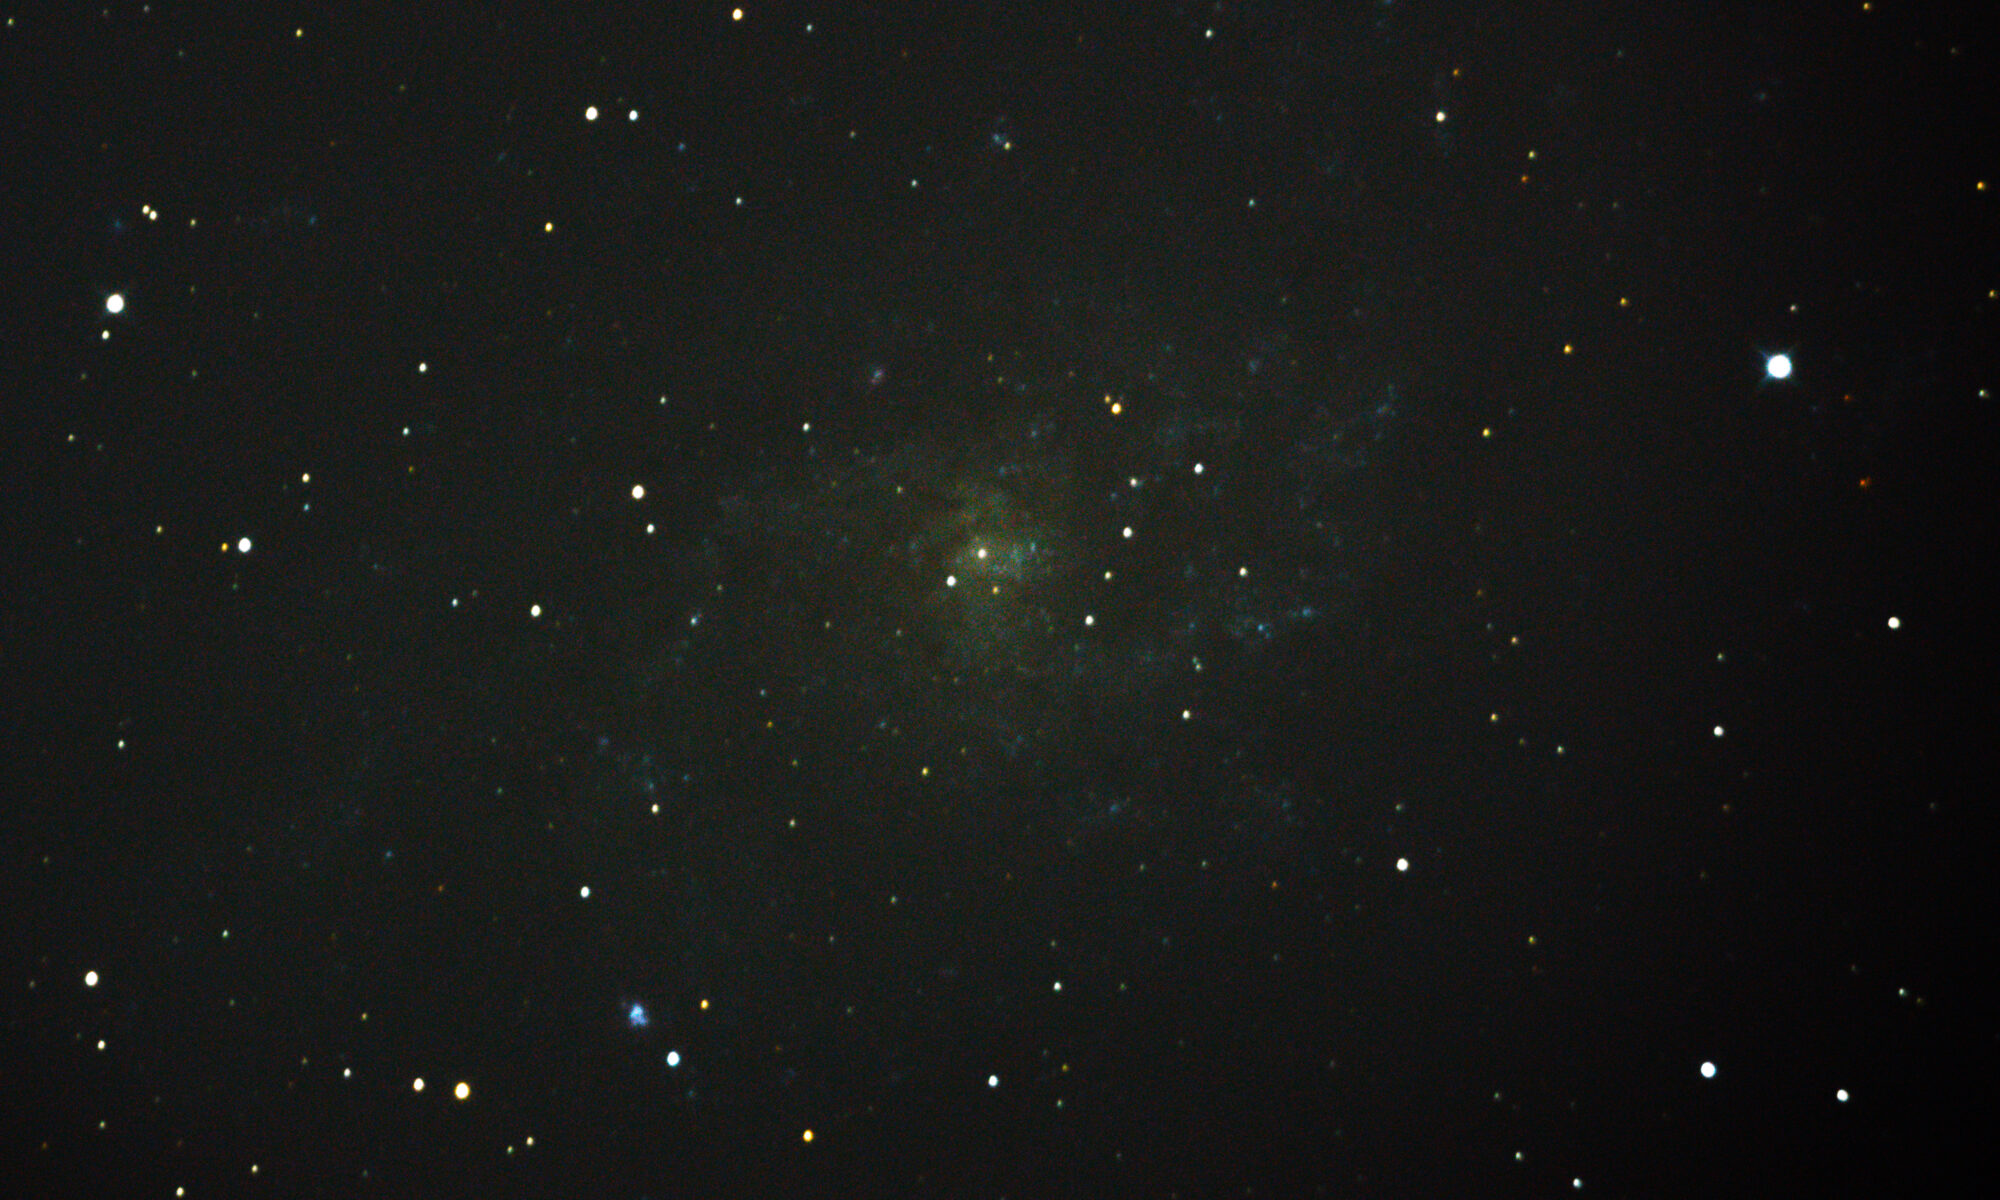
I was seriously aggravated, but I was able to get the big scope and my fancy DSLR snapping 30 second images of Messier 101, The Pinwheel Galaxy. During that ordeal with the setup, I kept checking the cheap Galaxy Tab tablet connected to my Seestar. I let the capture of the Whirlpool Galaxy run for half an hour. It was actually too much data. The picture below was what that looked like. I’m not sure how that satellite streak stayed in there.
Like with all the Seestar images, I was able to touch up the final JPEG on my tablet/phone with the basic photo editing tools (the light balancing slider is awesome). The result is pretty rich with detail.
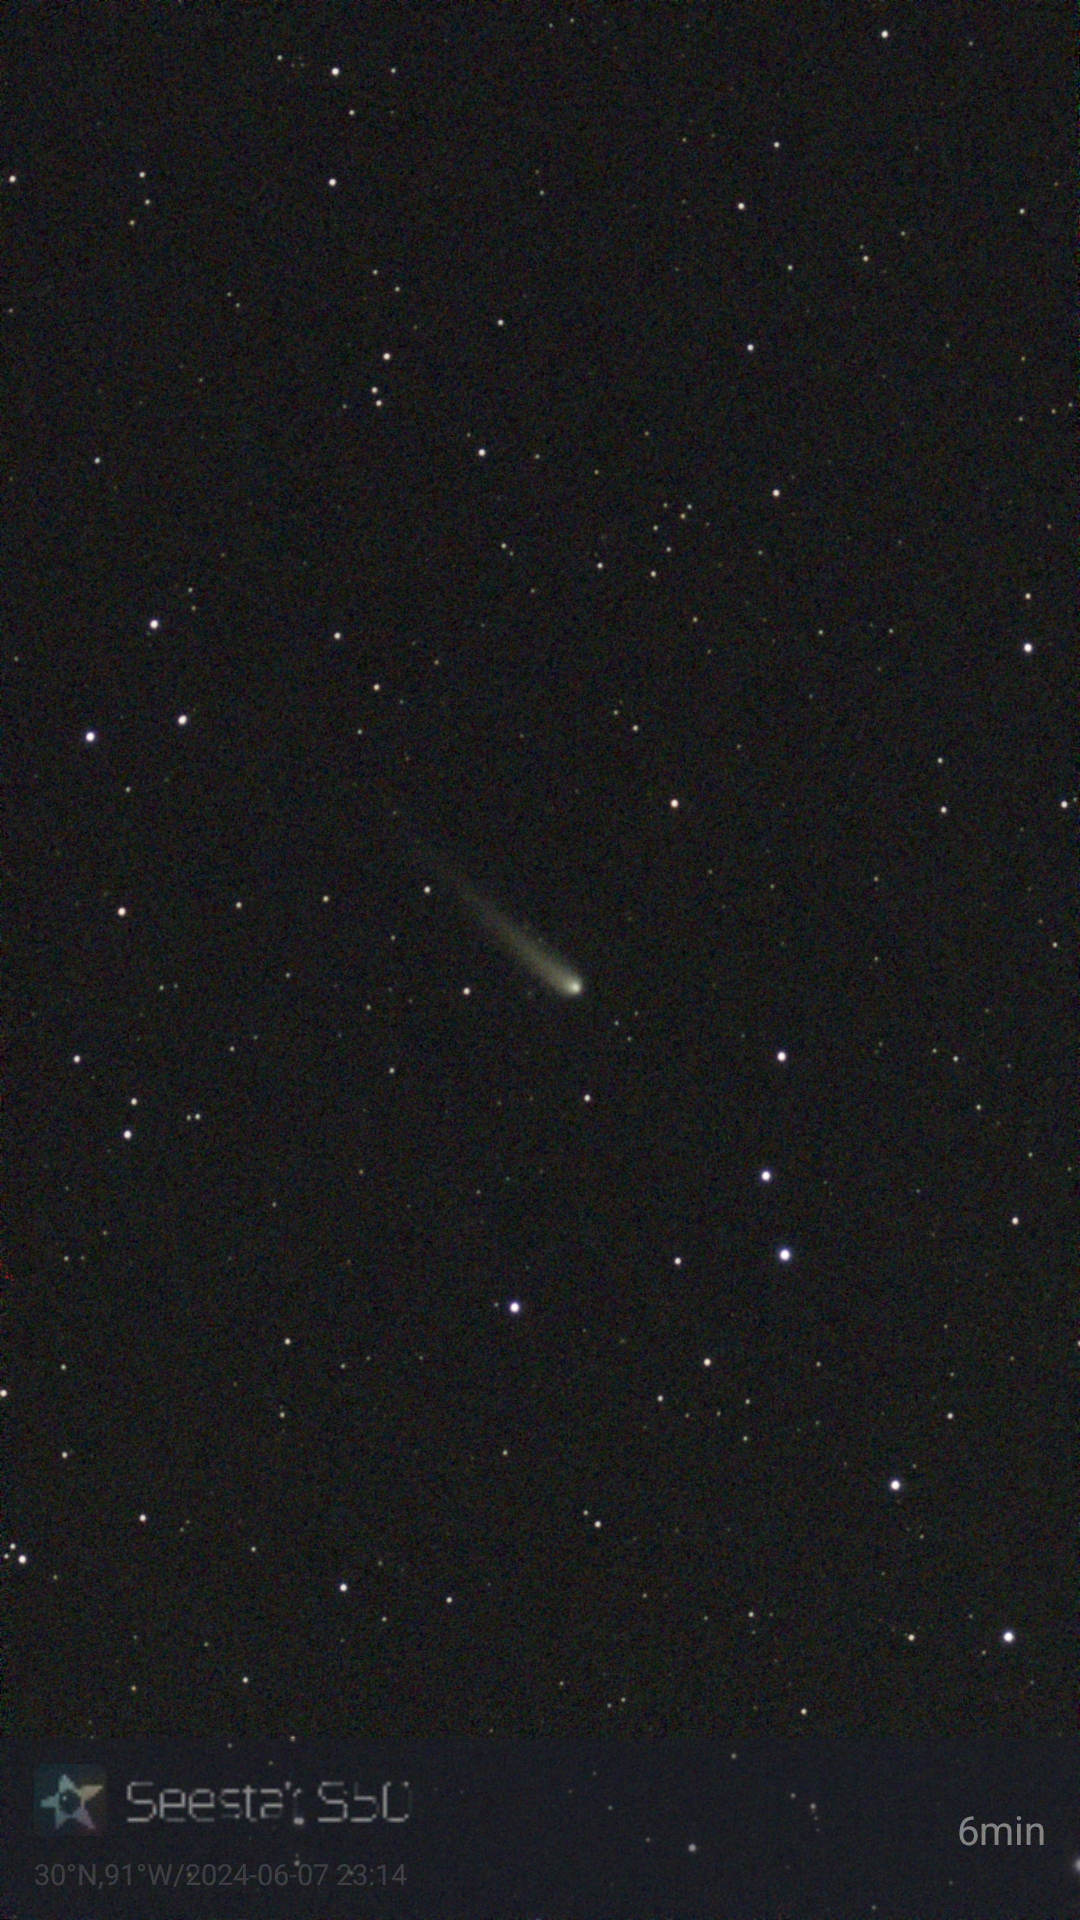
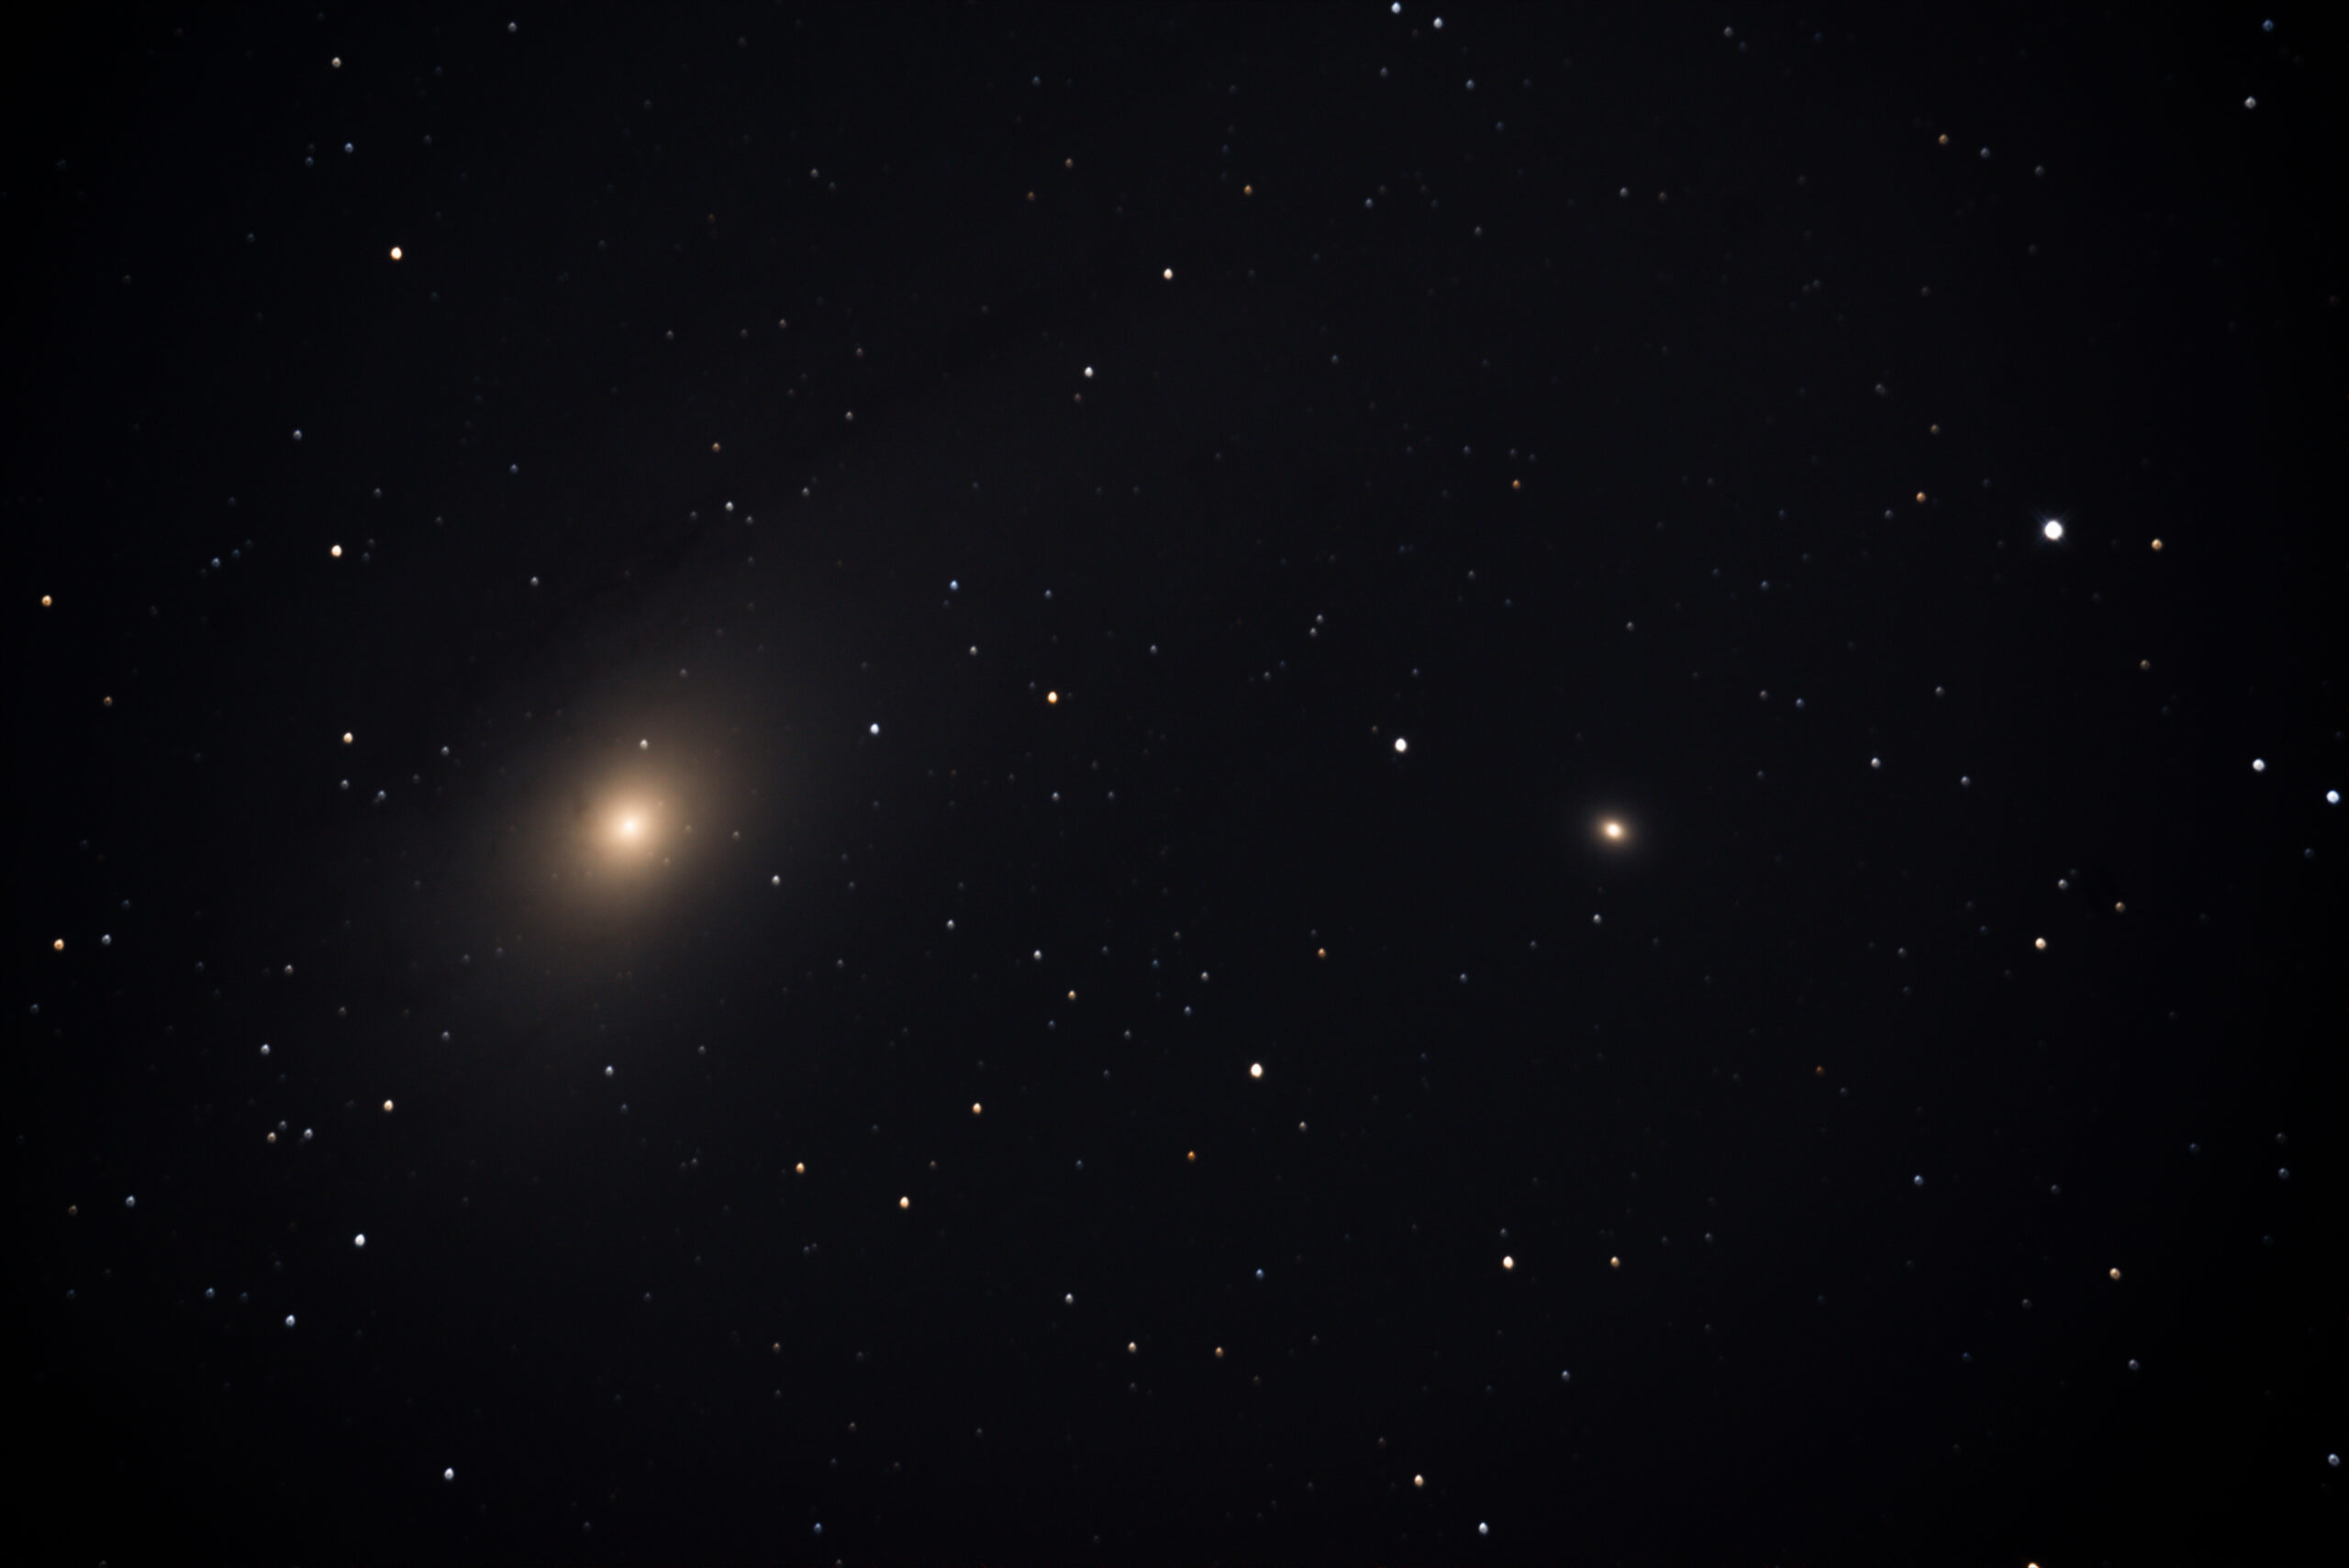
I navigated to a variety of other targets, seeing what else I could capture. The same friend that watched my gear suggested I try comet, Comet C/2023 A3 (Tsuchinshan-ATLAS). The comet was in the Seestar object library. It found it quickly and I was getting data back after only a few minutes. The image is a little grainy after 6 minutes of imaging, but still pretty good after a little on-device touching up.
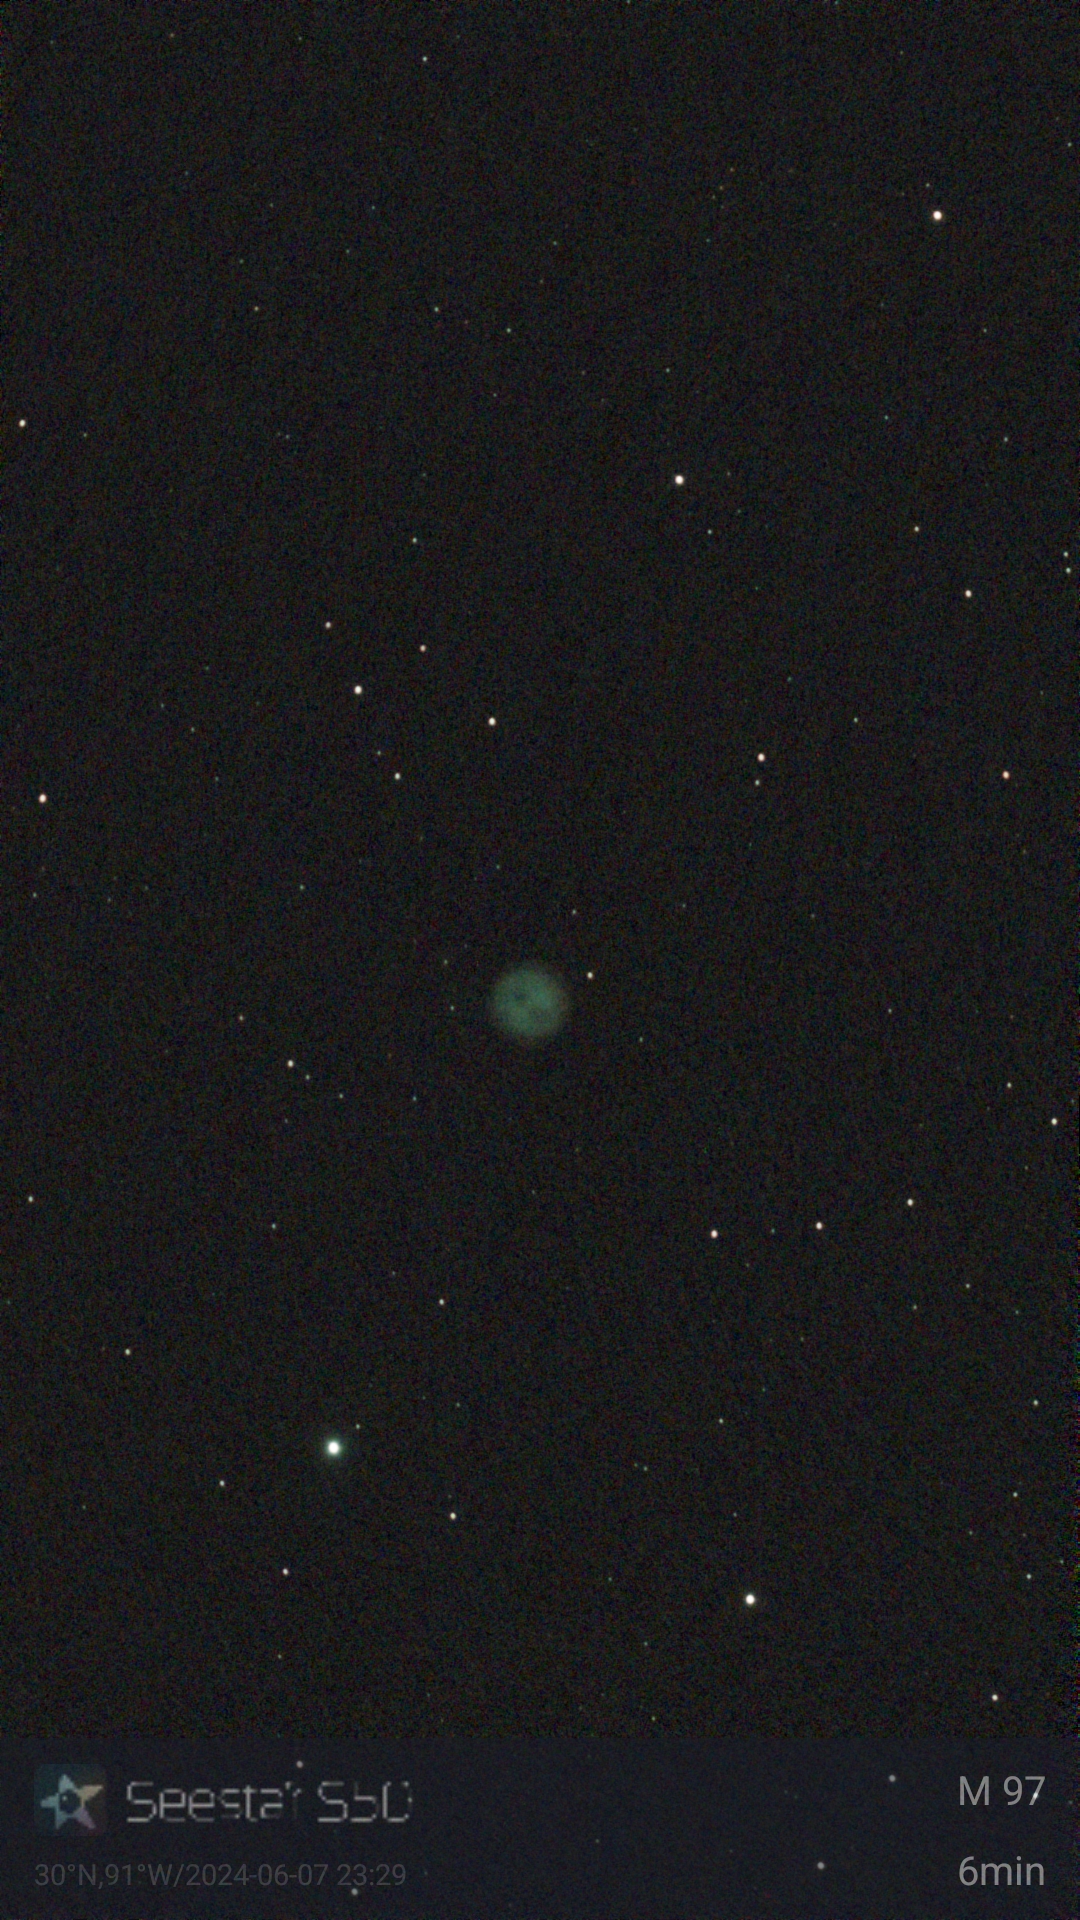
Comets aren’t large objects, so I thought to try a planetary nebula next, Messier 97, The Owl Nebula. I could capture it with my big scope with my ZWO planetary camera (assuming the USB cable doesn’t interfere with the Celestron Wi-Fi controller… that’s worth it’s own blog) and process it on my laptop, but that would have meant removing my DSLR, the Hyperstar, the counterweight, and reinstalling the secondary mirror just to capture this one target.
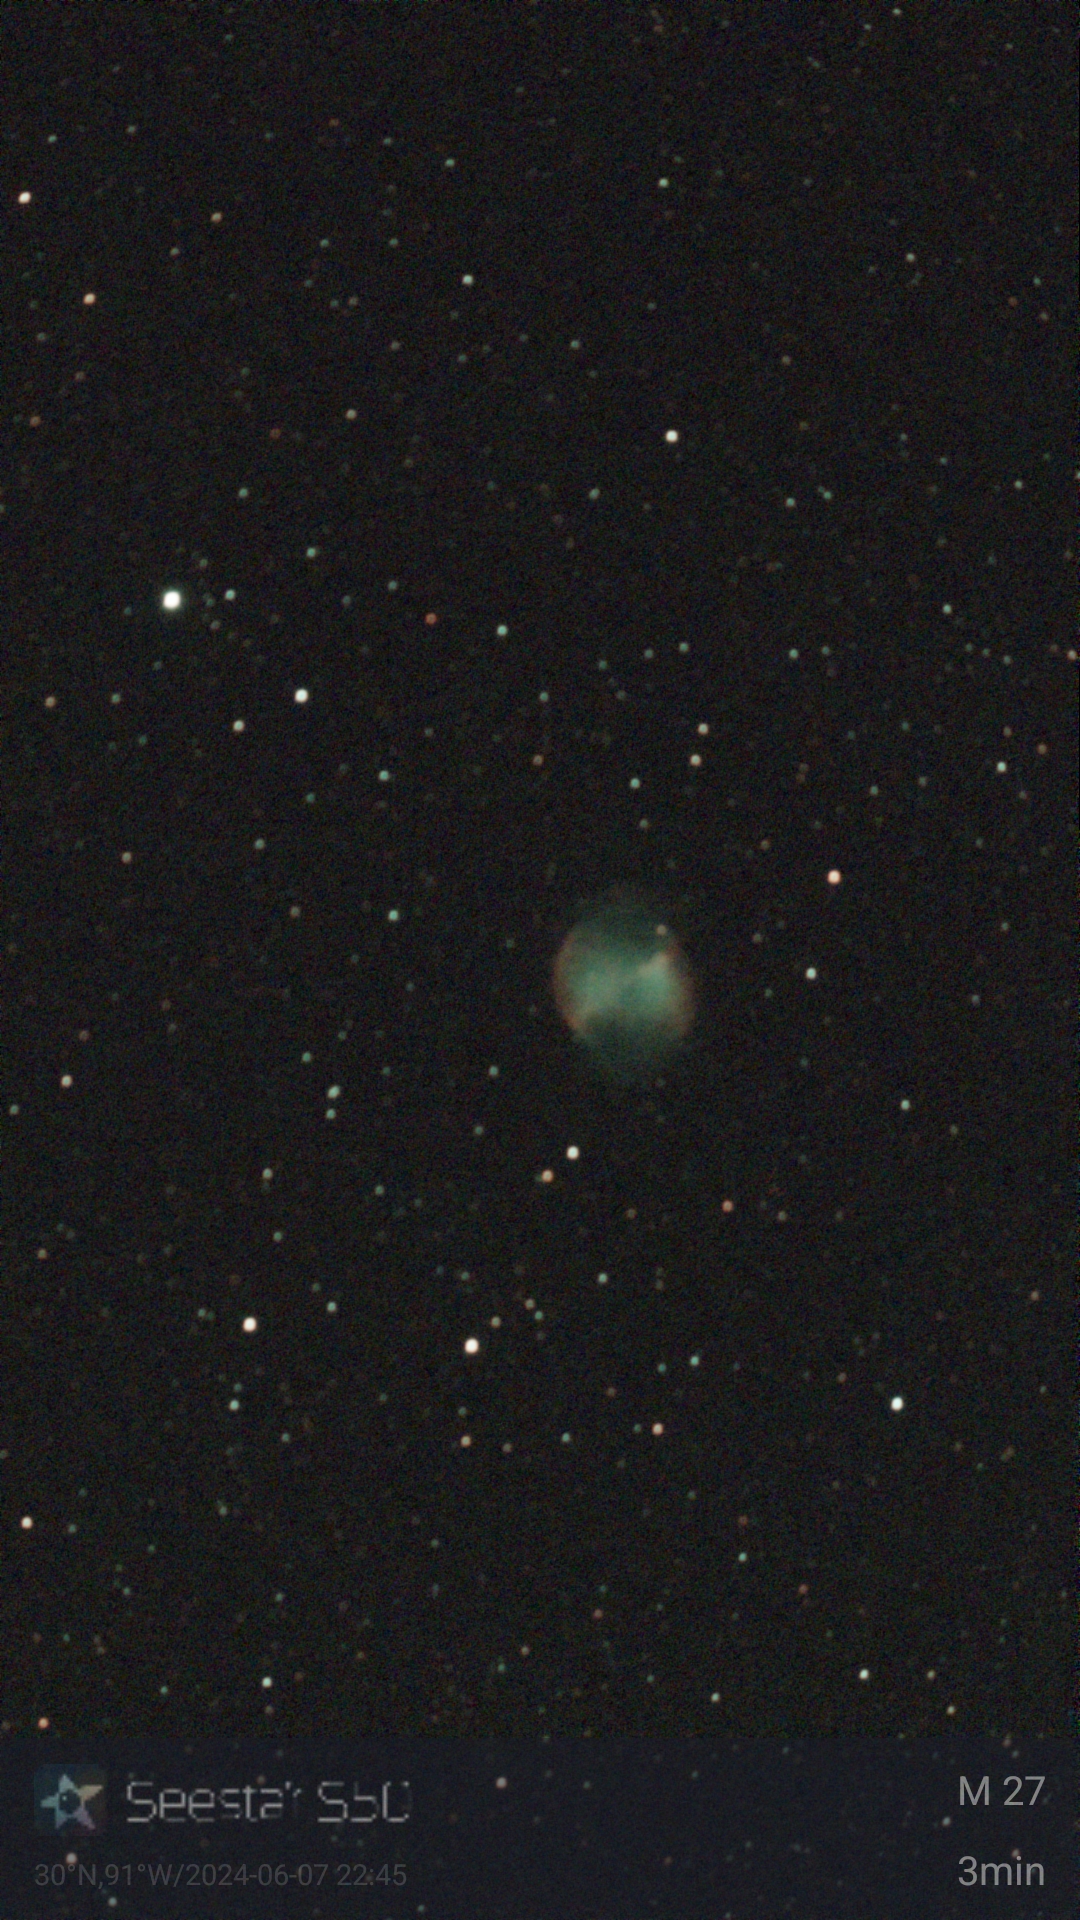
I moved onto some objects recommended to me in the Seestar app. Messier 27, The Dumbbell Nebula, came up and the Seestar started spitting out images. This is only after 3 minutes of 20 second images.
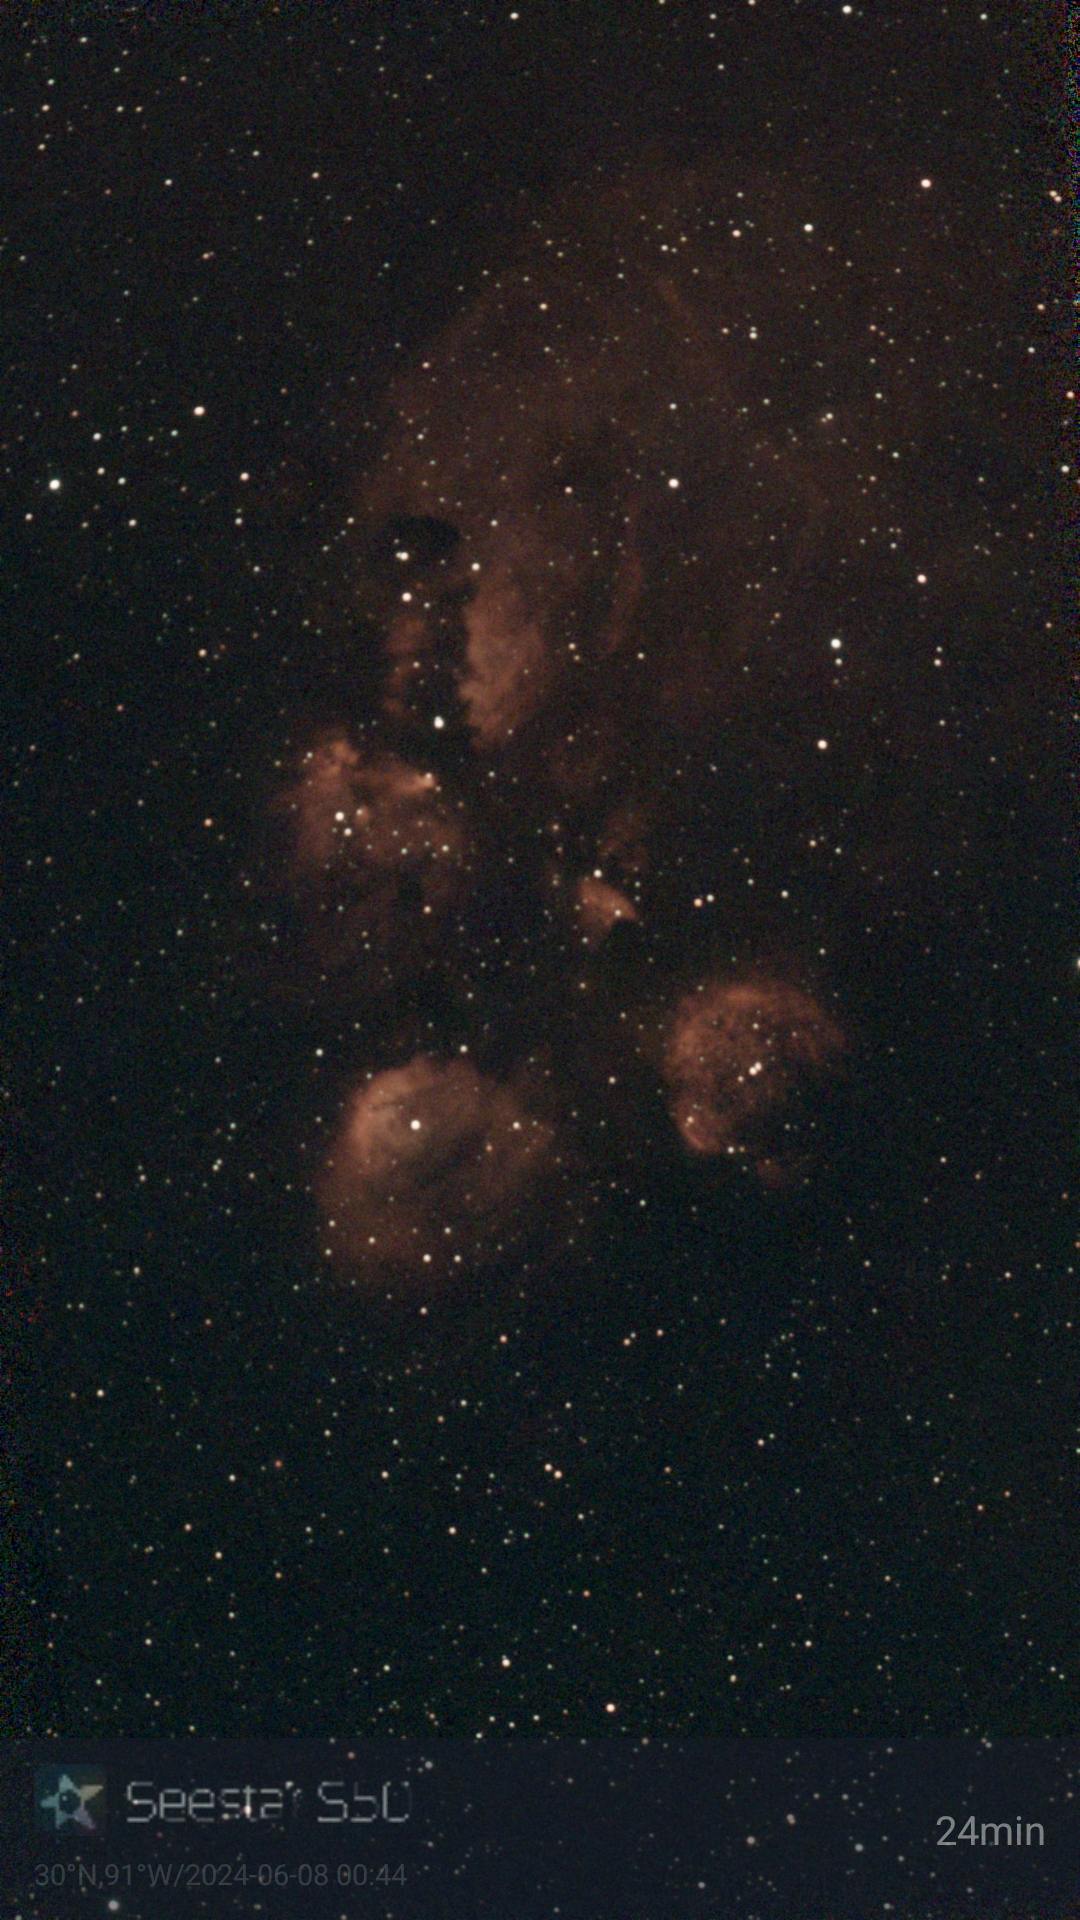
The last object I went after I had never seen or heard of before. It was listed in the Seestar app as being above the horizon, so I gave it a shot. It was so cool looking, I tried point my big scope at it to image it with the DSLR, but the object was not in the Skyportal app library. My astronomer friend suggested that was probably because Celestron wants you to buy the premium SkySafari app, which has a much larger library. I haven’t done so, yet, but I probably will before I go out next time. The Seestar got it, though. Check out NGC 6334, The Cat’s Paw Nebula.
In the time it took my to capture about an hour of data from the Pinwheel Galaxy with my big scope, I managed to grab at least five images of various deep sky objects with the Seestar. Here was the result of my Pinwheel imaging. It didn’t come out nearly as well as it could have, because my darks, for some reason, didn’t have the same pixel count on the files as my lights and Deep Sky Stacker refused to stack them. I also skipped taking flats. I didn’t want to disturb the others at the site with a bright white light, and the mosquitos had started eating my back. It’s also worth mentioning the field of view for the Hyperstar I’m using is huge. The Pinwheel Galaxy might take up 1/20 of the actually image space. This makes zooming in necessary at the cost of resolution.
While this is probably my best image of the Pinwheel Galaxy so far, I have to consider how much of a pain in the butt it was to get it. Meanwhile, the Seestar tooks images all night without an issue. And the only setup I needed to do for it was to take it outs of its case, attached the tripod, put it on a small folding table, and connect my tablet to it. It even has its own power supply, which remained above 50% battery life after a night of imaging. My tablet used even less of its battery life.
The Seestar just rocks.
The planet parade is starting soon and I’m looking forward to being able to setup at my home and really give my ZWO camera some work. Saturn’s ring are about to flatten relative to us and disappear from view. And Mars should be pretty close for some decent imaging if the Saharan dust stays away.
For the longest time, I relied on my smartphone and a telescope to take pictures of planets and bright nebula. I got pretty darn good at it, too. But learning to use my “old” Nikon D5300 to take pictures through my telescope has really begun to pay dividends.
I purchased my camera not long after I received my 6 inch Celestron PowerSeeker 127EQ scope for Christmas. After attaching my new camera, which I got as a really good Best Buy Outlet refurbished deal, I was quickly discouraged by the image quality. As new to the game as I was, I believed that I could merely connect my camera to the focuser of my scope with a bulky T ring adapter and get better results than my trusty smart phone. I was wrong, obviously. First, I had to disassemble the focuser on that particular scope to remove the corrector lens, which left me unable to use to scope for anything else until I reinstalled the lens. Once I got the camera connected in a state where it could even be focused, I lost so much image magnification compared to my phone and found it nearly impossible to focus cleanly.
I felt like I had wasted $300. I tried some daytime photography of flowers and other things, but I felt like I was getting better pictures from my much cheaper and easier to use Sony Cybershot. So, I shelved the camera for a while until I purchased my first telescope upgrade, my 8 inch Dobsonian, an Orion SkyQuest XT8 and tried again. I had the same issues as before, except now the camera overbalanced the scope, requiring me to drop some more bucks on a half-pound magnetic counterweight. I ended up shelving the camera again.
Early last spring, 2019, a good friend of mine was cleaning out some stuff from his attic and retrieved his old telescope setup. He had purchased it years before, never could figure out how to use it, and just stored it. It included a computerized mount, an Orion Atlas EQ-G, its own 8 inch Dobsonian, and a heavy duty tripod to match.
My Dad had also gifted me an Orion AstroView 90EQ for Christmas. It was the last Christmas gift he would ever get me before he passed on Dec. 30, 2019 from pancreatic cancer. I had hope to use that scope and its steadier equatorial mount to attempt some longer exposures with a battery powered motor driving the mount. I didn’t quite understand, yet, how to get it to work and getting that scope to hold on an image with that setup was a pain, especially with my phone attached.
I ended up combining the AstroView scope with the EQ-G mount. My friend’s Dobsonian was a little banged up and even after cleaning the mirror and collimating it, the image quality wasn’t especially sharp.
And just a quick aside, it took weeks to even get the EQ-G mount working. My friend had misplaced the controller and the AC adapter. A replacement for the controller was somewhere around $200, so I spent a fair bit of time trying to buy the right cable and find the right software to control the mount with my laptop. That ended up being a dead end, so I broke down and purchased the controller.
Before officially going with the AstroView scope, I wanted to learn how to use the mount. I took it out to my local astronomy society’s dark site on top of a levee at the back of a cow pasture. It was an hour drive away and the equipment weighs a ton. The mount alone easily weighs at least 35lbs. The scope was another 30lbs. The counter weights are maybe 15lbs each. And the tripod is maybe 20lbs.
I got it all setup on this levee in the dark and cold, but couldn’t get it polar aligned until a member from the society came over and help me identify the proper star, Polaris, and exposed me to the alignment scope built into the mount with its own special crosshairs for aligning Polaris just slightly off the actual pole of the earth.
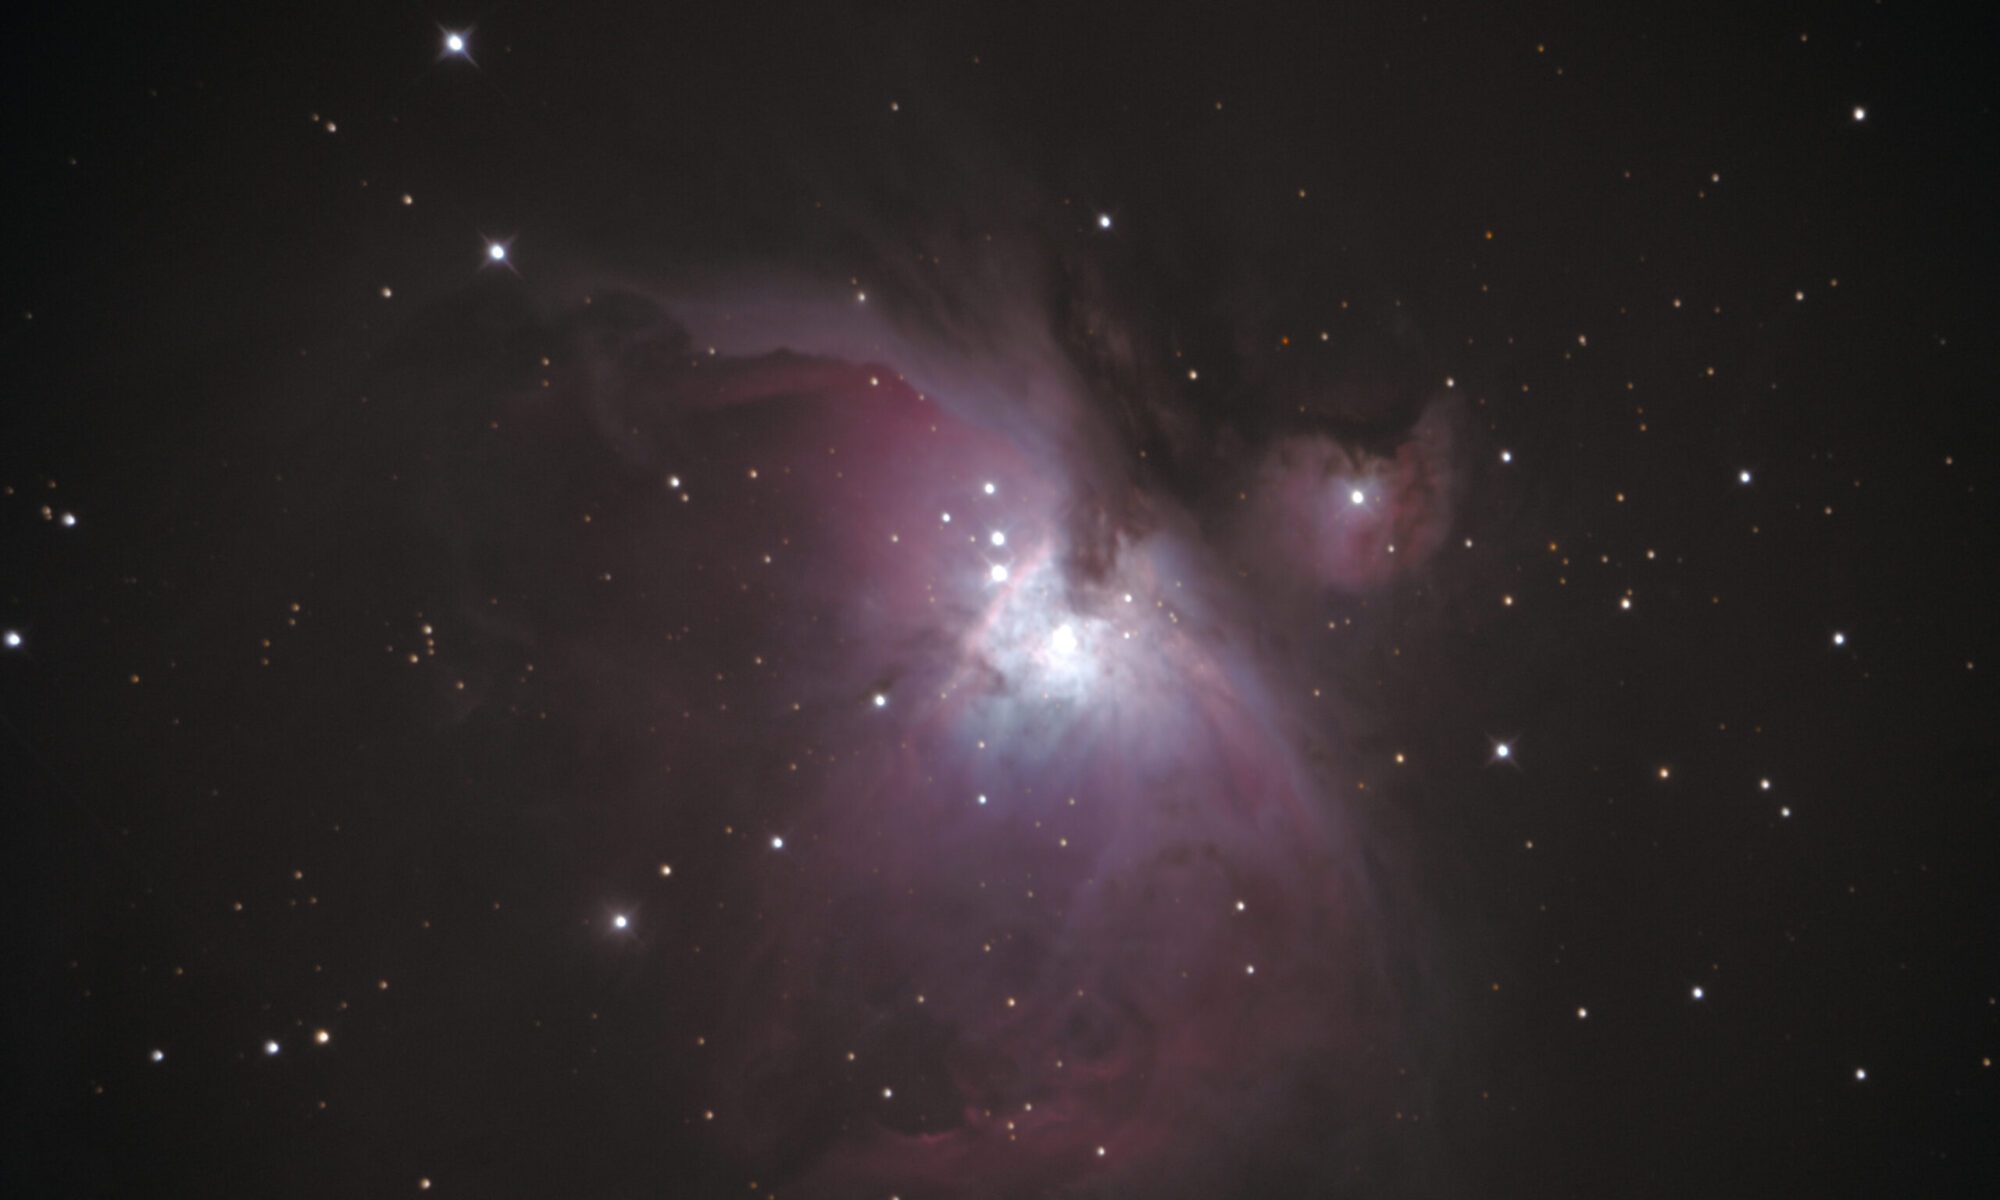
After going through multiple iterations of 3-star alignment checks to prep the “Go To” function, I had the heavy Dob and the heavy mount pointed to Orion’s Sword, M42. With my phone attached, I captured my first “long” exposure of the nebula at 10 whole seconds, and was blown away by the color I got.
The months that followed saw me learning to align the mount on my own and attempting to use the 10 seconds of exposure time on my phone to take pictures of the Andromeda Galaxy, Orion’s Sword, and some other deep sky objects (DSOs) that were up in the night sky at the time. I didn’t know I had no chance in hell of getting much of anything back from those with 10 seconds of exposure under a Bortle 7-8ish sky,
I was keenly aware of image stacking and more advanced photo editing options than were available on my phone. I just didn’t have a great way to capture many shots or longer exposures with my phone. That’s when I went back to my Nikon. I reattached it the old Dob, and ran into an immediate problem. It was just too heavy and hard to balance on the end of that Dob. Worse still, was I had virtually the same exposure time limit on the camera as my phone!
Swearing, I started researching how to take longer exposures with a DSLR camera and discovered the existence of intervaluemeters. For $30 I got a little wireless remote control for my camera that let me program multiple shots, up to hundreds if I wanted, for as long as I wanted. It was a game changer for me.
I ditched the old Dob, purchased new rings to be able to attach the AstroView scope to the EQ-G mount and really began my journey with trying to take multiple long exposures of the Whirlpool Galaxy, M51. Andromeda had long since moved on for the year.
I spent night after sweaty, humid night trying and failing to get usable pictures, learning how to point the scope at an object I couldn’t actually see with my eyes, troubleshooting why my images would come out motion-smeared, and beginning to learn how to use Deep Sky Stacker (DSS). And even though I took maybe a few hundred pictures of M51, the results were less than impressive, relative to what even the folks at the local astronomy society were producing.
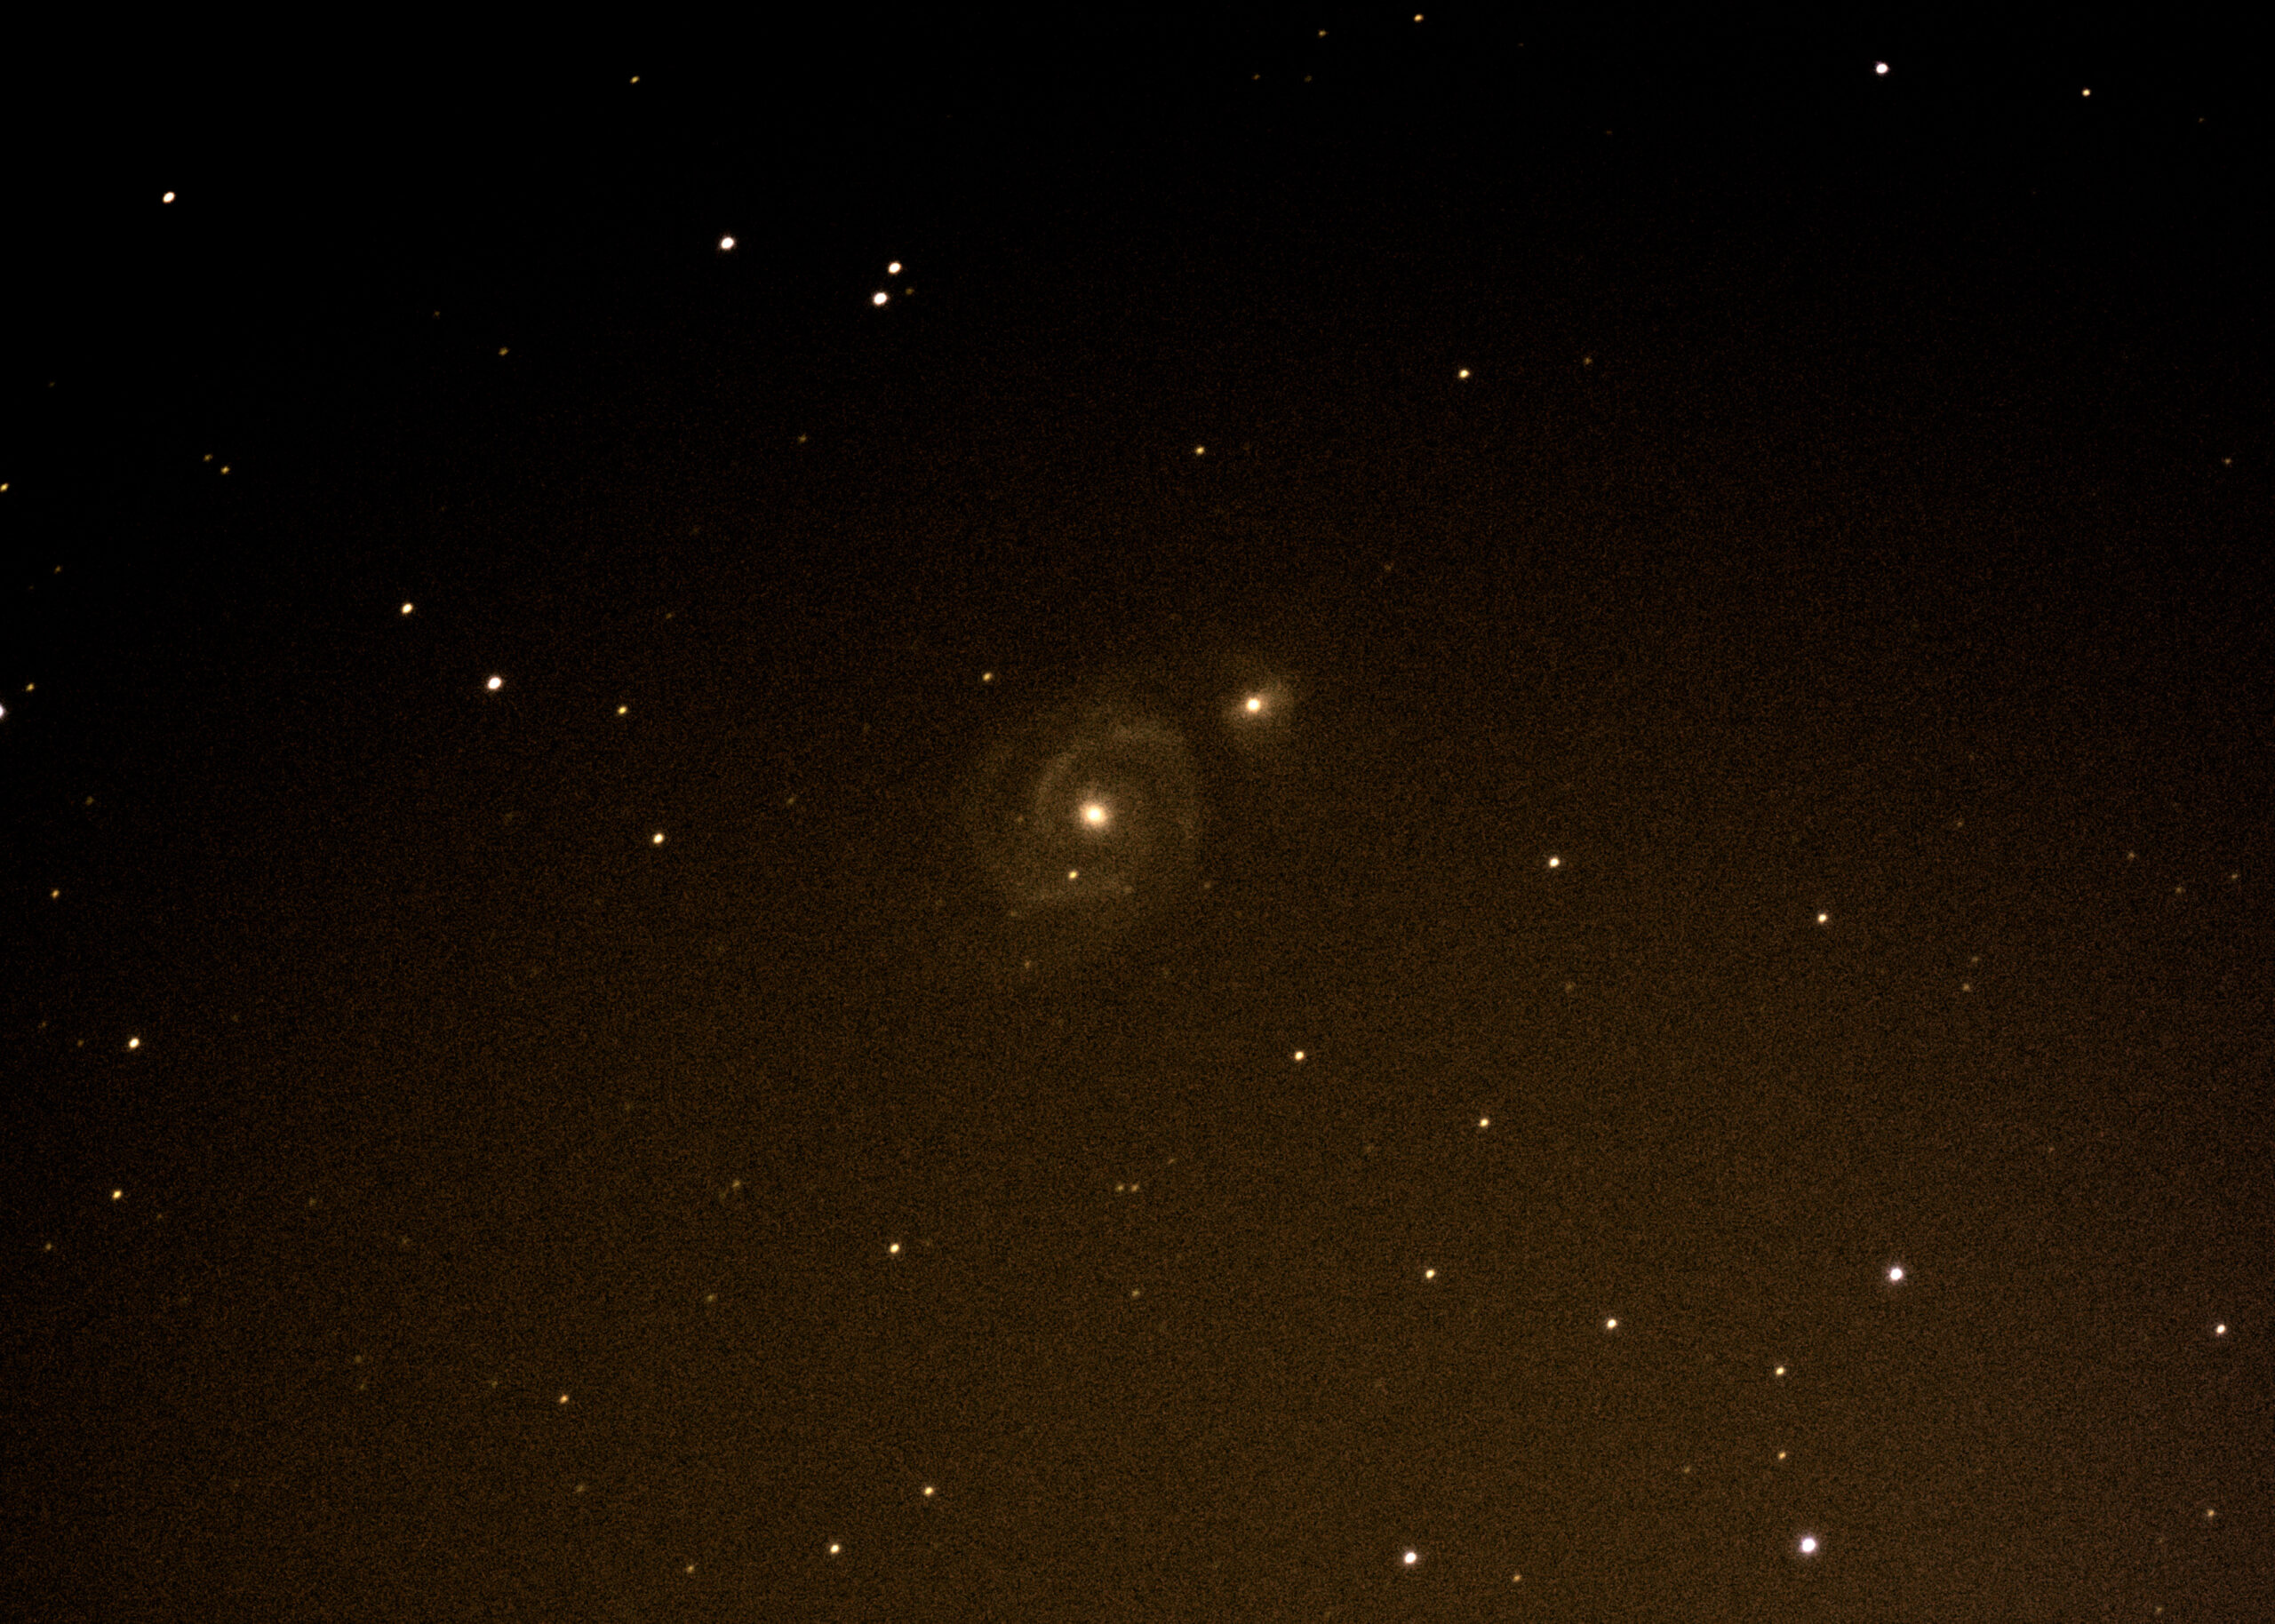
Note: For those unfamiliar, to take those amazing backyard astrophotography pictures, people take many multiple pictures and use software to align them and “stack” them. More specifically, stacking gives you the best average amount for every pixel on an image. The more images you have, the more noise and artifacts you’re able to remove from the composite image. The result is a far higher degree of image sharpness and detail. The stacking can also have an additive effect, depending on various settings, to make a dim image more visible. The image below of the Whirlpool Galaxy consisted of almost 120 separate pictures.
Whirlpool Galaxy, M51. Images taken with AstoView 90EQ telescope and Nikon D5300. Processed 7-12-2020.
My first thought was, I needed a better scope. Despite the sentimental value attached to the AstroView, it just wasn’t cutting it. So, I bought my most expensive scope, yet, an Orion Ritchey-Chretien 6 inch (White) scope designed for astrophotography.
I began getting better images, but I was still limited to roughly 1-minute exposures before stars would begin to streak. Frustrated, I was glad to move onto planetary targets with this new scope and my knew experience with image stacking. Feeling like I had graduated from my phone, I purchased the Orion Starshoot Mini. It was primarily designed for planetary imaging, but it could also be used for DSOs, as well. I believe that since it was such a new product, it must be capable of producing better images than my Nikon and I could see them much more clearly on a laptop screen than the flip out screen on my camera.
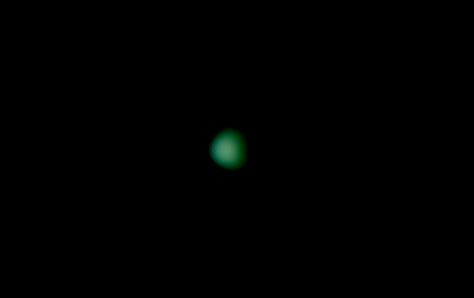
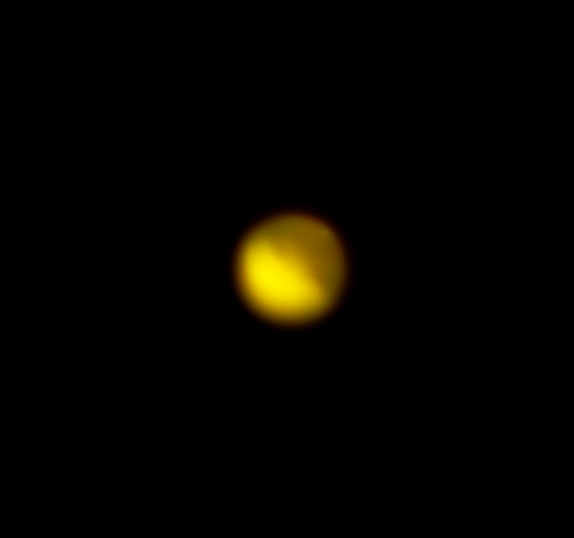
The Starshoot Mini is an excellent planetary camera. But I had a much harder time getting multi-gigabyte video files of planets to align and stack properly in Registax 6, which is used for planetery image stacking, as opposed to DSS. I was able to capture and process my best image of the distant planet Uranus below. But it took hours of trial and error to get such a faint set of video frames to align and stack properly. I also took a stab at Mars and its close approach, but was still new to the setup. Focusing is difficult. So the results weren’t super great. Also below.
Uranus. Processed 12-20-2020. Images taken in late October with Orion Starshoot Mini and Orion Ritchey-Chretien 6 inch telescope.Mars. Images process and taken in late October 2020 with Orion Starshoot Mini and Orion Ritchey-Chretien 6 inch telescope.
Once Mars began to drift away and Andromeda began to rise into the sky, I shifted to trying to captures image of it with my Nikon. But this time I had the bright idea of repurposing my Orion Starshoot Mini as my autoguider. I purchased an autoguiding scope to fix the Starshoot Mini and attached it to my telescope. I then downloaded and installed PHD2 to act as my autoguiding software. Aside from the initial setup, it’s been pretty easy to use and I’ve been able to take some images with 3-minute long exposures without streaking. For those unfamiliar, the software uses the Startshoot Mini camera to identify a particular star (you select it) and it sends directions to the mount to adjust its motion by tiny amounts to keep that star as still as possible in the camera, or put another way, it keeps the mount following the star so perfectly, the star appears to be still to the camera (image the camera displays on screen).
And now I was shooting long exposures with my Nikon D5300. It only took almost two years to get there.
The setup isn’t perfect, however. Whether the EQ-G mount is just old or could use some servicing, I had to get the balance of the scope and the counterweights as close to perfect as possible or PHD2 will flash at me that it can’t make enough adjustments to keep the scope aligned. It’s something I’m still trying to completely understand, but the results have been thus far promisingly spectacular. See below.
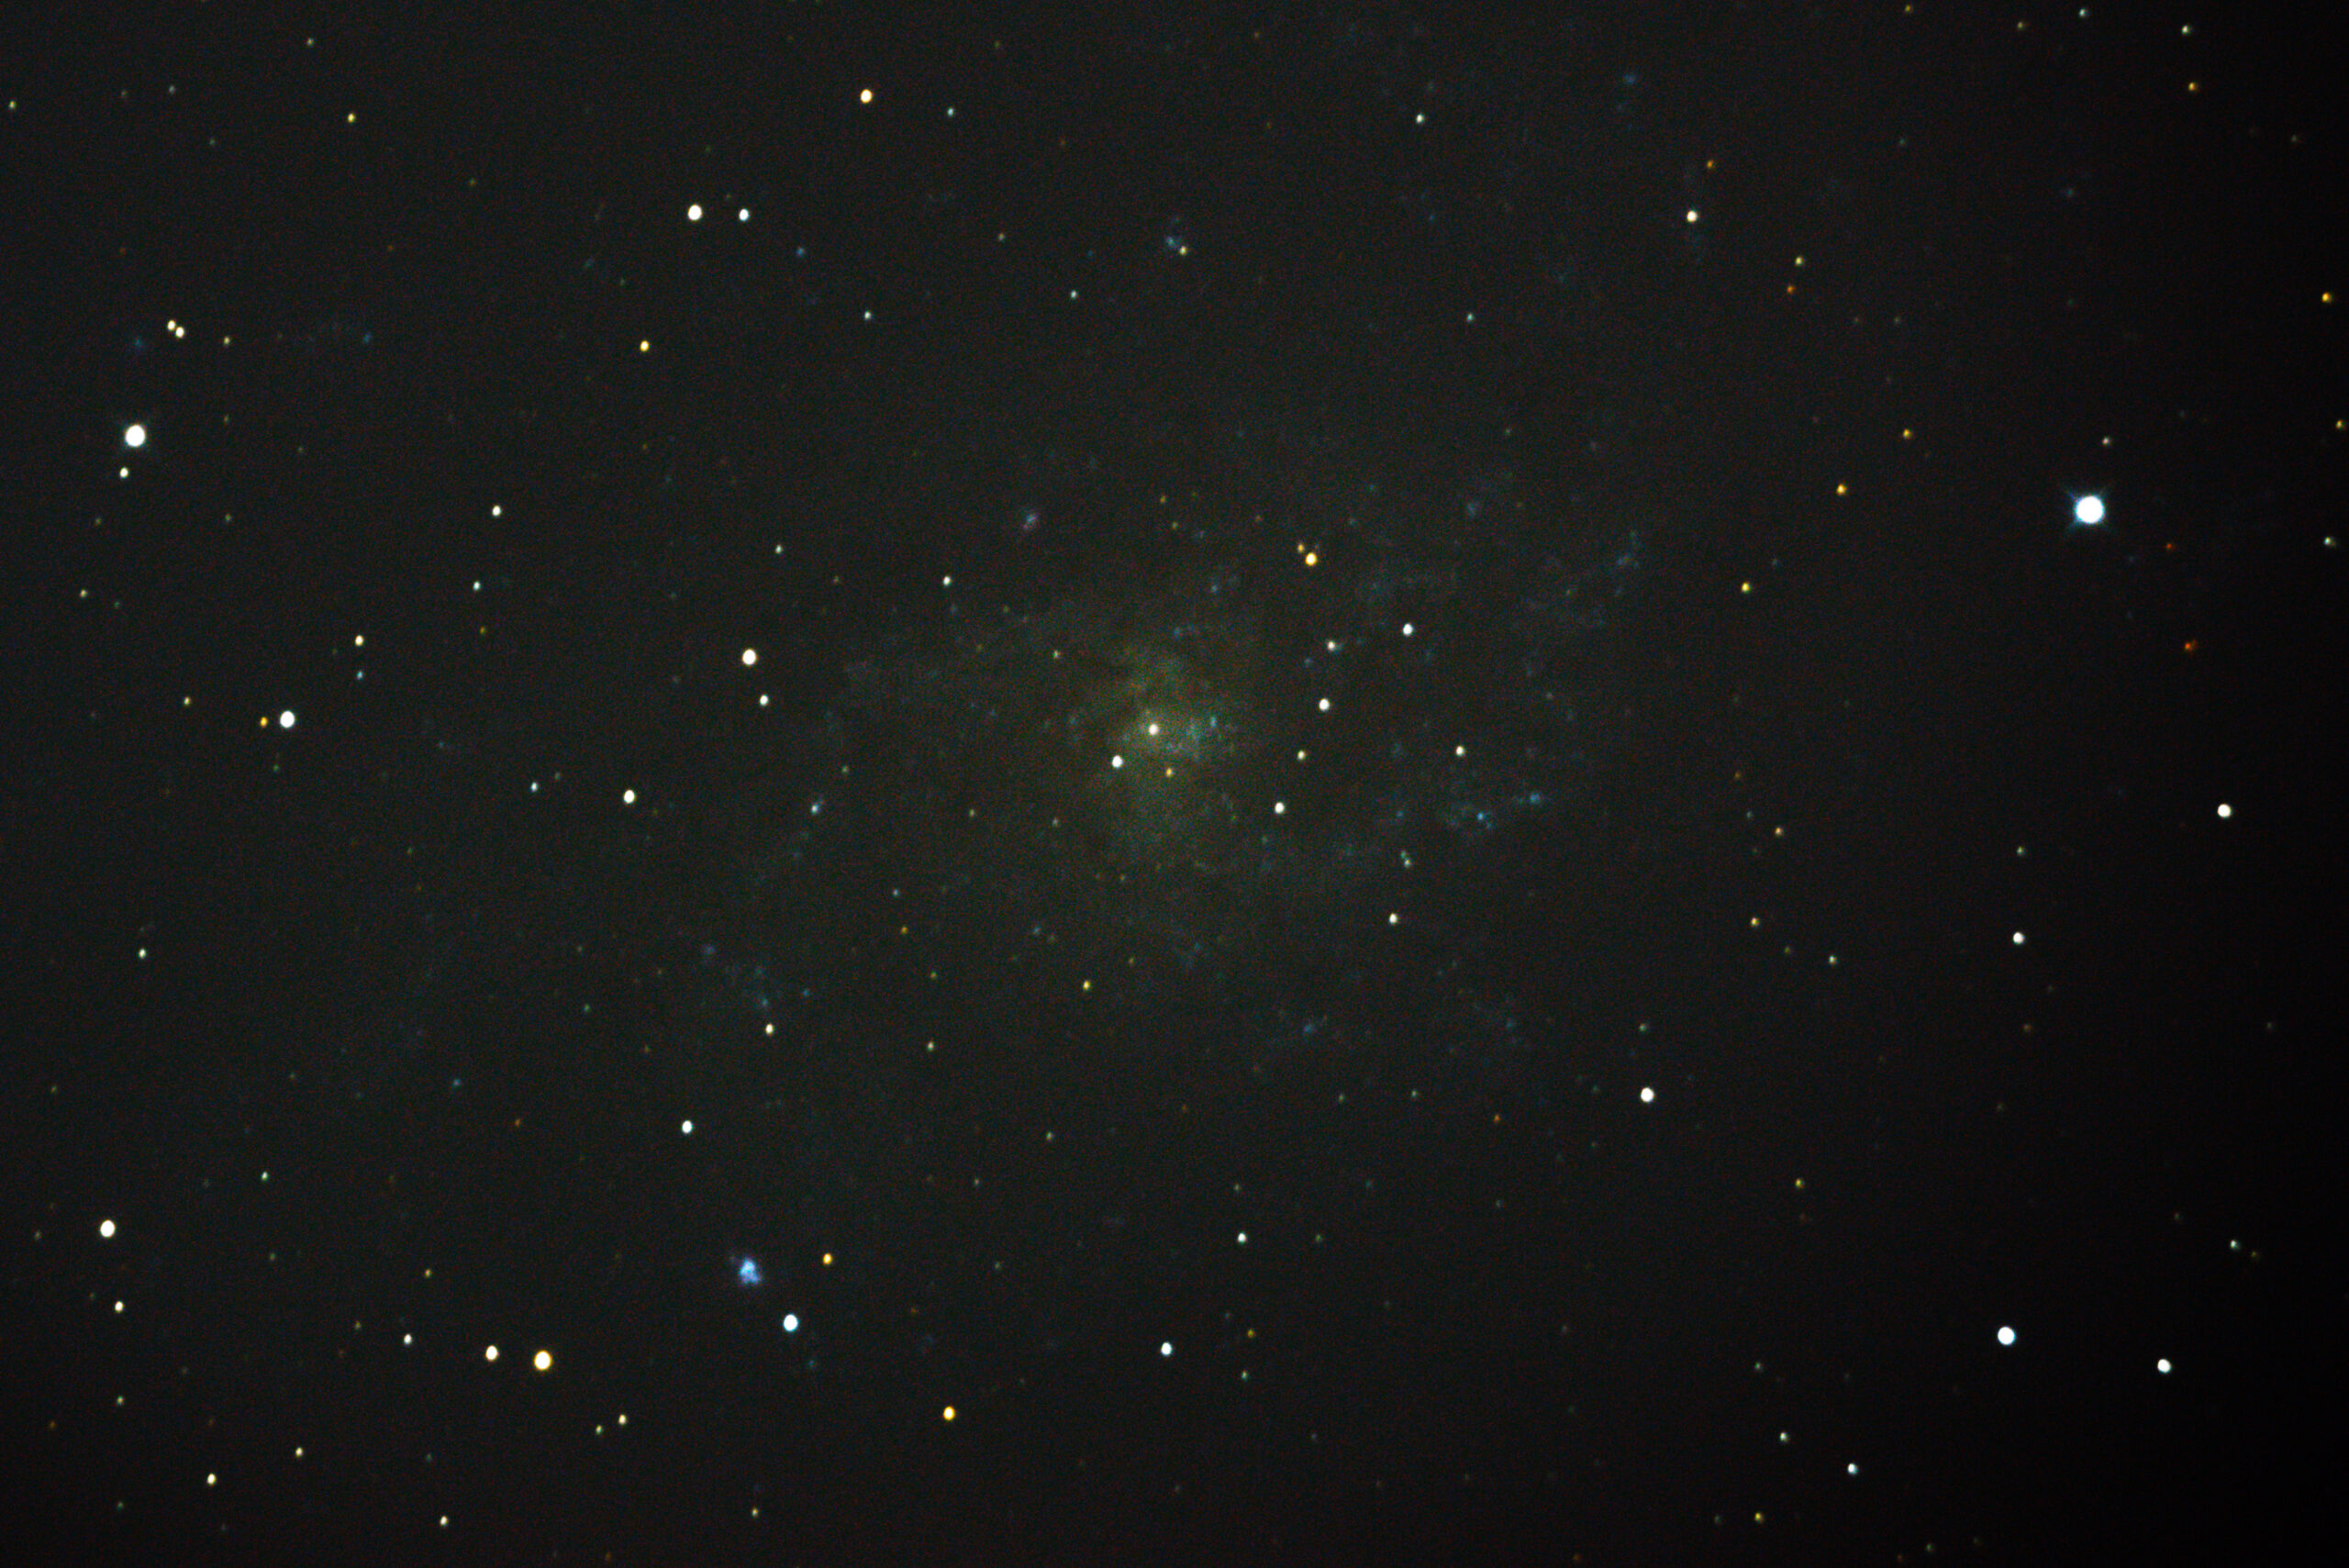
Orion’s Sword, M42. Images taken 12-8-2020 with Nikon D5300 and Orion Ritchey-Chretien 6 inch telescope. Variation of image used sometimes as this site’s header image.Andromeda Galaxy, M31. Images processed 11-19-2020 and taken with Nikon D5300 and Orion Ritchey-Chretien 6 inch telescope. Earliest attempt at capturing and stacking long exposure images.Triangulum Galaxy, M31. Images taken with Nikon D5300 and Orion Ritchey-Chretien 6 inch telescope near Christmas and processed 12-25-2020. It’s a little faint but it was my first attempt at this particular galaxy and is comprised of only about 15 images.
That’s where I’m at in my journey of learning to capture astrophotography images with a DSLR camera. And in the coming weeks, I hope to refine my craft more and capture even more DSOs. I even have a wonderful new camera that will replaced my sorely misjudged Nikon D5300, but I’ll write about it later.
That said, once I started seeing this huge leap in image quality from what I had been getting, I re-researched my old Nikon. And it’s a damn fine camera for Astrophotography. If you’re just getting your feet wet with this hobby and you can find a good deal on a refurbished D5300, then you can’t go wrong. It takes great pictures and accessories for it abound, unlike some higher end cameras.
One thing I’m leaving out of this post to save space and time is my experience learning how to process images in Adobe Photoshop, as well as some of the minutia of astrophotography like capturing dark frames. You can’t produce these images without being able to “stretch” the data you’re collecting in some image processing software. The folks at my local astronomy society provided me with a guide early only explaining some of the ins and outs of capturing images, but I learned about processing images in Adobe primarily from experimentation and the YouTube Channel, AstroBackyard.