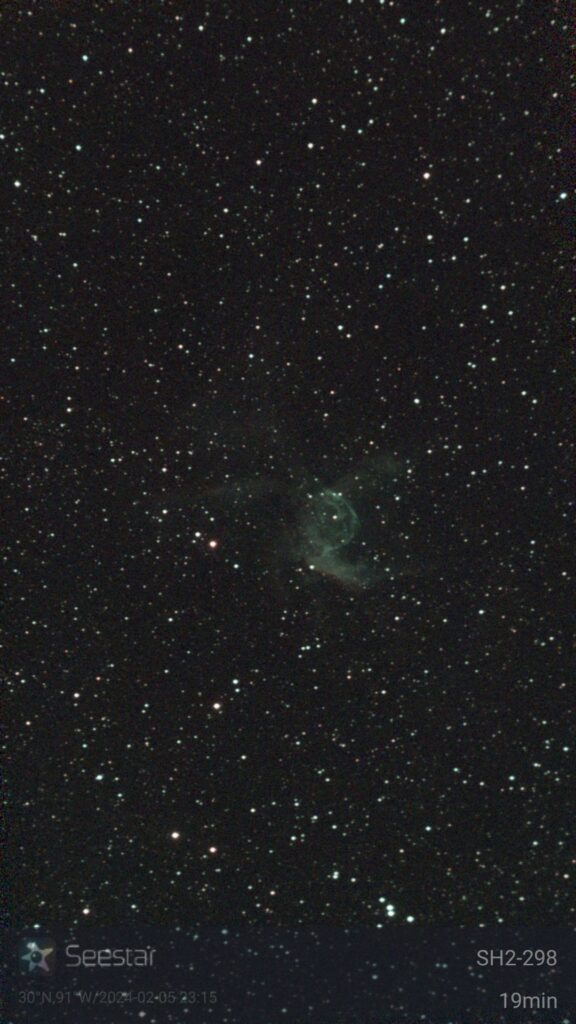
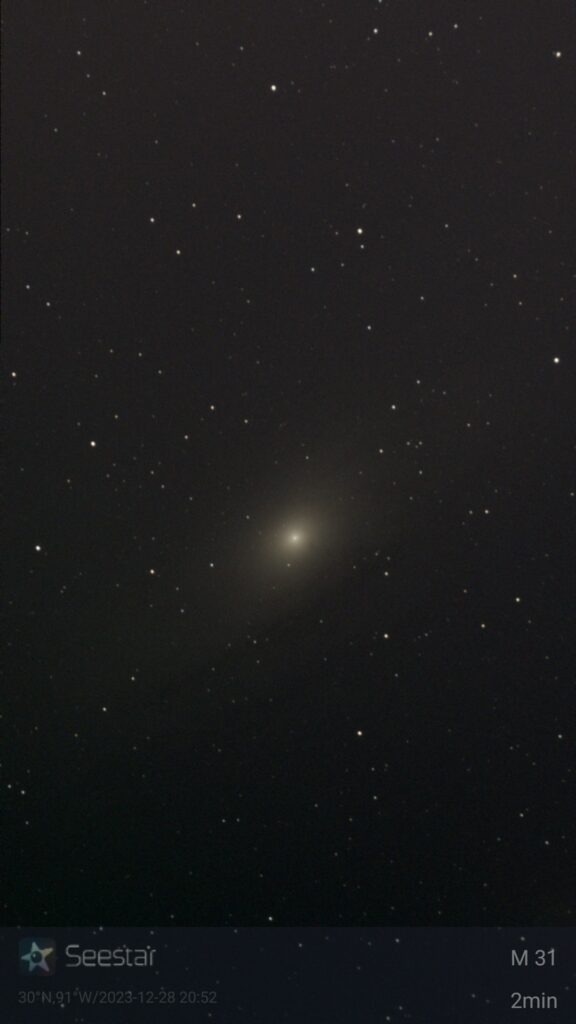
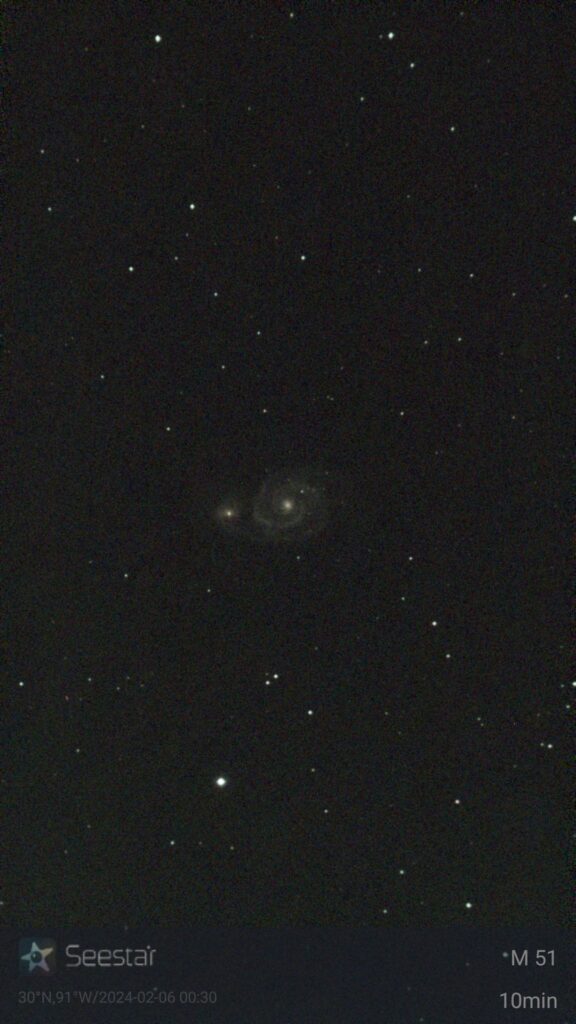
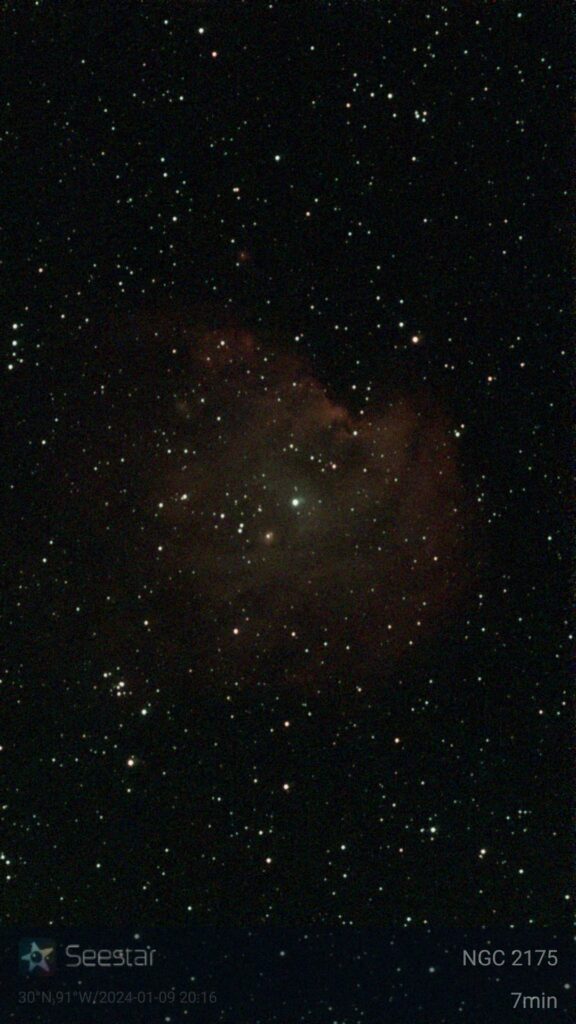
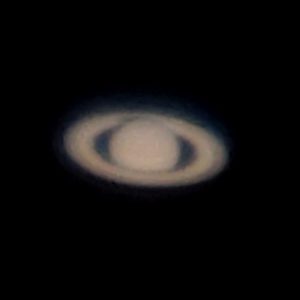
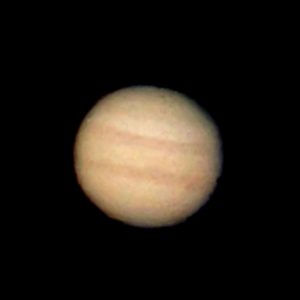
The Seestar S50 makes astrophotography simple. It’s nearly a push-button tool to take some decent pictures of distant celestial objects even when surrounded by city light pollution. ZWO produces it and it is controlled with their app on Android or iOS via Wi-Fi or Bluetooth. All you need is a tablet or phone and a stable surface on which to set the Seestar.
I received mine as a Christmas gift. It costs about as much as a PlayStation at $500 but rolls together features that would normally cost much more than that and require hours of experience processing images to produce similar results. I’ve been using it in my yard and took it once to the local observatory to demonstrate it. I captured a video short of it in action. It’s not super thrilling to watch it move to a target, but it gives an idea of its compact size, portability, and how it looks while in operation.
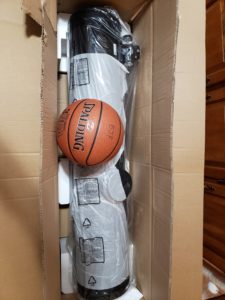
It weighs only 8lbs and fits inside a small foam case provided with it. In some sense, it’s too compact. During the demo at the local observatory, lots of people kept walking in front of it while it was imaging because they either couldn’t see where it was pointed or didn’t understand what part of it was pointed.
Setting up the Seestar involves little more than attaching the tripod, turning it on, connecting it to the app, and then telling it to align itself so it can go to objects. So long as the Seestar has line of sight with stars, it performs the alignment automatically. This is such a huge time saver over performing manual 3-star alignments with larger computerized scopes and mounts. The app then provides a list of recommended objects for the night but lets you search its library for many more, including comets, which is nice.
It comes with some neat bult-in features like a light pollution filter that can be turned on or off and is mechanical and internal to the Seestar; a built-in dew heater than can be turned on or off depending on how much you want to conserve battery life; a solar filter to attach to the outside of the scope; and the ability to change exposure times from 10s to 20s to 30s. I’ll get more into the exposure time aspect further down in this blog.
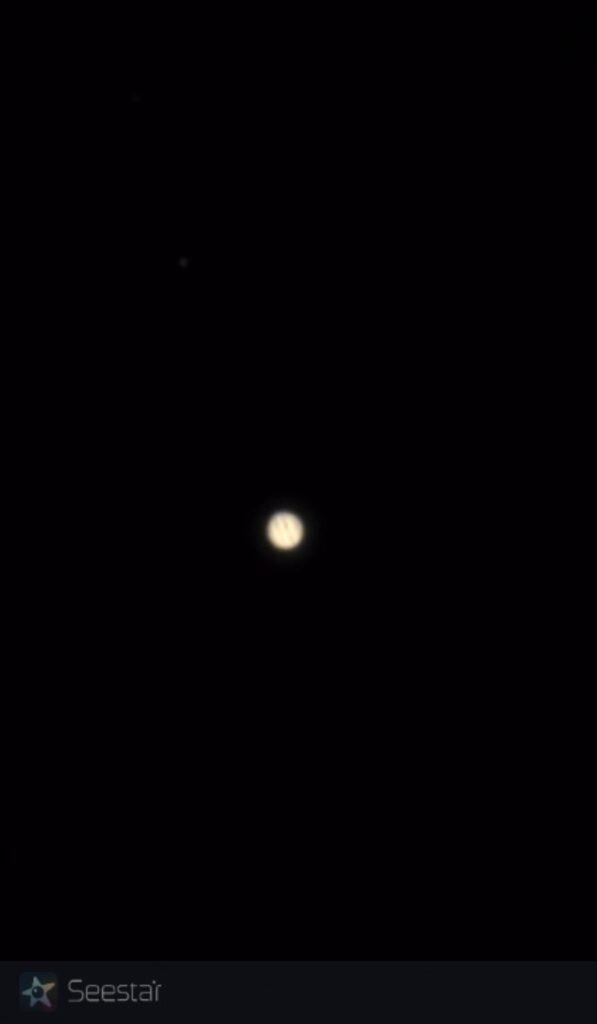
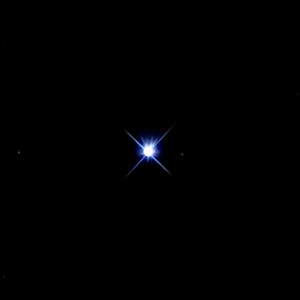
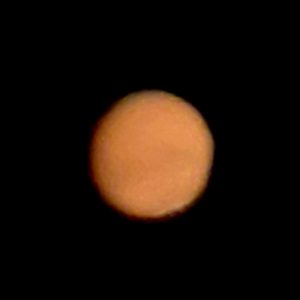
As just a telescope, it’s not especially powerful as far as magnification. While it is capable of some planetary imaging, don’t expect amazing results, especially with anything smaller than Saturn.
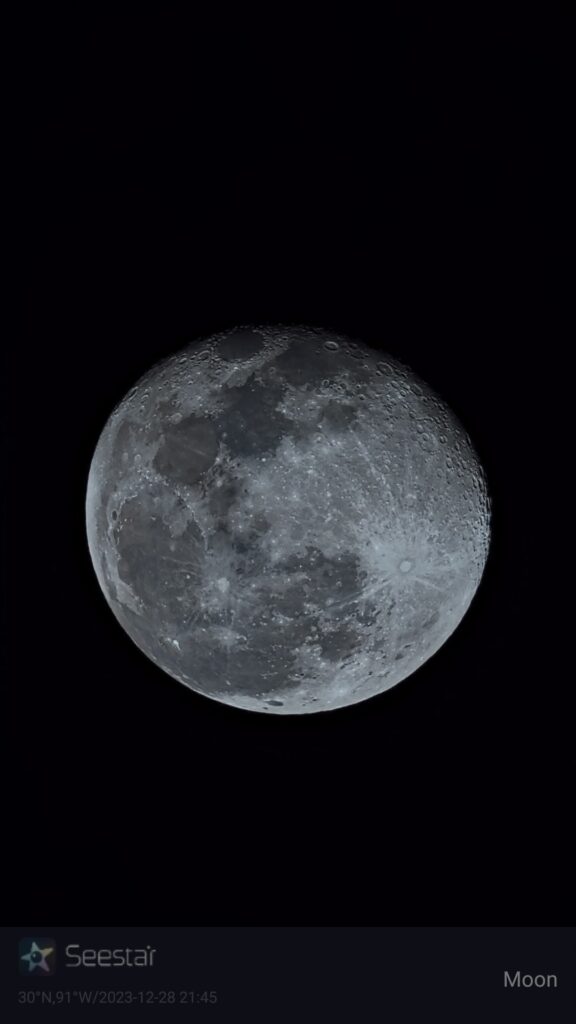
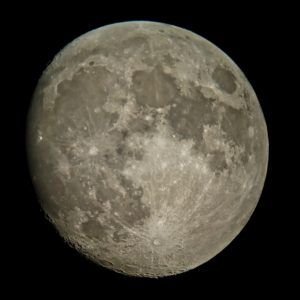
It performs great with the Moon, but you’re limited to this perspective. Unless you want to zoom in on the image, you’re not getting any close-up views of other features.
The Seestar, as far as I’m aware, doesn’t perform image stacking on planetary imaging and Moon imaging (and presumably Sun imaging, which I haven’t tried). What you see is what you get when you take photos of those objects.
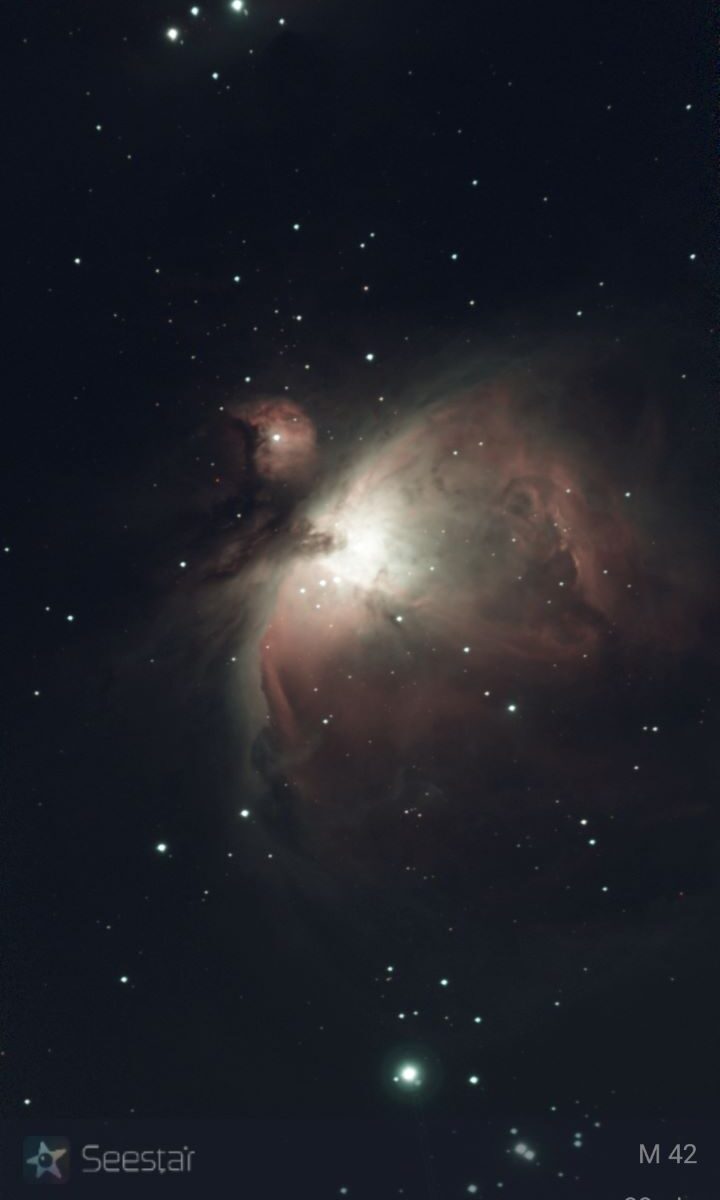
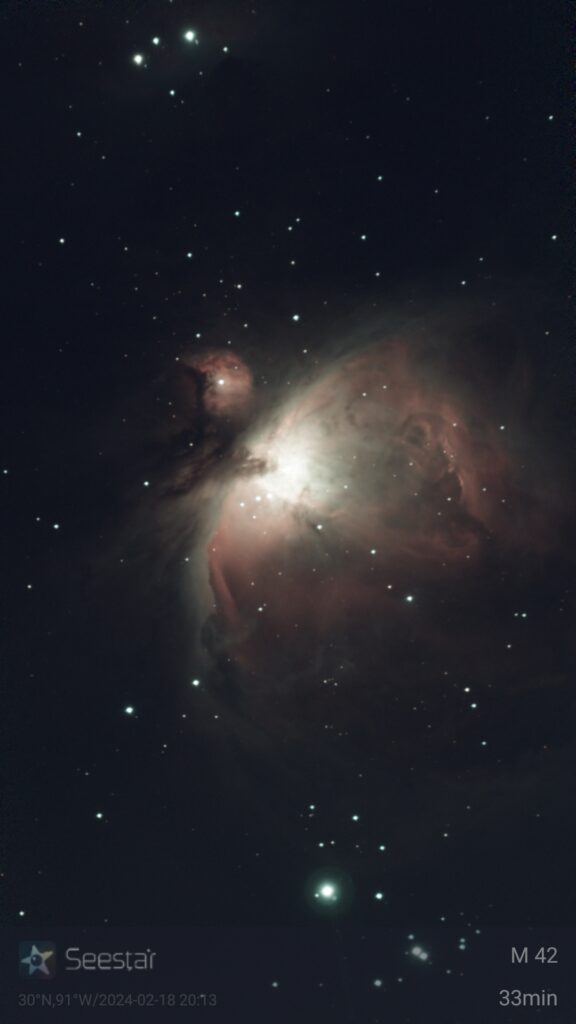
As far as the deepsky imaging, the Seestar displays a live imaging once it acquires a target. When you’re ready to take an image, it switches over to its live stacking mode. For the uninitiated, this means the scope begins to take picture after picture and combines them by finding the best average of each pixel from the images. This produces fine details and highlights otherwise dim aspects of the images.
Depending on the exposure settings selected in the advanced options, it begins taking 10/20/30s exposures of the target and live stacking them. You can watch the image of a practically invisible object come to life on your phone or tablet screen. After about 5 minutes of data collection, you typically can make out the target. This data collection time can take longer than 5 minutes because the Seestar software identifies star trailing and boots bad images automatically instead of stacking them. I’ve run it on a single image for over half an hour and there does seem to be a limit to how much more detail you can wring out of object. Clearer, darker skies contribute to this, of course.
This is also where the exposure setting becomes important. I’ve experimented with exposure times greater than the default 10s setting, but I keep running into the same two issues. First, it takes forever to capture data because any slight vibration or bump to the scope will cause star trails and the image will get discarded at the end of the exposure. So, a strong breeze or even tapping the controlling tablet if it is placed on the same table as the Seestar can delay the final result another frame. Second, the images get noisy. While you can adjust the sensitivity of the scope/ISO, expect to see lots of those off-colored green/yellow/red hues in your images. Maybe this improves with better skies and less light pollution, but I haven’t been able to take it out to a dark site, yet, to find out for certain.
The Seestar does all the stacking and image captures onboard and sends the final result to your phone or tablet. So, it has its own onboard storage and someone using it heavily will need to connect it time to time and move the images off the Seestar through a USB cable. The benefit of this is your phone or tablet isn’t being deluged with imaging data. Once you end the imaging session or take a single picture, as is the case with the Moon or planets, the images save to your phone/tablet image gallery as a JPG. I’m not certain if the output file type can be changed, but if it can that would be beneficial for photo editing veterans.
The final image also includes borders and branding identifying it as coming from the Seestar. I could see this be annoying for some people but it can be cropped out easily. One benefit of this is the data collection time and object ID are saved on these borders. When I’m not attempting serious, dark-site level imaging of an object and I just want to look at things and take pictures, this saves me the embarrassment of forgetting what I was even looking at and not being able to identify the object.
To summarize all of this, I like the Seestar but I’m of two minds about it. While it makes astrophotography simple and approachable for so many people, it’s not suited for people that want to get into the hobby seriously or are already veterans. For them, it’s a toy. Also, if this is the only scope someone has, there is something lost by not being able to see the night sky optically and not on a tablet screen. It creates a layer of unreality, like taking a virtual tour of a location instead of visiting the location.
However, the Seestar is the best way to bring space to the masses. Schools, observatories, libraries, etc., can use this tool (with a little A/V work) to show people the things in the sky they can either no longer see due to light pollution or could never see with just their eyes. People can learn about the different objects, the seasonality of some of them, and how things in the sky move.
The device also appeals to many of us that want to check out what’s happening in the night sky but don’t want to go through the hassle of setting up a full astrophotography rig or driving out to a dark site. You can plop this little thing down in your yard (Christmas lights/streetlights/parking lot lights be damned), sit on your porch, and sip a beer while you watch it image a galaxy.

