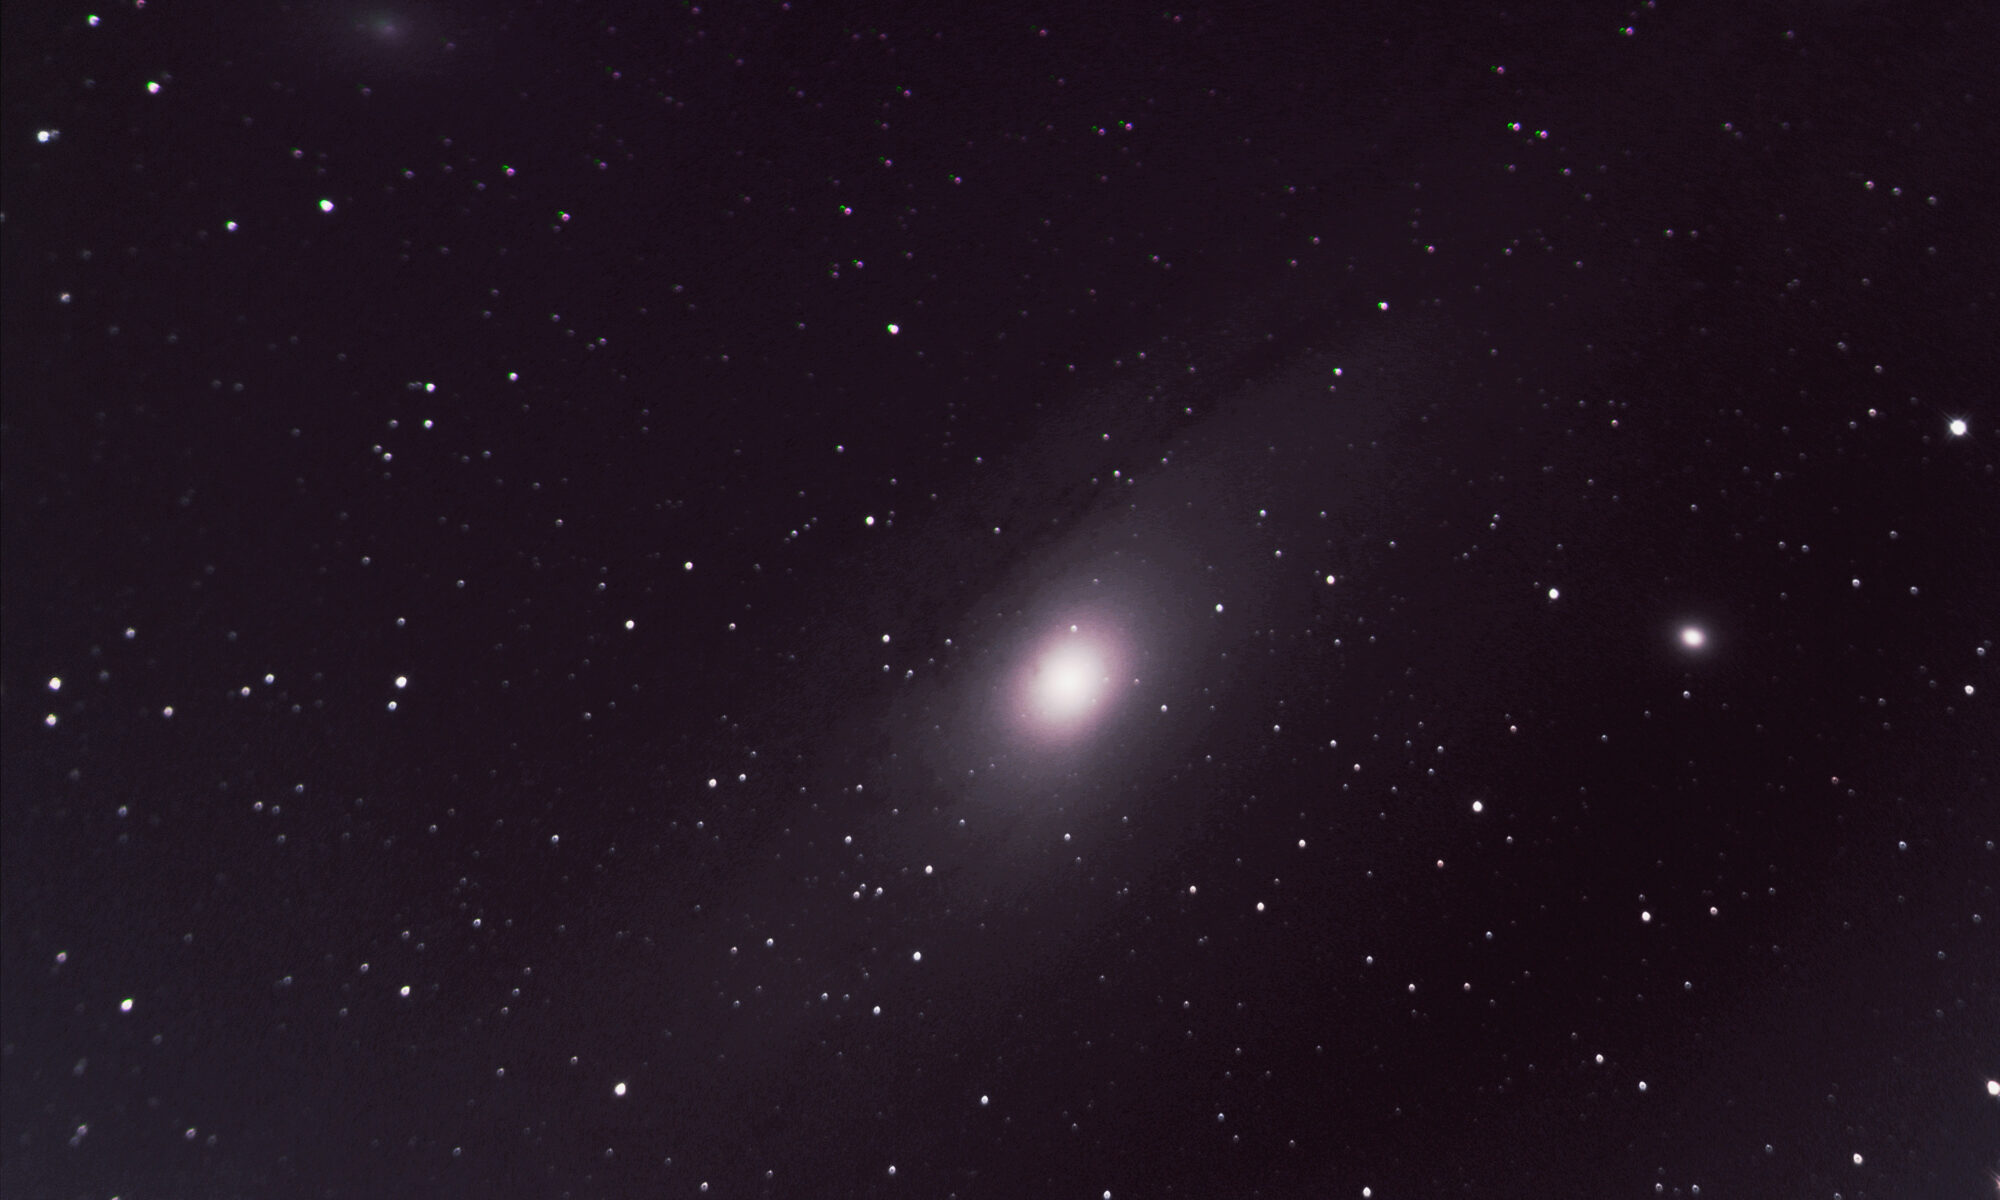
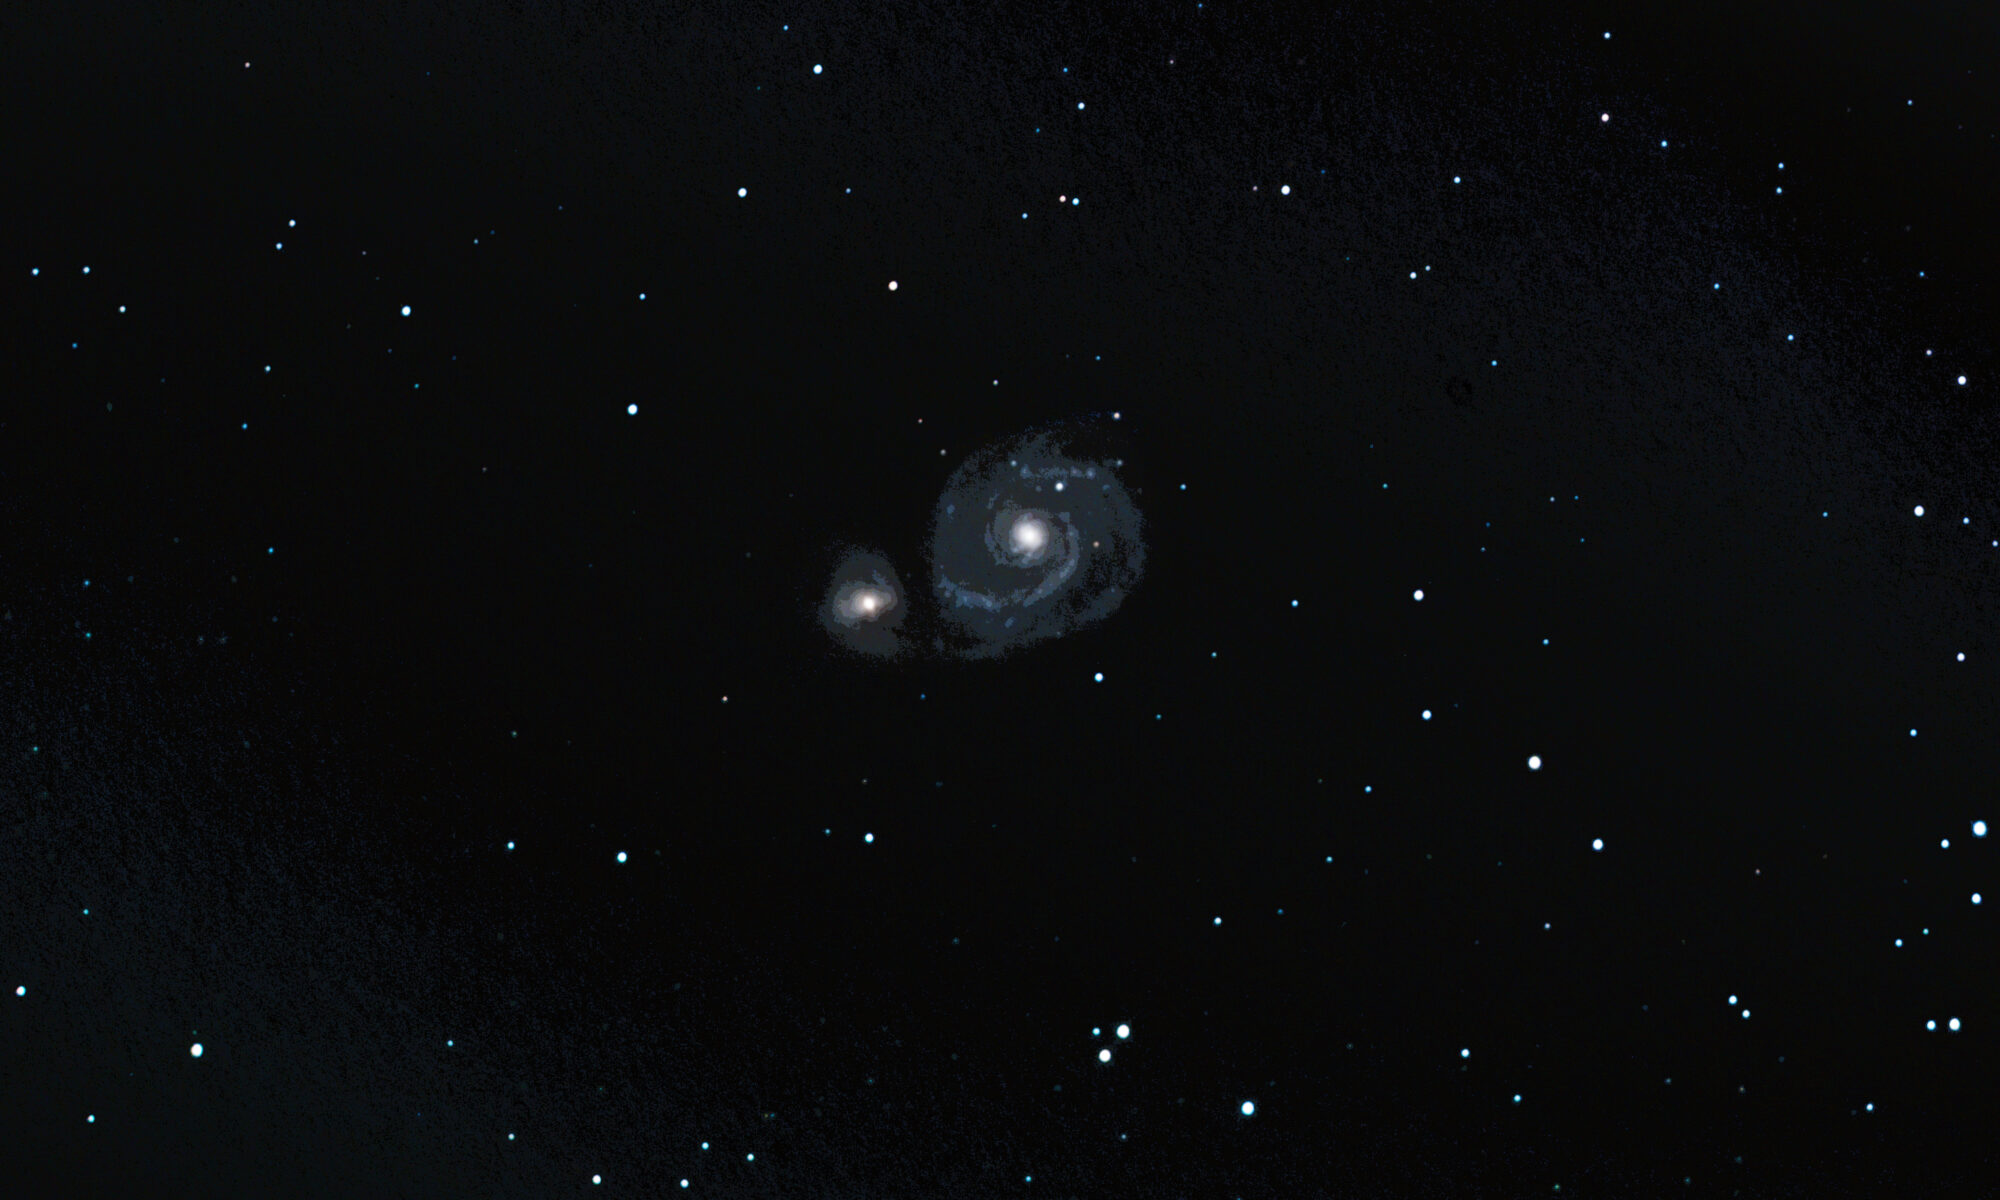
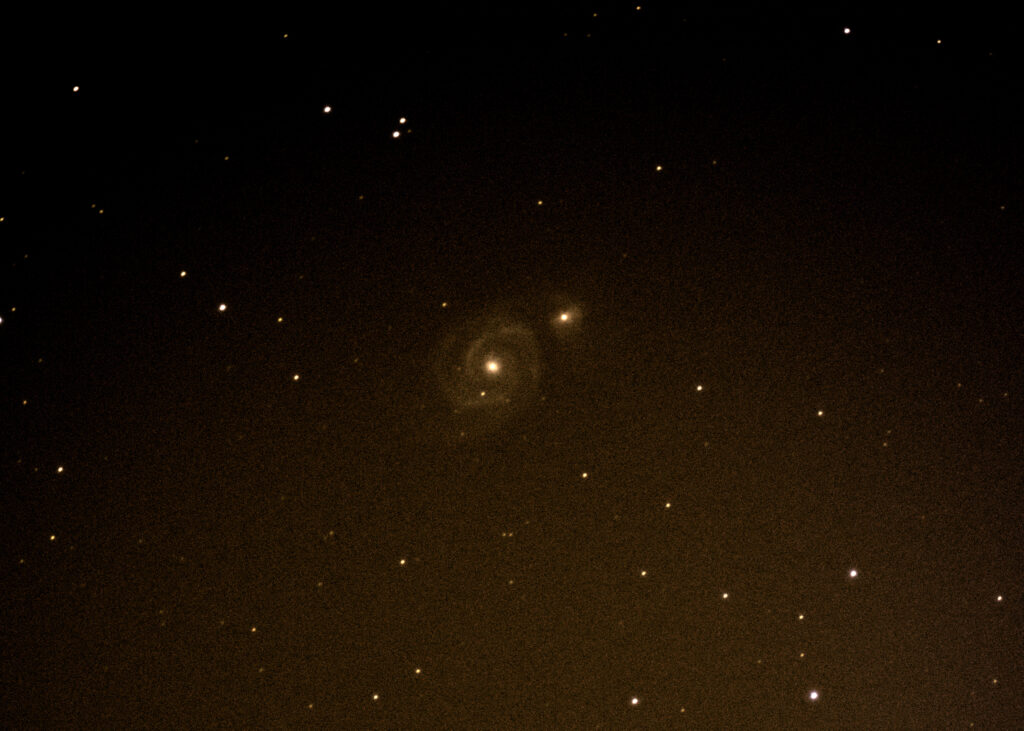
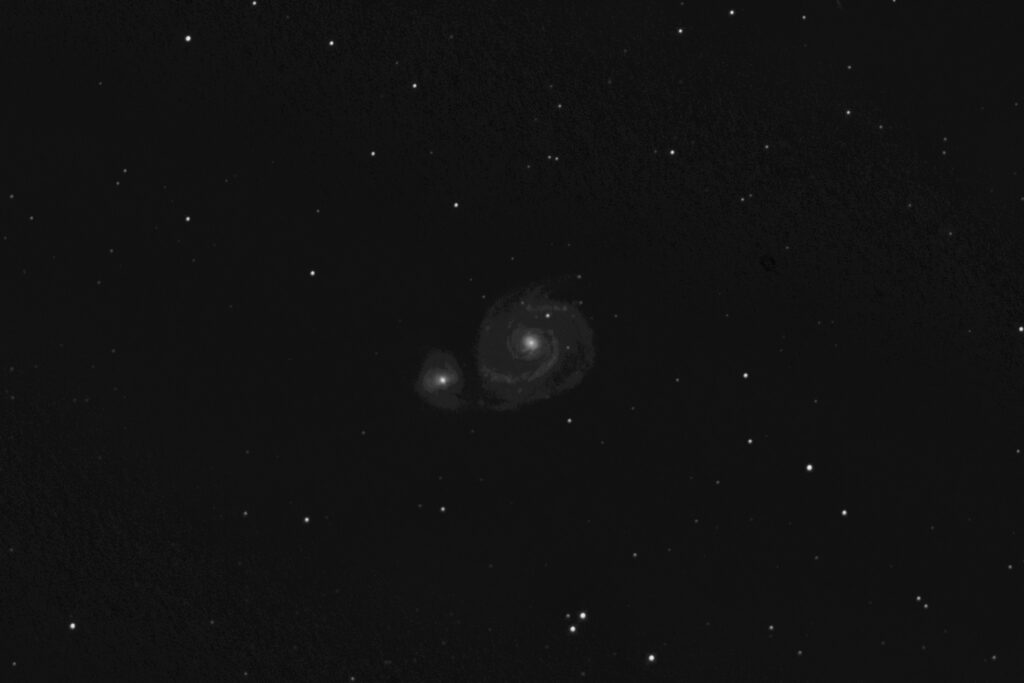
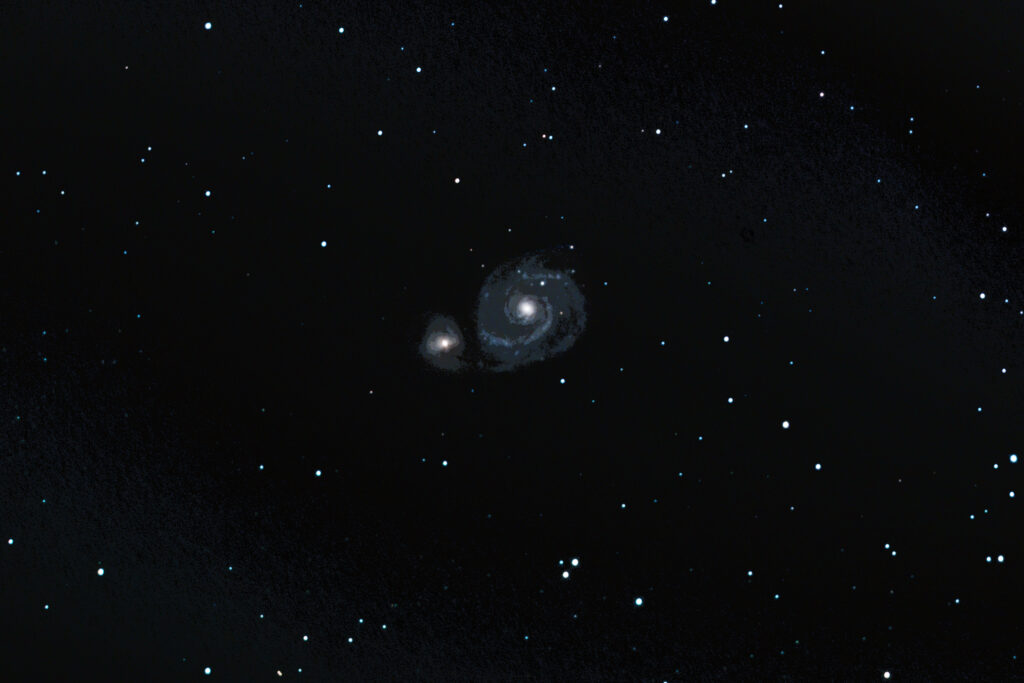
After 2 or 3 months we finally saw some clear night skies and I was able to do some basic, crappy imaging of the Messier 31, The Andromeda Galaxy, and attempt some planetary imaging.
I will qualify what I said about the weather a little. We have had the odd clear night, but either the timing was bad for me or it was clear but the humidity was above 90%. The imaging I did do over last week saw the humidity hanging around 70% and I still finished the night sopping wet. Not comfortable at all. It feels like waiting for someone to finish a long hot shower so you can go in right after them and start setting up a heavy telescope.
All that said, I managed to get some snaps on Thursday night, staying up a little later than I should have. I got my whole computerized rig with laptop set up in my backyard and got everything aligned properly. The sky wasn’t great. There was some wispy high cloud cover, but I thought it would be fine for planets, especially one as bright as Jupiter is right now. Saturn, while relatively tiny at the moment, just passed opposition a few days before, so it was also pretty bright.
The problem was, and I later confirmed, that trying to image directly above a house that’s been baking in the sun for the entirety of the daylight hours causes a lot of heat shimmer. The focuser on my primary astrophotography scope has a normal and fine adjustment nob. And I was viewing the images directly through the eyepiece on a zoomed-in digital image on my laptop by way of my Orion StarShoot Mini. But I could not obtain a clear focus.
Still, I was ready to go, had all my gear out, and was sweating like a pig. I shot some video with the StarShoot to use for stacking later in Registax6. And I dug out my old smart phone mount and expensive planetary imaging eyepiece. Despite far more magnification, the result was the same with auto (sometimes you get lucky) and manual focus. Fuzz.
Somewhat dismayed, I broke everything down and went in to grab a shower. I then stayed up even later running alignment and stacking on my laptop. The resulting image was pretty crappy. So much so, I didn’t save it. What you see below are the better, touched up images from my Samsung Galaxy S20.
The following Saturday, aware of the shimmer issue, I tried again. But I was smarter (lazier) this time. Rather than drag out all the computerized mount stuff and align everything, I carried my old Orion SkyQuest XT8 scope out to the front of my house and set up in my driveway. There’s way, way more light pollution out front from nearby streetlights to neighbors porchlights and the occasional passing car. But for planets, that’s fine, unless you’re trying to find Polaris to polar align your mount. Thankfully, I wasn’t.
This second attempt I actually got some cleaner video, roughly 4GB for each planet. I didn’t bother much with my smartphone this time. Unlike my computerize mount, this scope doesn’t follow the planets, so grabbing video of them with a 2x Barlow lens seemed like a better idea. Both scopes have roughly the same focal length and magnification but the SkyQuest does gather more light. The planets are so bright, though, that light isn’t much of a problem. Here’s the result after a little aligning and stacking.
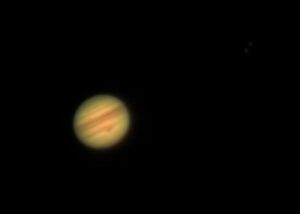
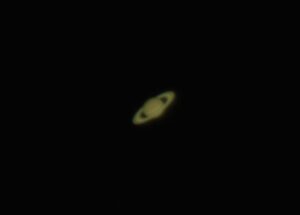
Encouraged, as that Jupiter pic was the best result I’ve gotten so far with the StarShoot Mini and Registax6 of a planet (first time done in my front yard), I planned to set up for some deep sky imaging the following night.
The humidity was definitely worse than the previous night. Water began beading on my scope, tripod, and mount before I even got all the cables connect. I spent several minutes warming everything up with a hair dryer and de-fogging all the lenses. That lasted the rest of the night, thankfully.
I did the same to my laptop so I could connect the StarShoot Mini to use as my auto guider. I then connected my Canon Eos Ra and all the other cables before attempting to balance the scope. I thought the balance was pretty good, except for maybe being a little heavy on the backend. I assumed the mount could tolerate that and proceeded to fire things up, begin the alignment procedure, and check to be sure all the finder scopes were pointing accurately.
The 3-star alignment seemed to work like a charm, but when I tried to lock onto a star to allow P2HD to guide things, I got an error that it couldn’t make sufficient adjustments to the declination. So, I attempted to slip my scope just a little bit forward to balance the backend but ended up cause the mount to turn. That was bad. It meant I had to zero everything out and start over.
The problem with performing the 3-star alignment is I have to contort myself into some pretty awkward angles sometimes to find a star in the finder scope so I can adjust the telescopes position properly. The other problem is the alignment procedure often selects stars I can’t see from my backyard because of trees and houses. It’s not the programs fault, but it’s still a pain.
An hour later I got everything re-aligned and the object search function to be mostly spot on, which is really important when you can’t actually see the object you’re looking for with your naked eye. I adjusted the focus and exposure time on the StarShoot Mini and could clearly see Andromeda as a bright, cloudy orb on my laptop screen. That was much more of a delight than it should have been, but it was also 1 a.m. and I was drenched in sweat and chugging bottles of water.
I picked Andromeda as my target for night, because I knew it would be relatively bright and wouldn’t be obstructed by anything (except massive light pollution from the city). I’ve also been wanted to get a much improved image of it since it was one of my earliest targets, even with my old Samsung Galaxy S9.
Since I lost an hour to adjustments, I set the camera to grab 15 images with 4 minute exposures at a 1600 ISO. That’s more ISO than I’ve typically used with so much light pollution, but I hoped by Photoshop skills and tools would let me filter more of it out than in the past.
The hour passed as I listened to an audio book, sipped water, and wiped my face over and over with a rag. It was R.A. Salvatore’s latest addition to the Drizzt saga, Starlight Enclave. It’s a guilty pleasure at this point but it kept me entertained. I did check the LCD screen a few times as images would snap and display. It all looked good and I was relieved to be able to begin picking up and snapping some darks and flats once the last image clicked. It was nearly 3 a.m. before I got everything picked up and moved back inside. And dear god, I needed a shower.
While I remembered basically everything about setting up my gear and aligning it, I wasn’t so fortunate with Adobe Photoshop. In the past few months I had forgotten so many hotkeys and procedures. I need to go back and refresh my memory with some of the tutorial videos I watched. In the meantime, this was the best I could do. The light pollution in the bottom is just horrible. Either GradientXTerminator stopped working due to some update or it just couldn’t save me.
Strangely enough, after comparing the image to some of earlier attempts, this one is actually the best of the bunch. You can actually see some of the nebulosity in the disk, rather than just a ball of light. I think I can do a lot better with a darker sky and more time to collect data. I might also try to reprocess the image once I’ve regained some of my Photoshop skills.

