Within recent months I got a really great deal on a Celestron CPC 1100 with Edge HD Optics from a former member of the local astronomy society. This scope is an 11-inch monster and weighs 55lbs mounted in its GPS-enabled fork mount. It’s the kind of scope I would never have purchased for myself new, given the cost.
But as excited as I was for the upgrade and was amazed by the images it could return even from my streetlight-lit front yard, I couldn’t mount my trust Canon EOS RA to the back of it and just start taking pictures. The reasons for this are technical and involve focal length and the need for extender tubes and such, but the primary issue is the fact a fork mount doesn’t rotate with the sky as it follows a target, so the far edges of your framing get shifted out of frame over time. And such a mount doesn’t work with autoguiding software, so the scope won’t stay on an image with the same degree of “stillness” you can get with an equatorial mount.
The fixes for this are both pretty expensive. The first I looked into was getting a “wedge”. This hunk of metal would allow me to attach the scope and fork mount to it on the tripod (would be a lot of heft), effectively turning it into an equatorial mount. But it’s finnicky and I was warned against it by the people I spoke to about it.
The other way seemed so strange and counterintuitive to me and was equally expensive. I could purchase a Starizona HyperStar designed specifically for my telescope and camera. That’s the real limiting factor as it will only work on these two pieces of equipment. I can’t just swap in a new camera or use it on a different scope.
The device itself is a metal tube with lenses that doesn’t attach to the rear of my scope with the focuser but instead swaps into the slot where the secondary mirror lies. It looks strange at first as I’m basically blocking part of my view at the very front of the scope with this tube and then attaching my camera to the back of it and letting a USB cable dangle to the ground, but the effect is negligible on the image the scope returns. Compound this with slotting a metal rod into the scope’s focuser to act as a counterweight and it definitely feels weird.
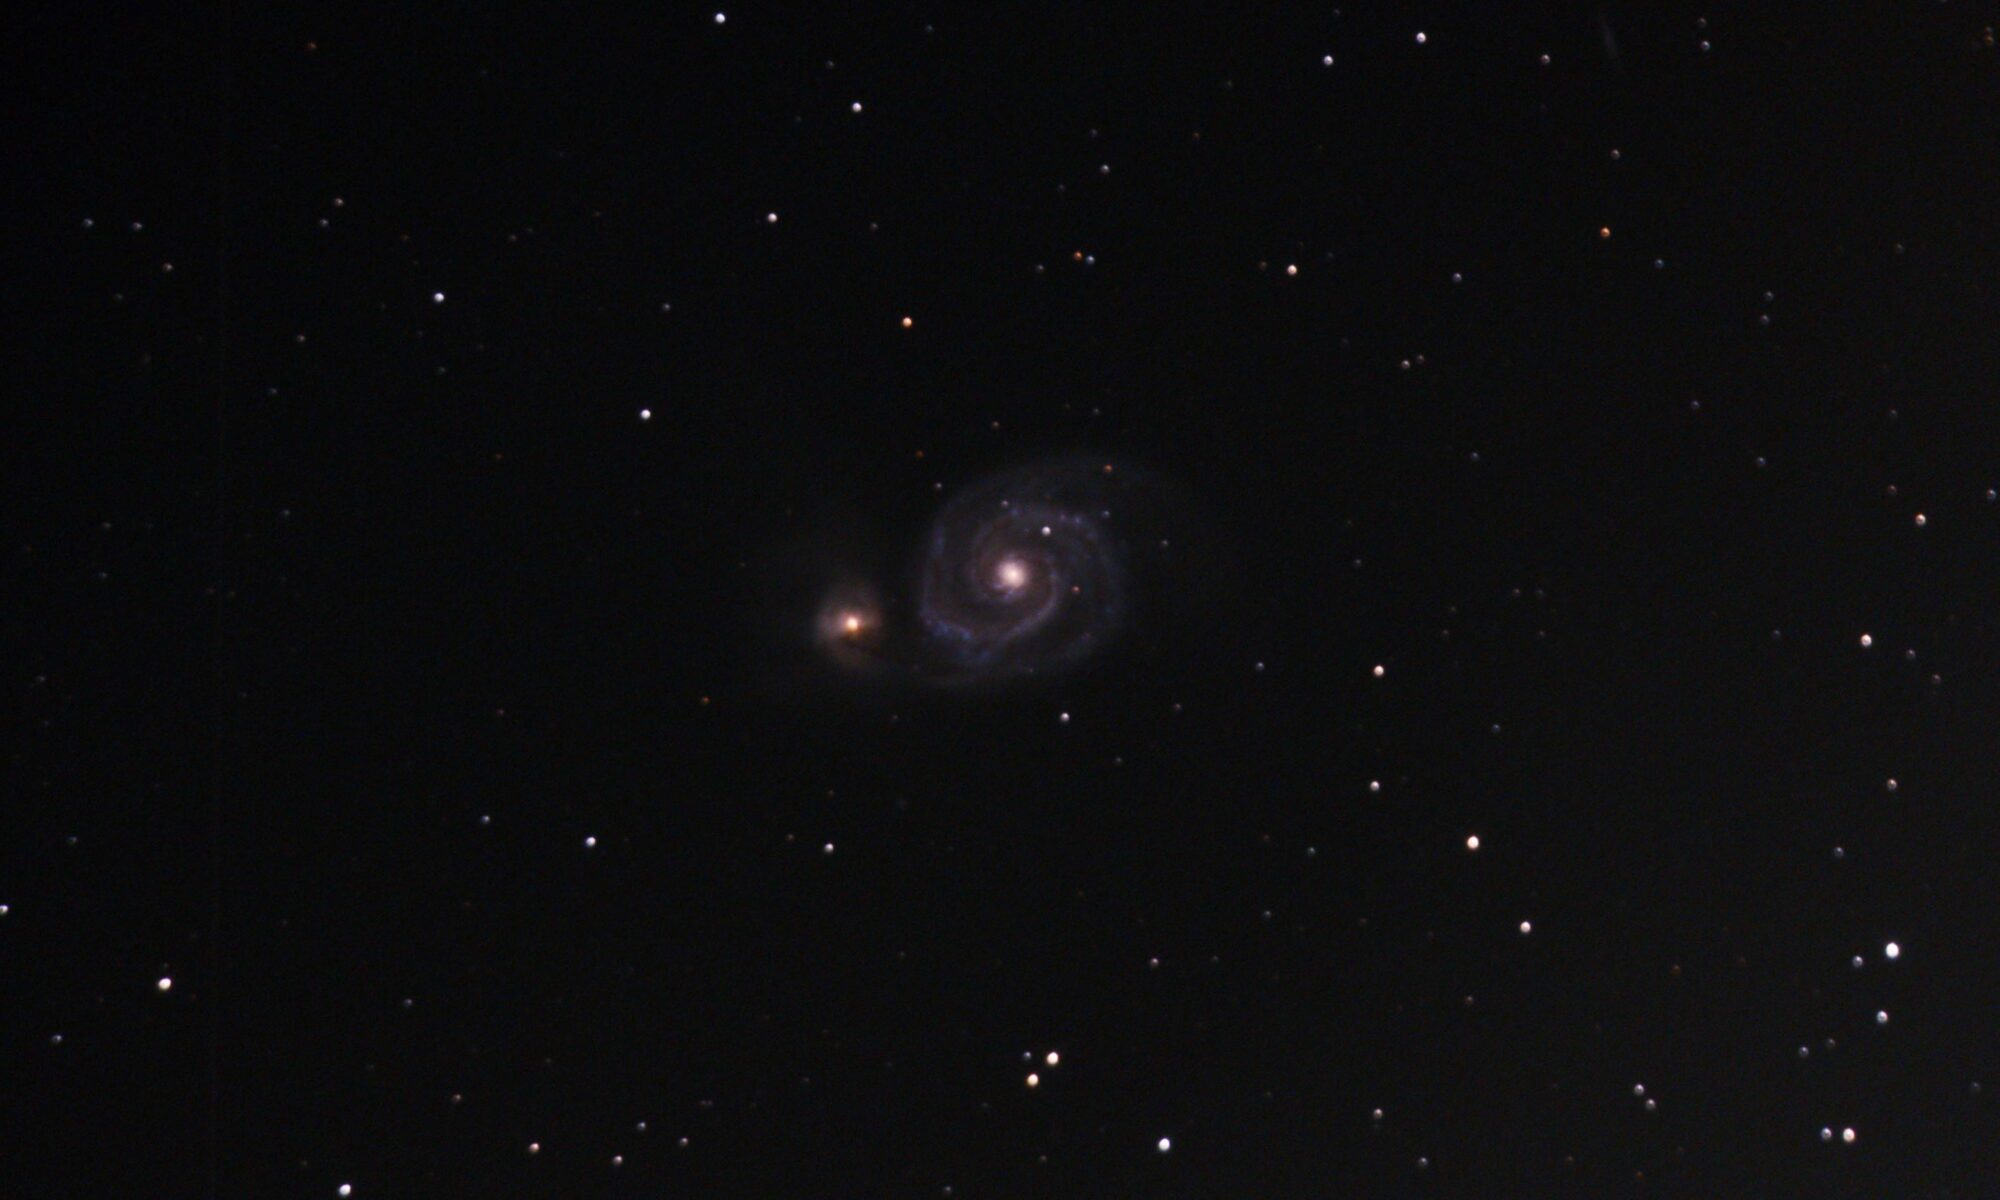
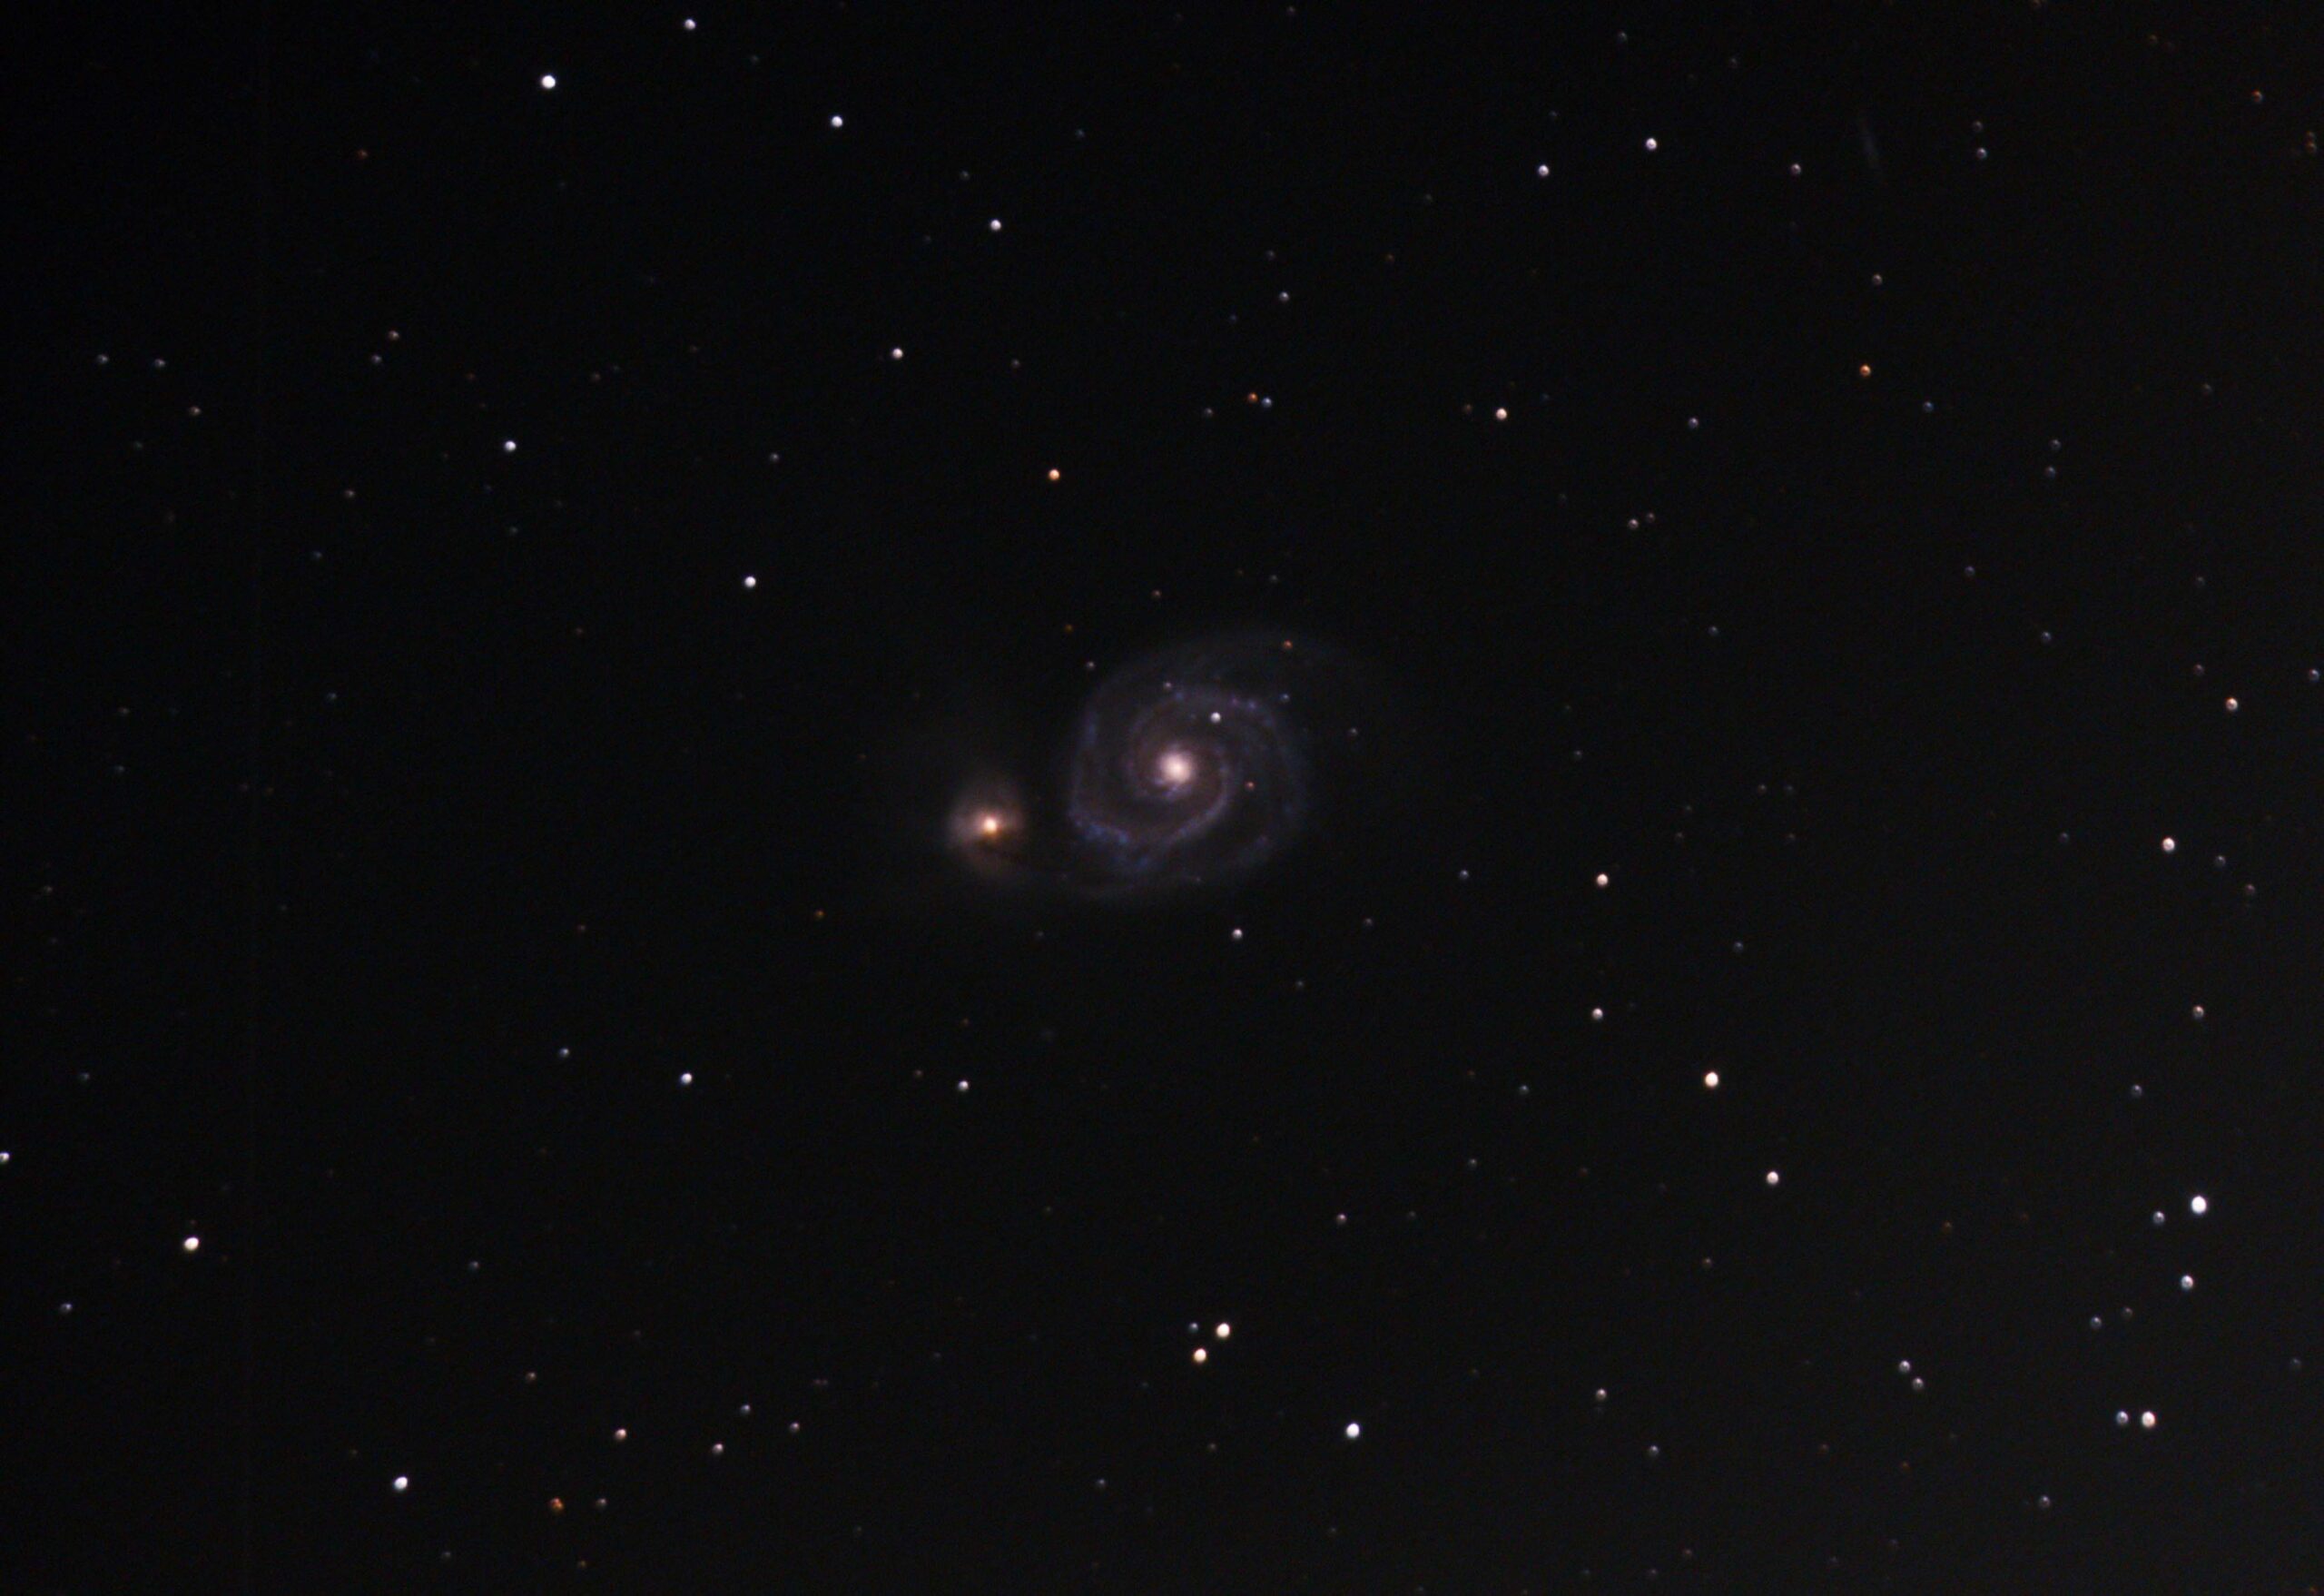
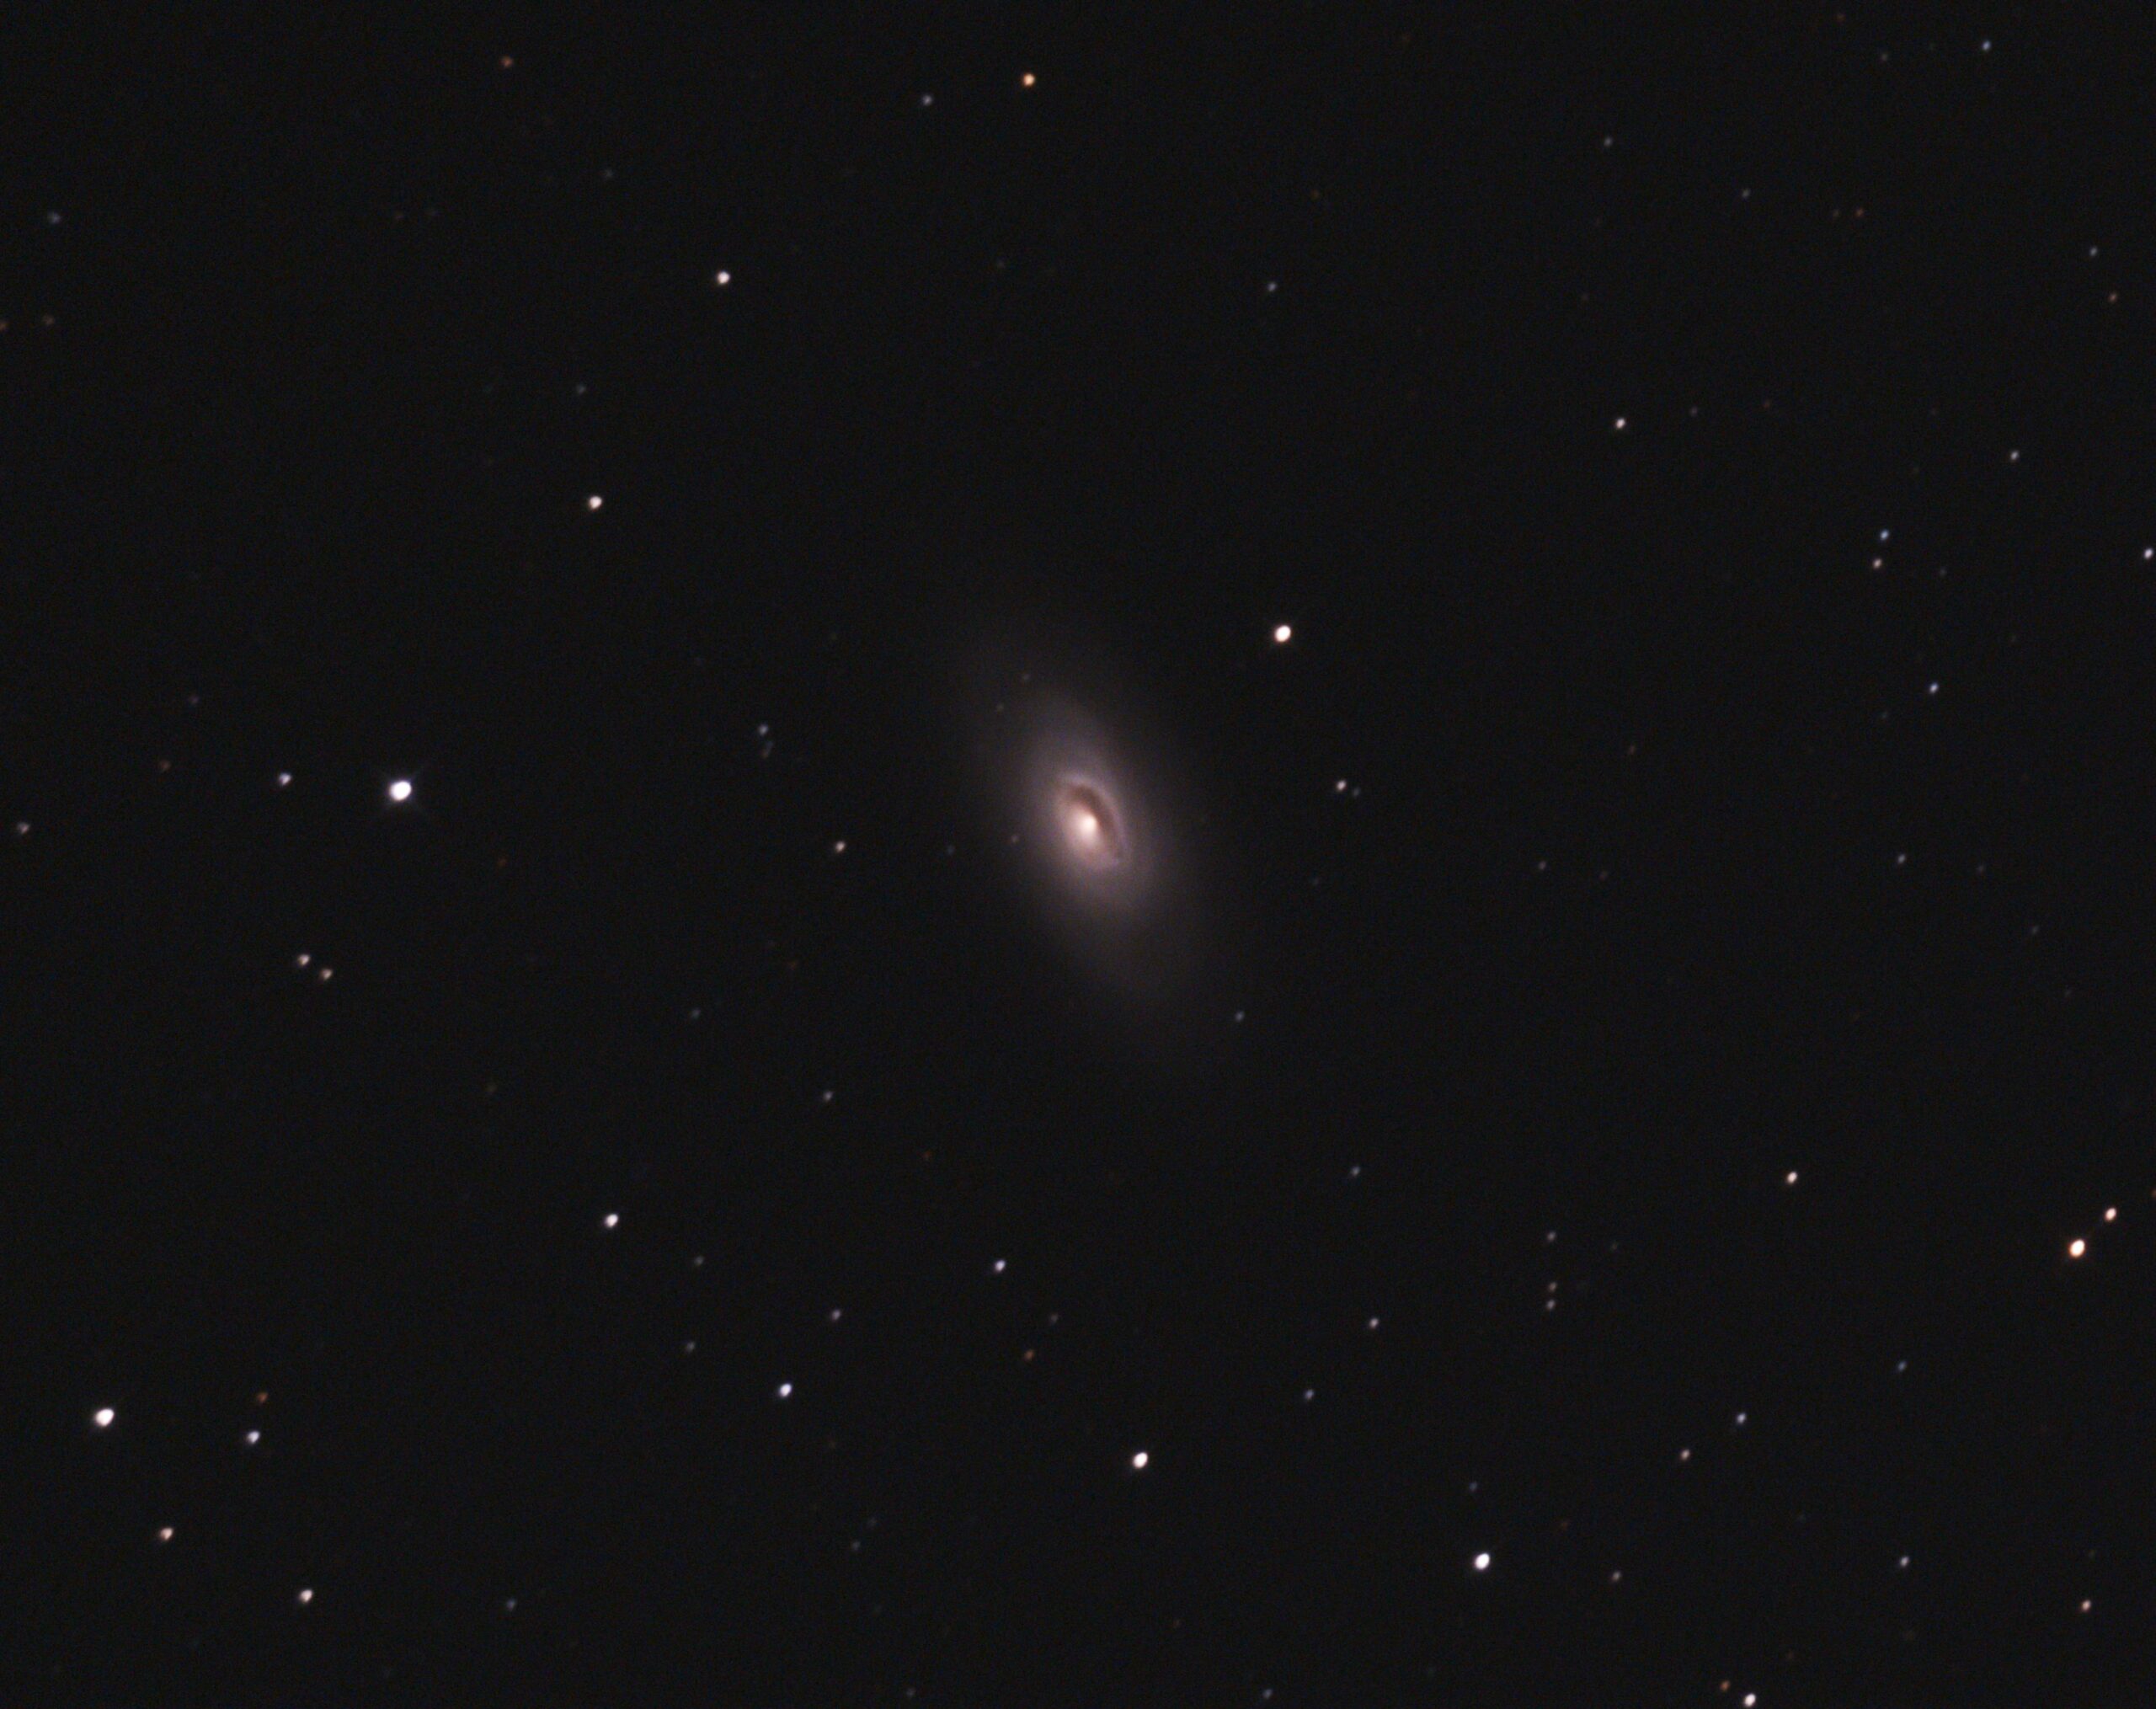
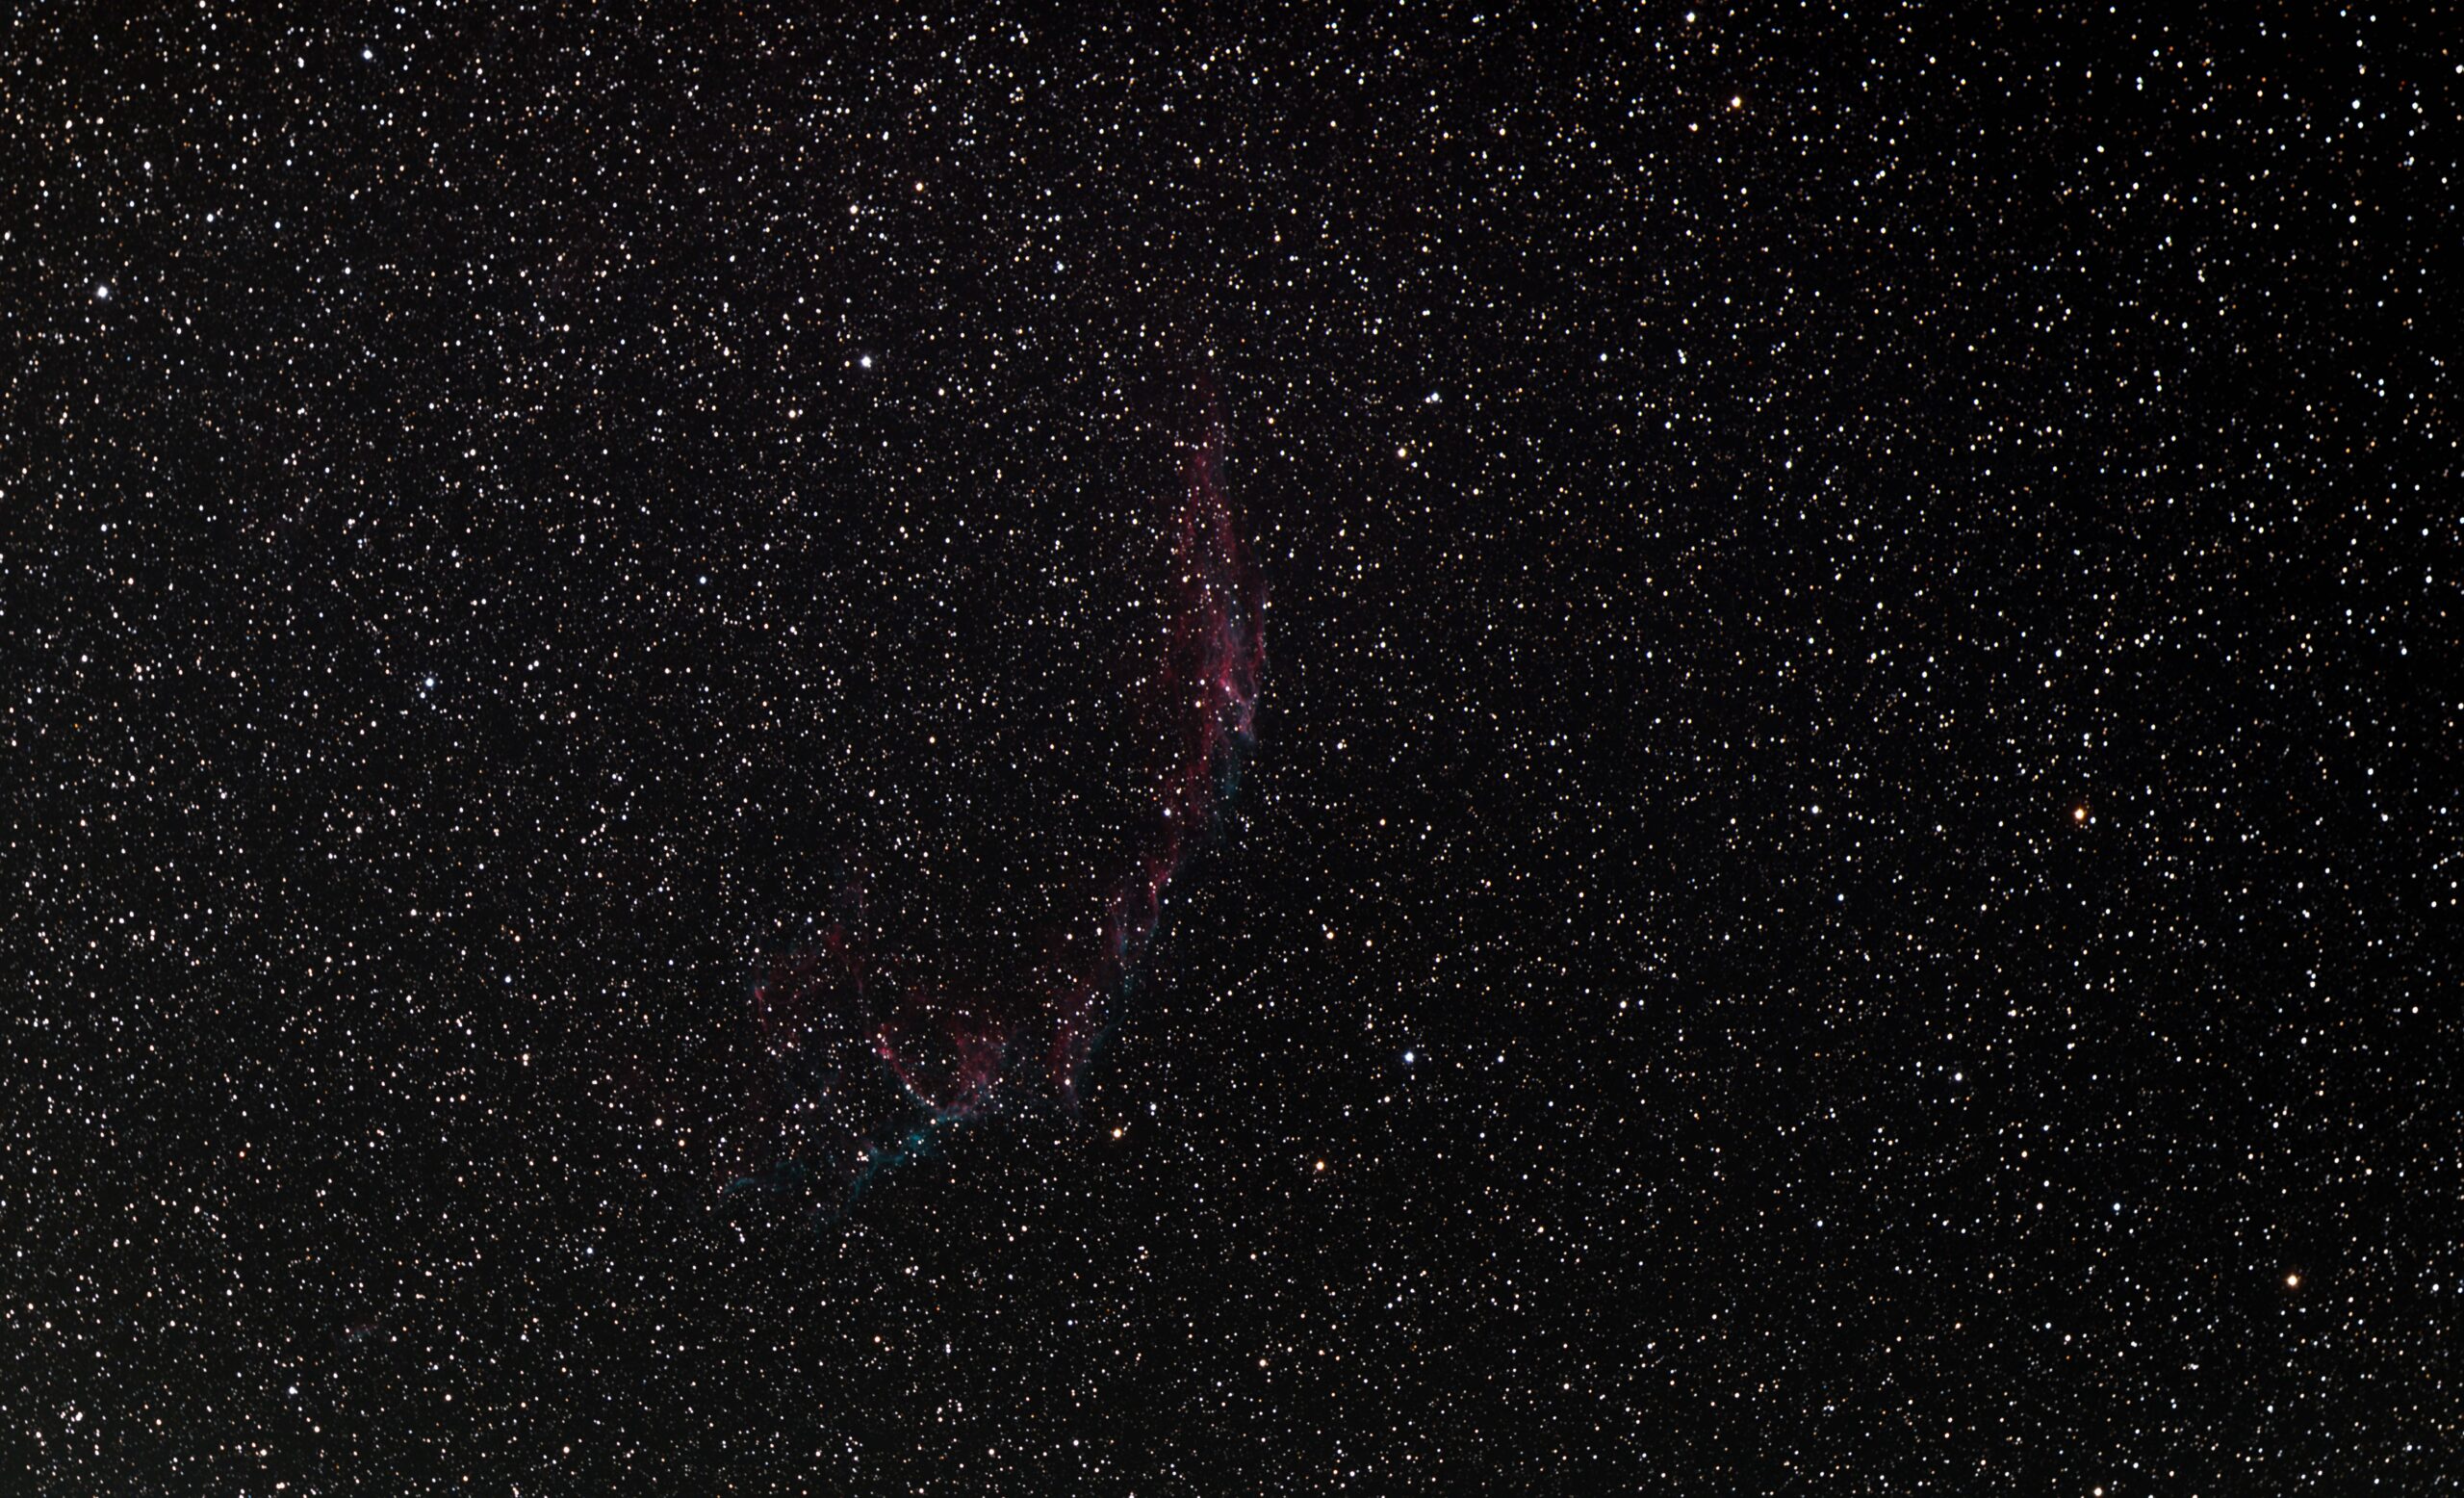
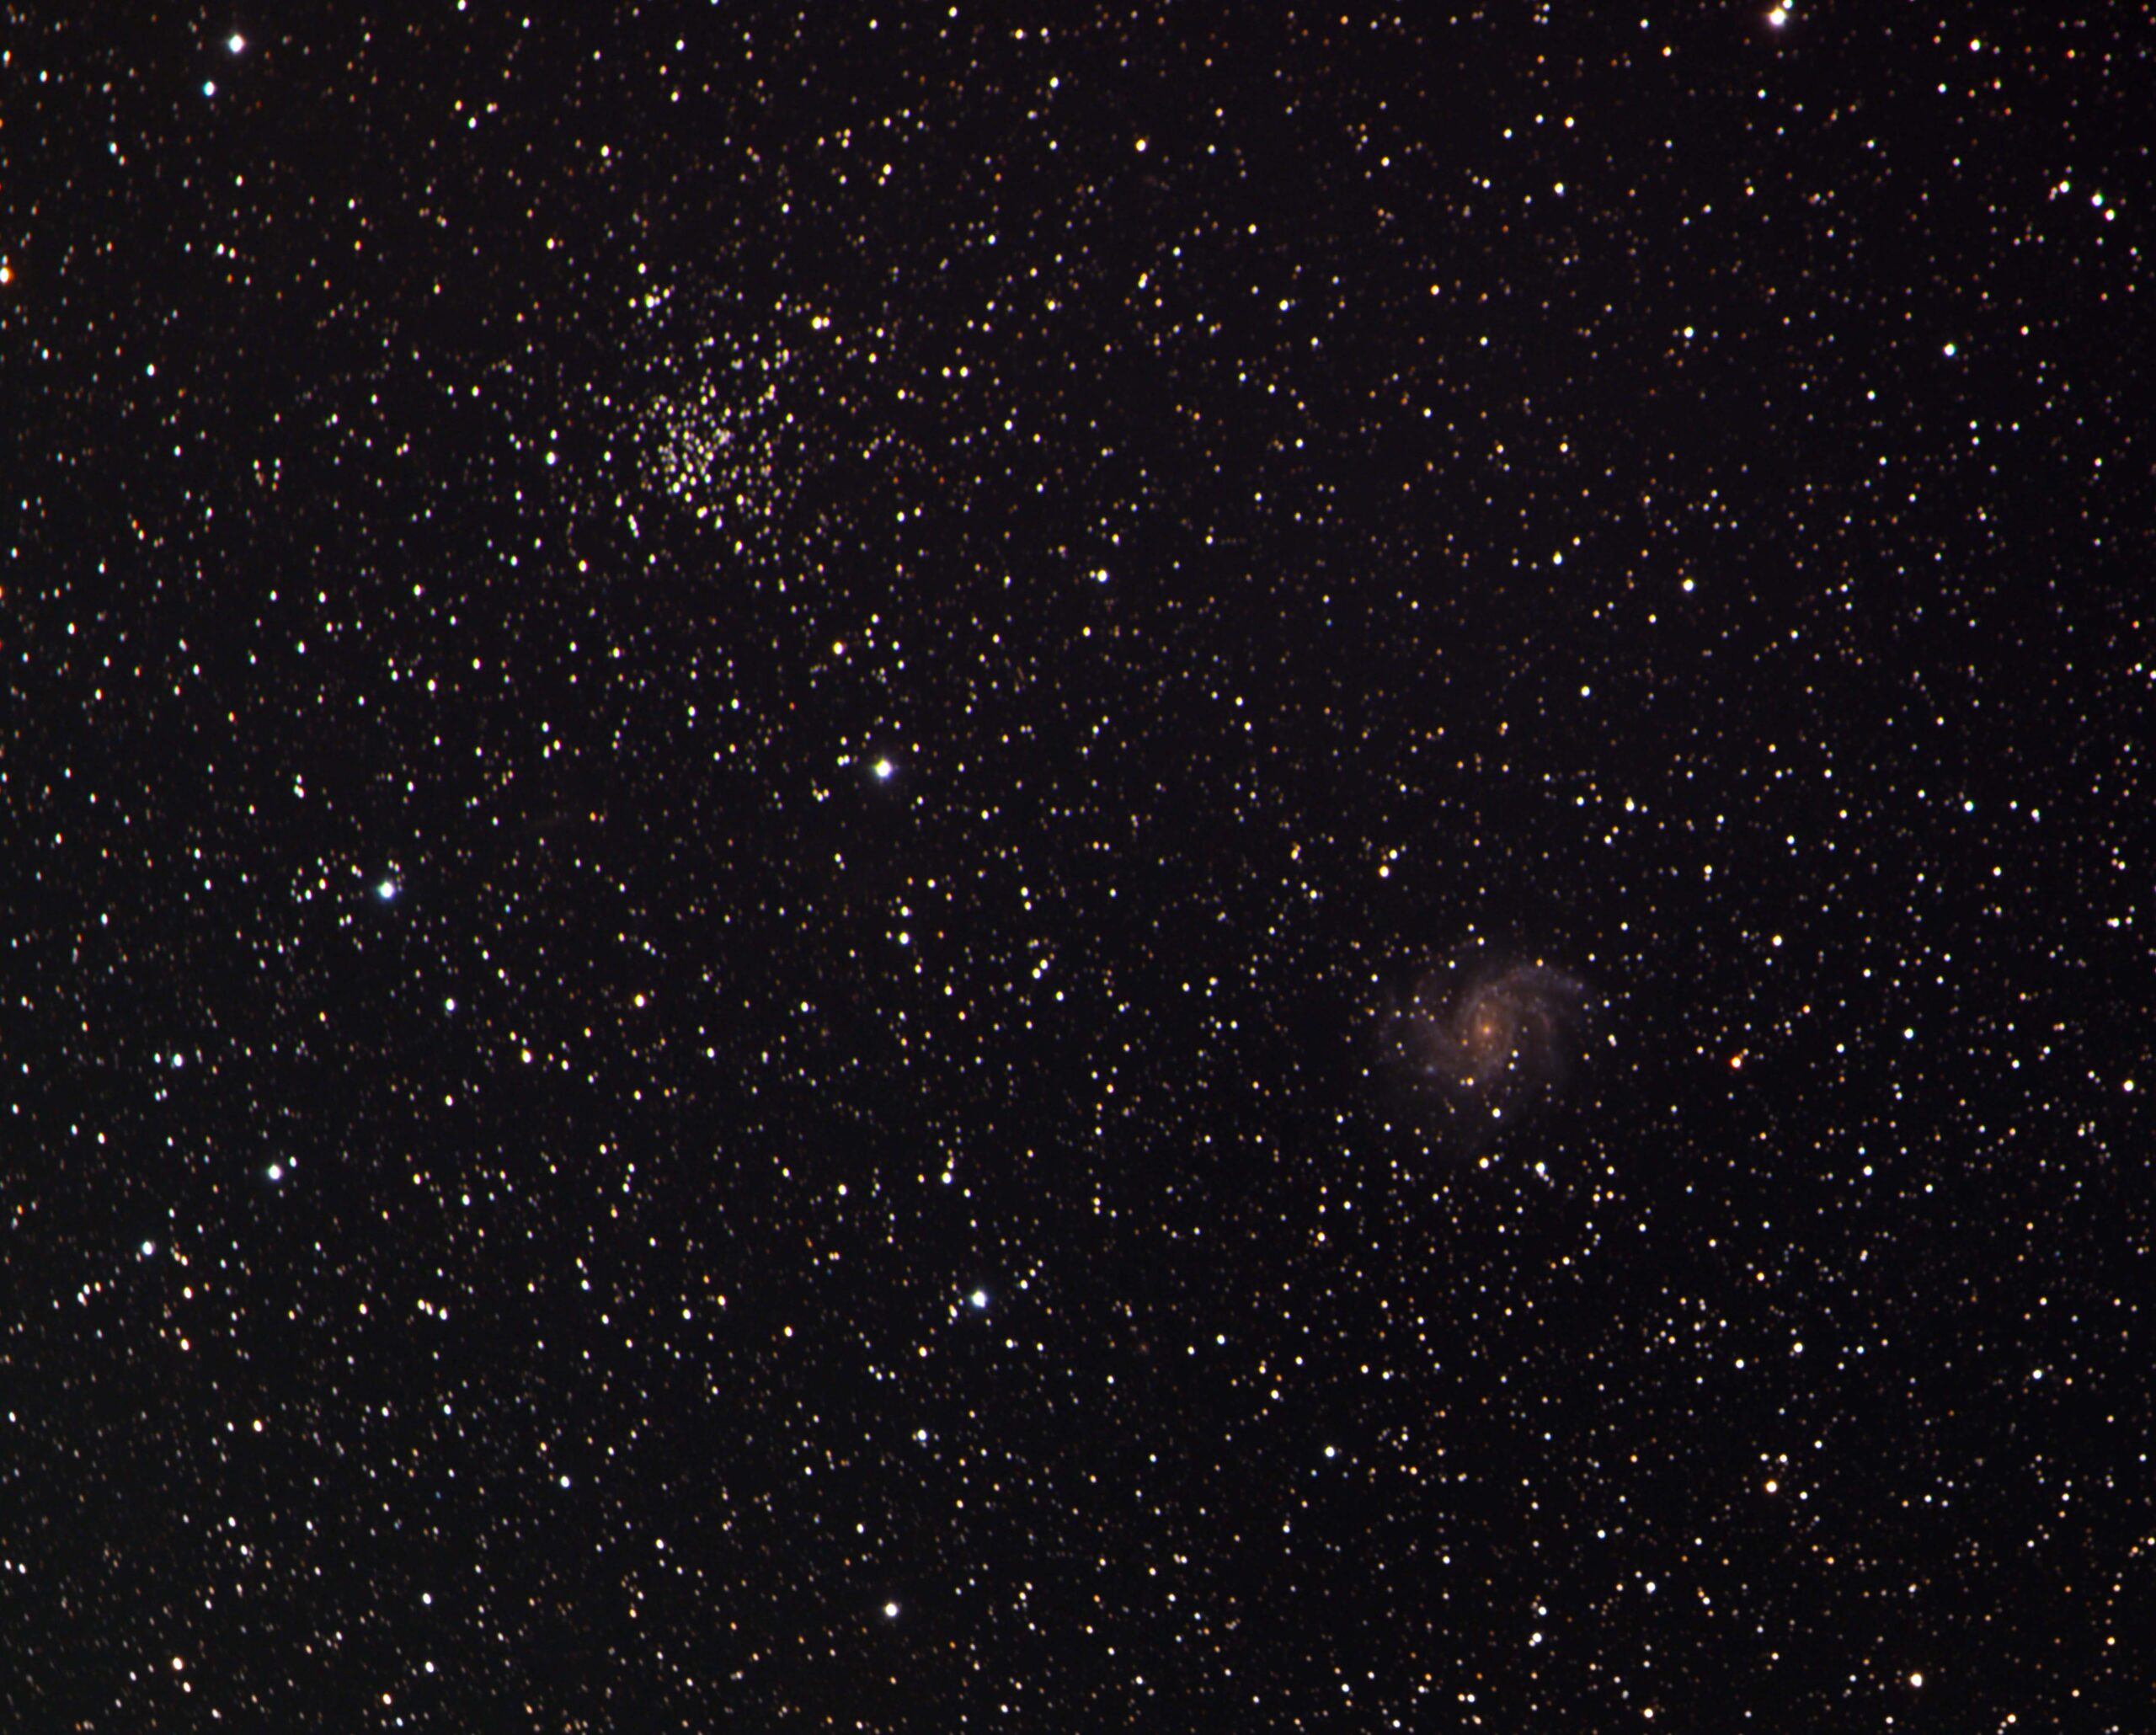
The HyperStar works by boosting the light gathering being transferred from my scope to my camera. It effectively speeds up the exposure time by a factor of 25x. Now when I take a 10 second exposure with it and my camera, it’s the equivalent to taking a 4 minute and 10 second exposure the old way. An object I would spend hours shooting and risking batteries going dead, alignment issues, random light pollutions, airplanes, etc., I can now do in half an hour with far less of a risk envelop of something ruining one of my images.
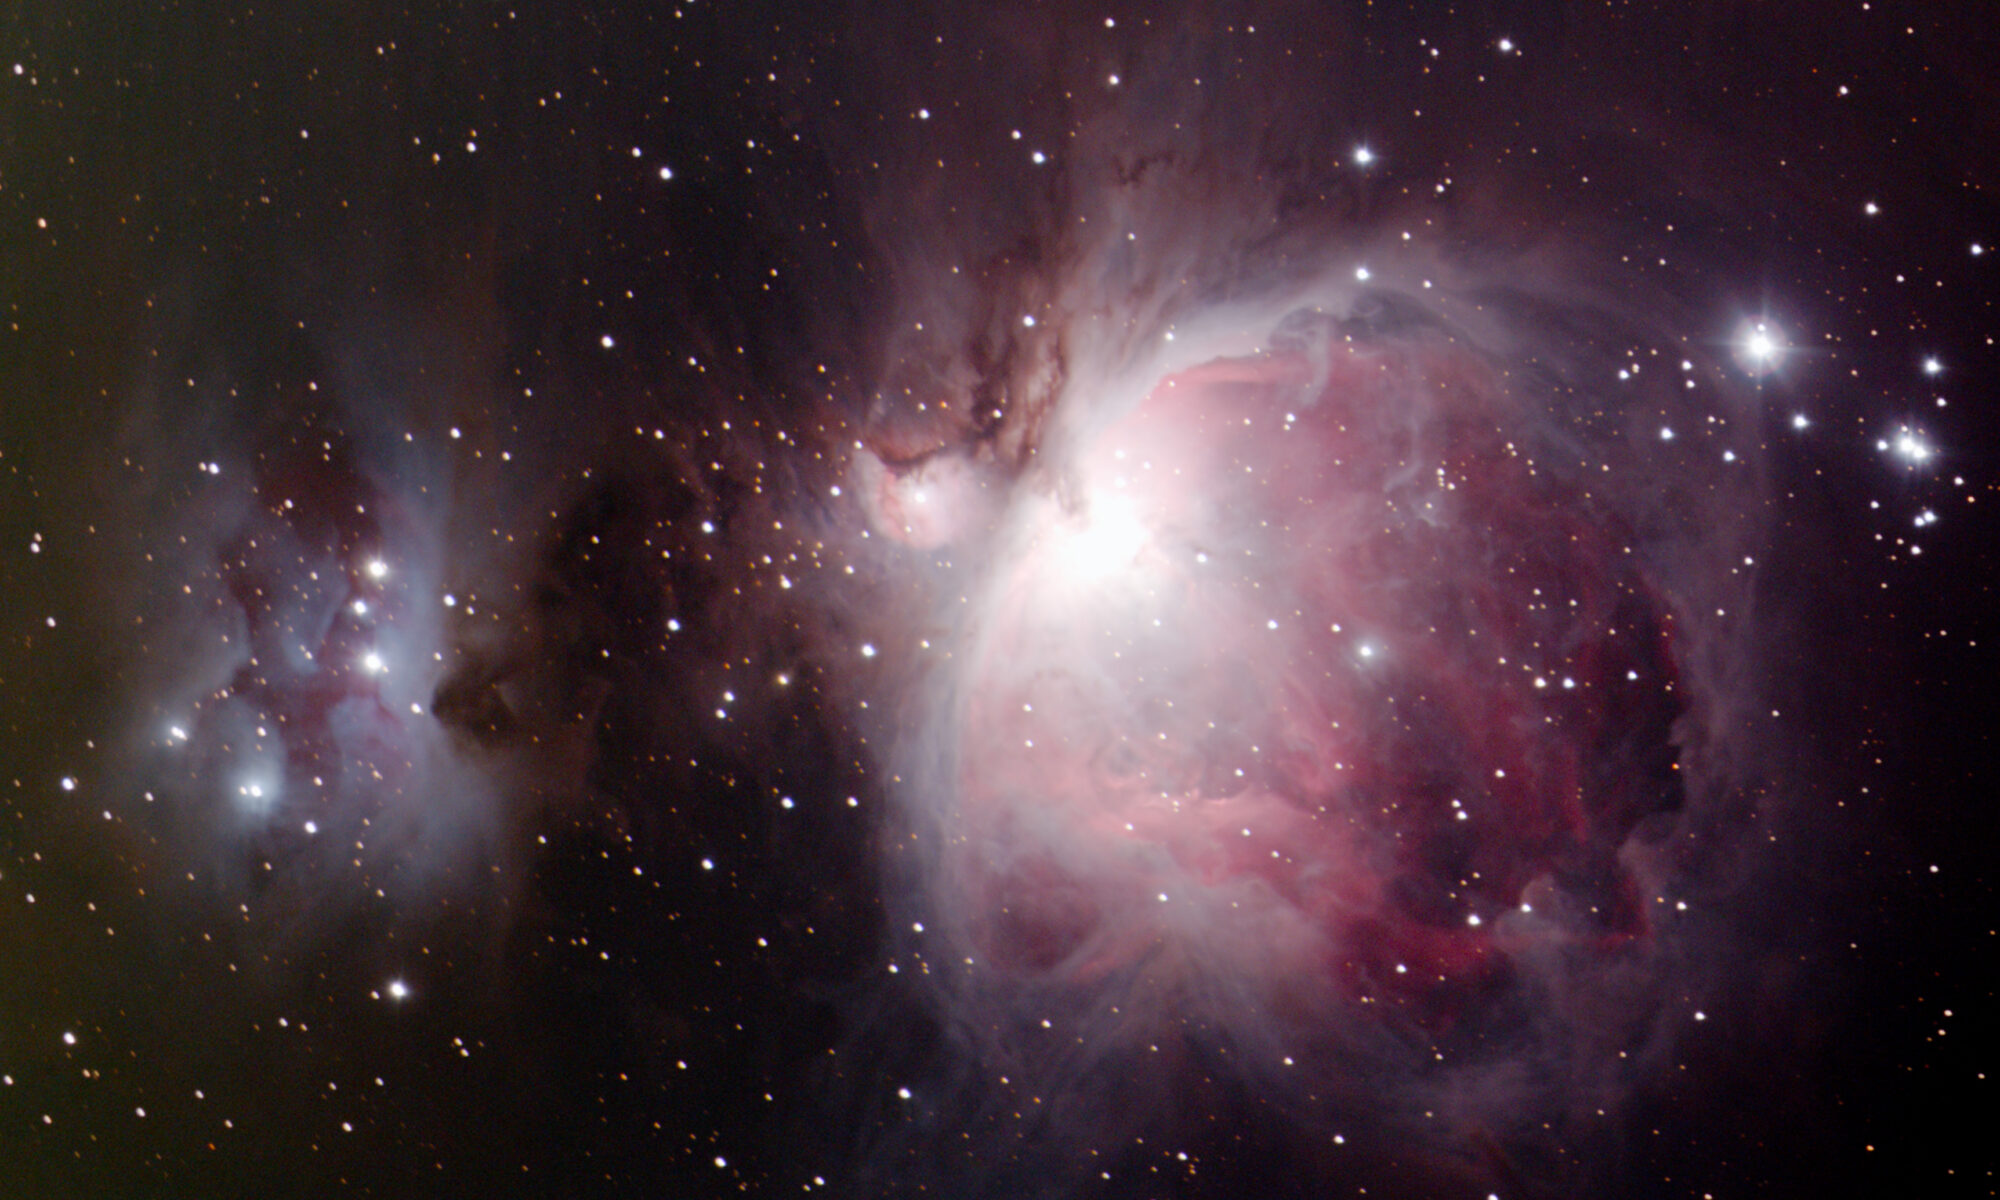
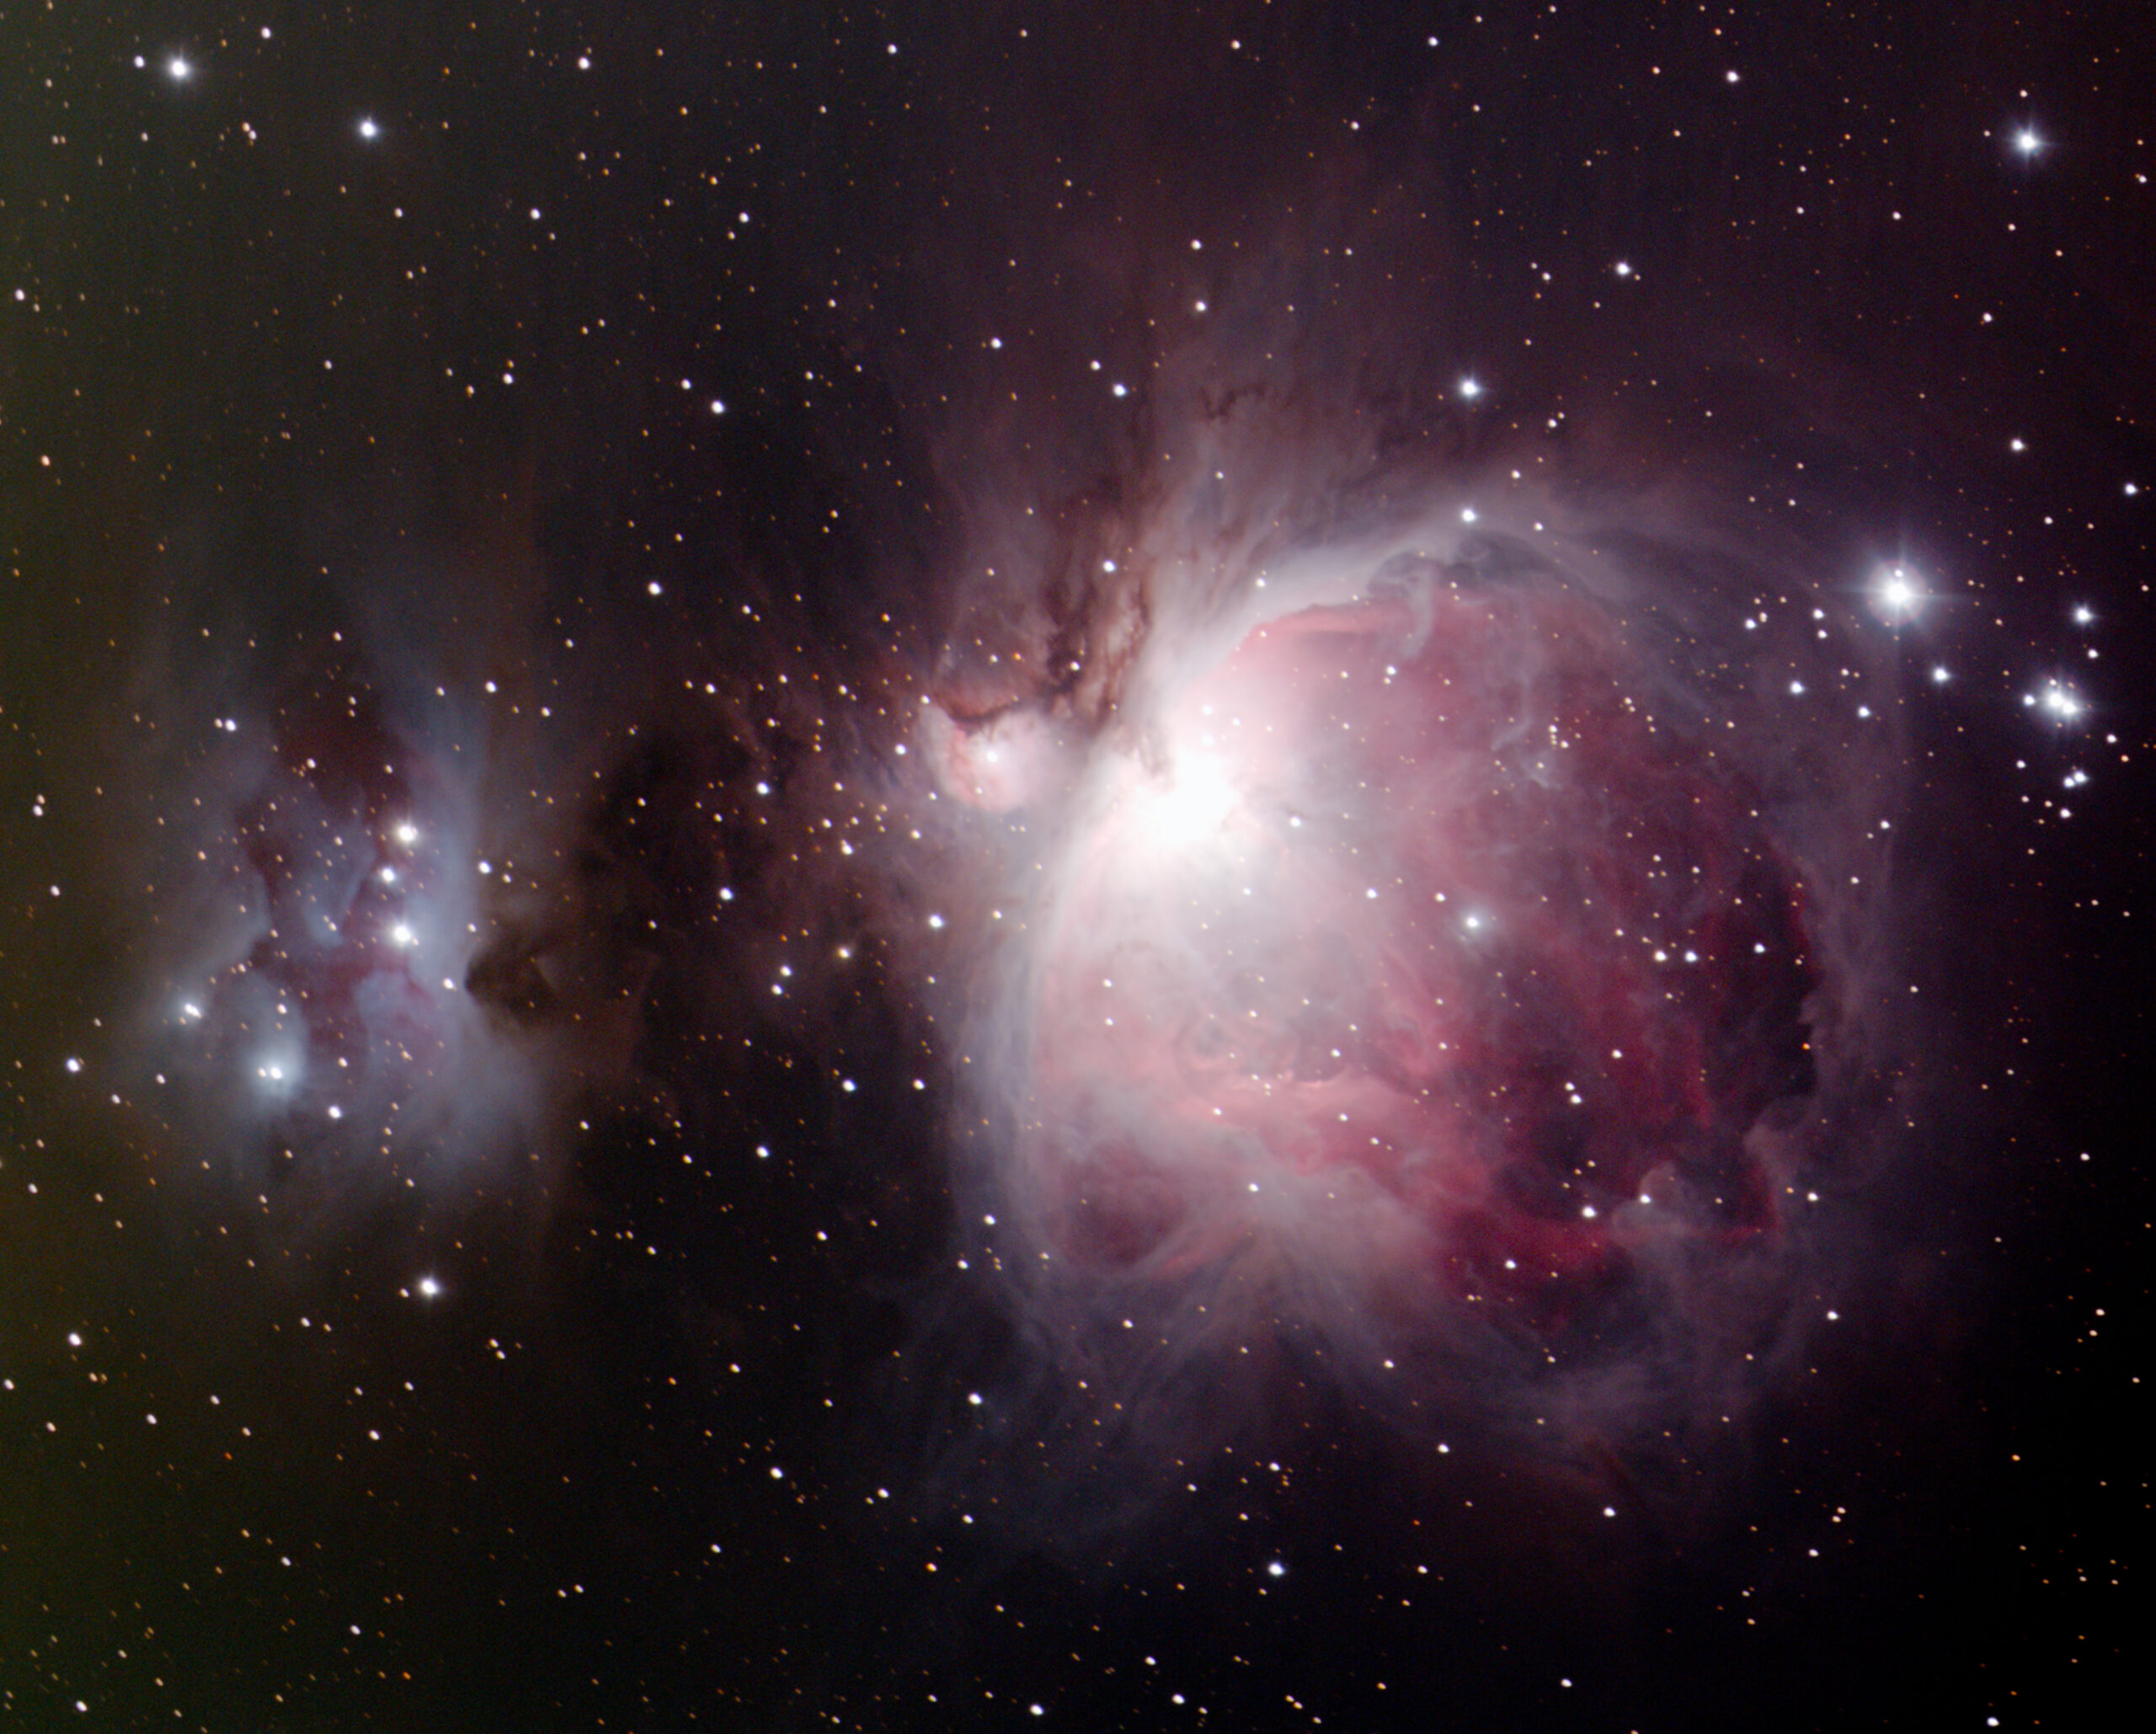
I also had to shift to using Astro Photography Tool to control my camera, which required some learning and I’m still figuring out the best configurations of exposure time and ISO settings. But the results have been pretty great so far. I tried capturing the Orion Nebula again, since that’s what I use as my site’s main image. This new image suffers from some light pollution the first one didn’t have, but it also consists of nearly double the images. I captured roughly 100 light frames compared to maybe 30 or 40. Far more detail and nebulosity comes through and it’s exciting to think what the image could look like when redone at a proper dark site.
If you can afford it and have a scope and camera setup that supports it, consider grabbing one. It’s probably the best astrophotography tool I’ve purchased. You get fast, quality exposures. And you have no need for managing an autoguiding camera, software, and mount connections. Let your scope slew to your target and start shooting. That’s it.