I’m not feeling well, but I wanted to share these images from my October trip to the dark site and the recent partial lunar eclipse.
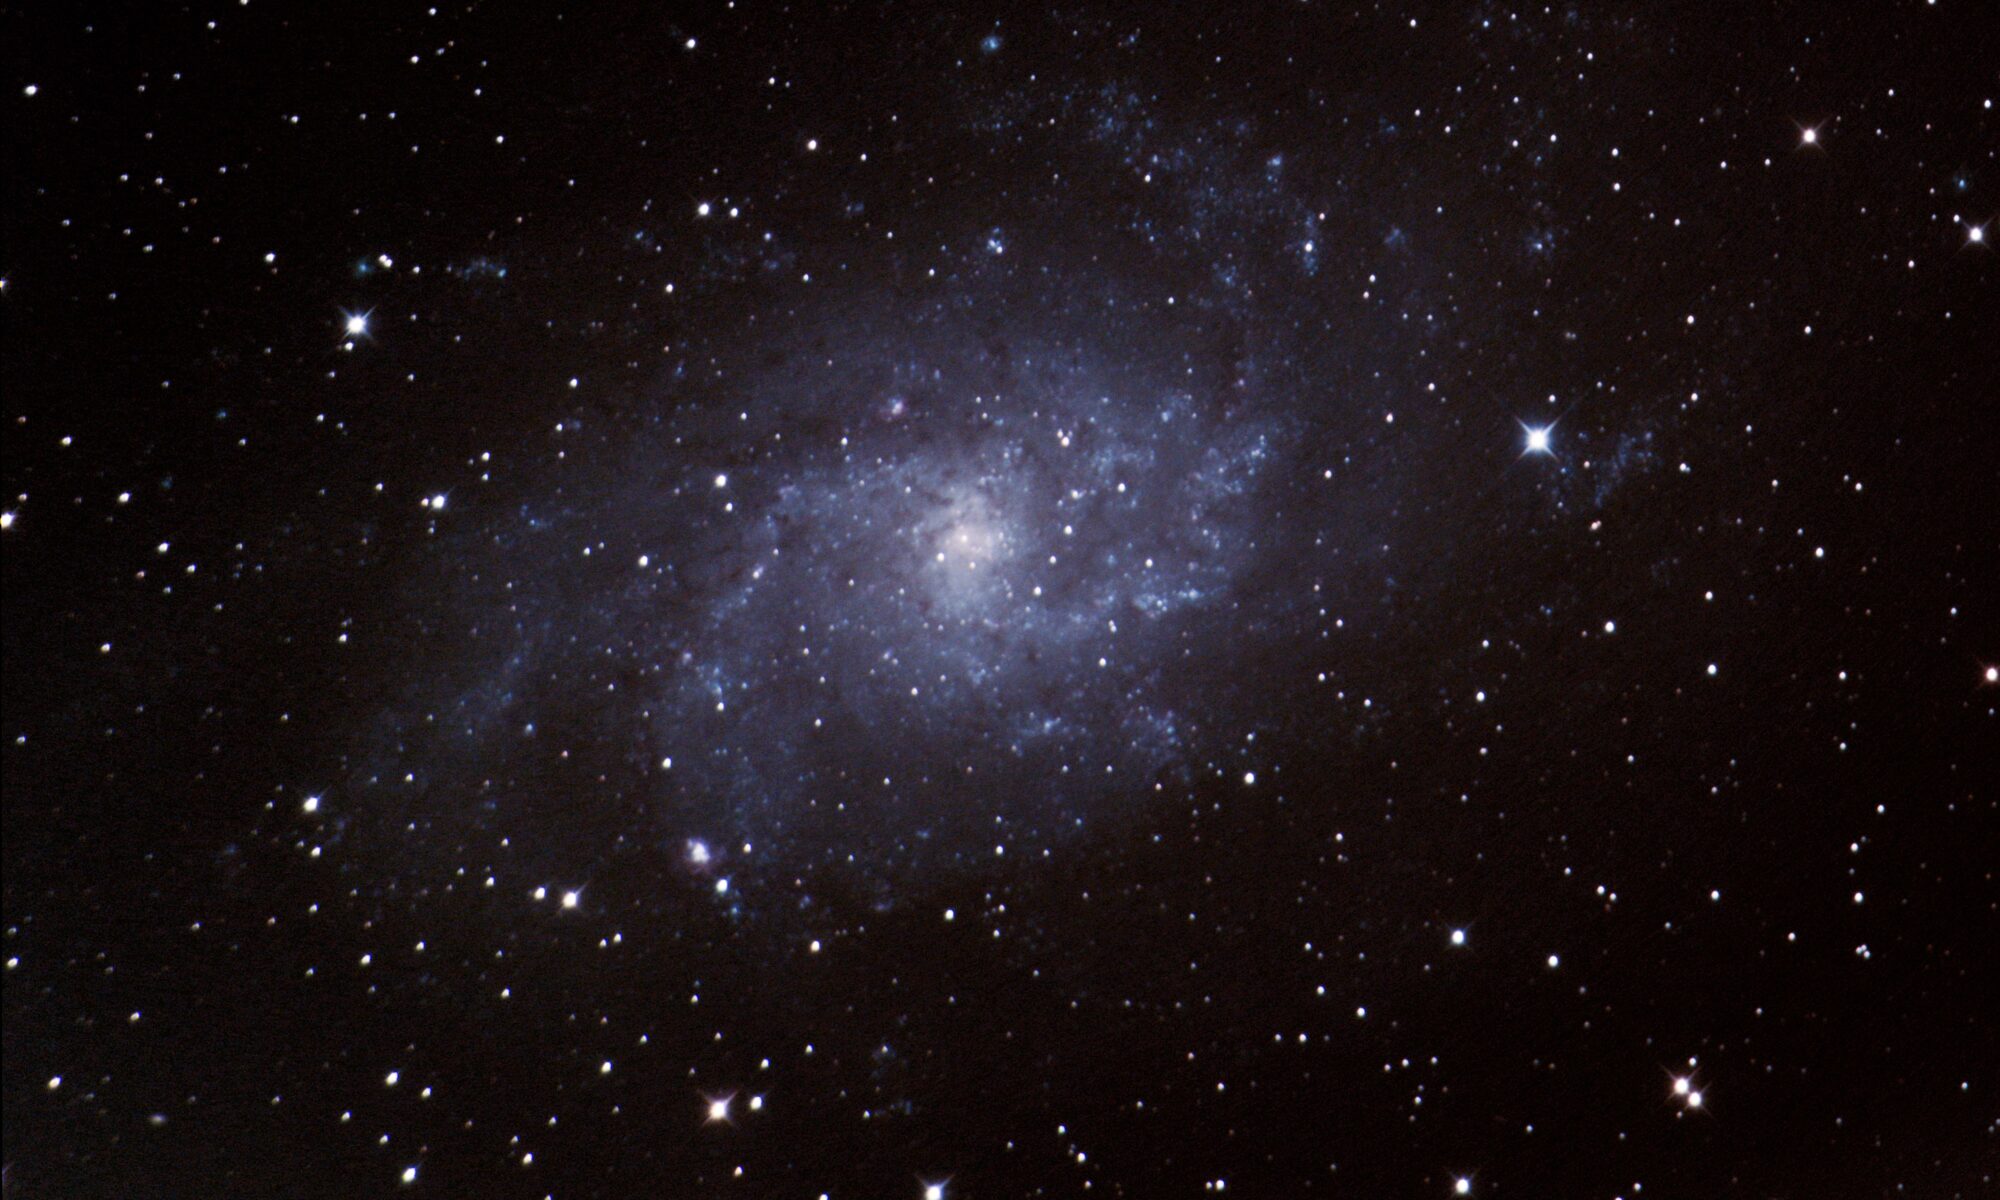
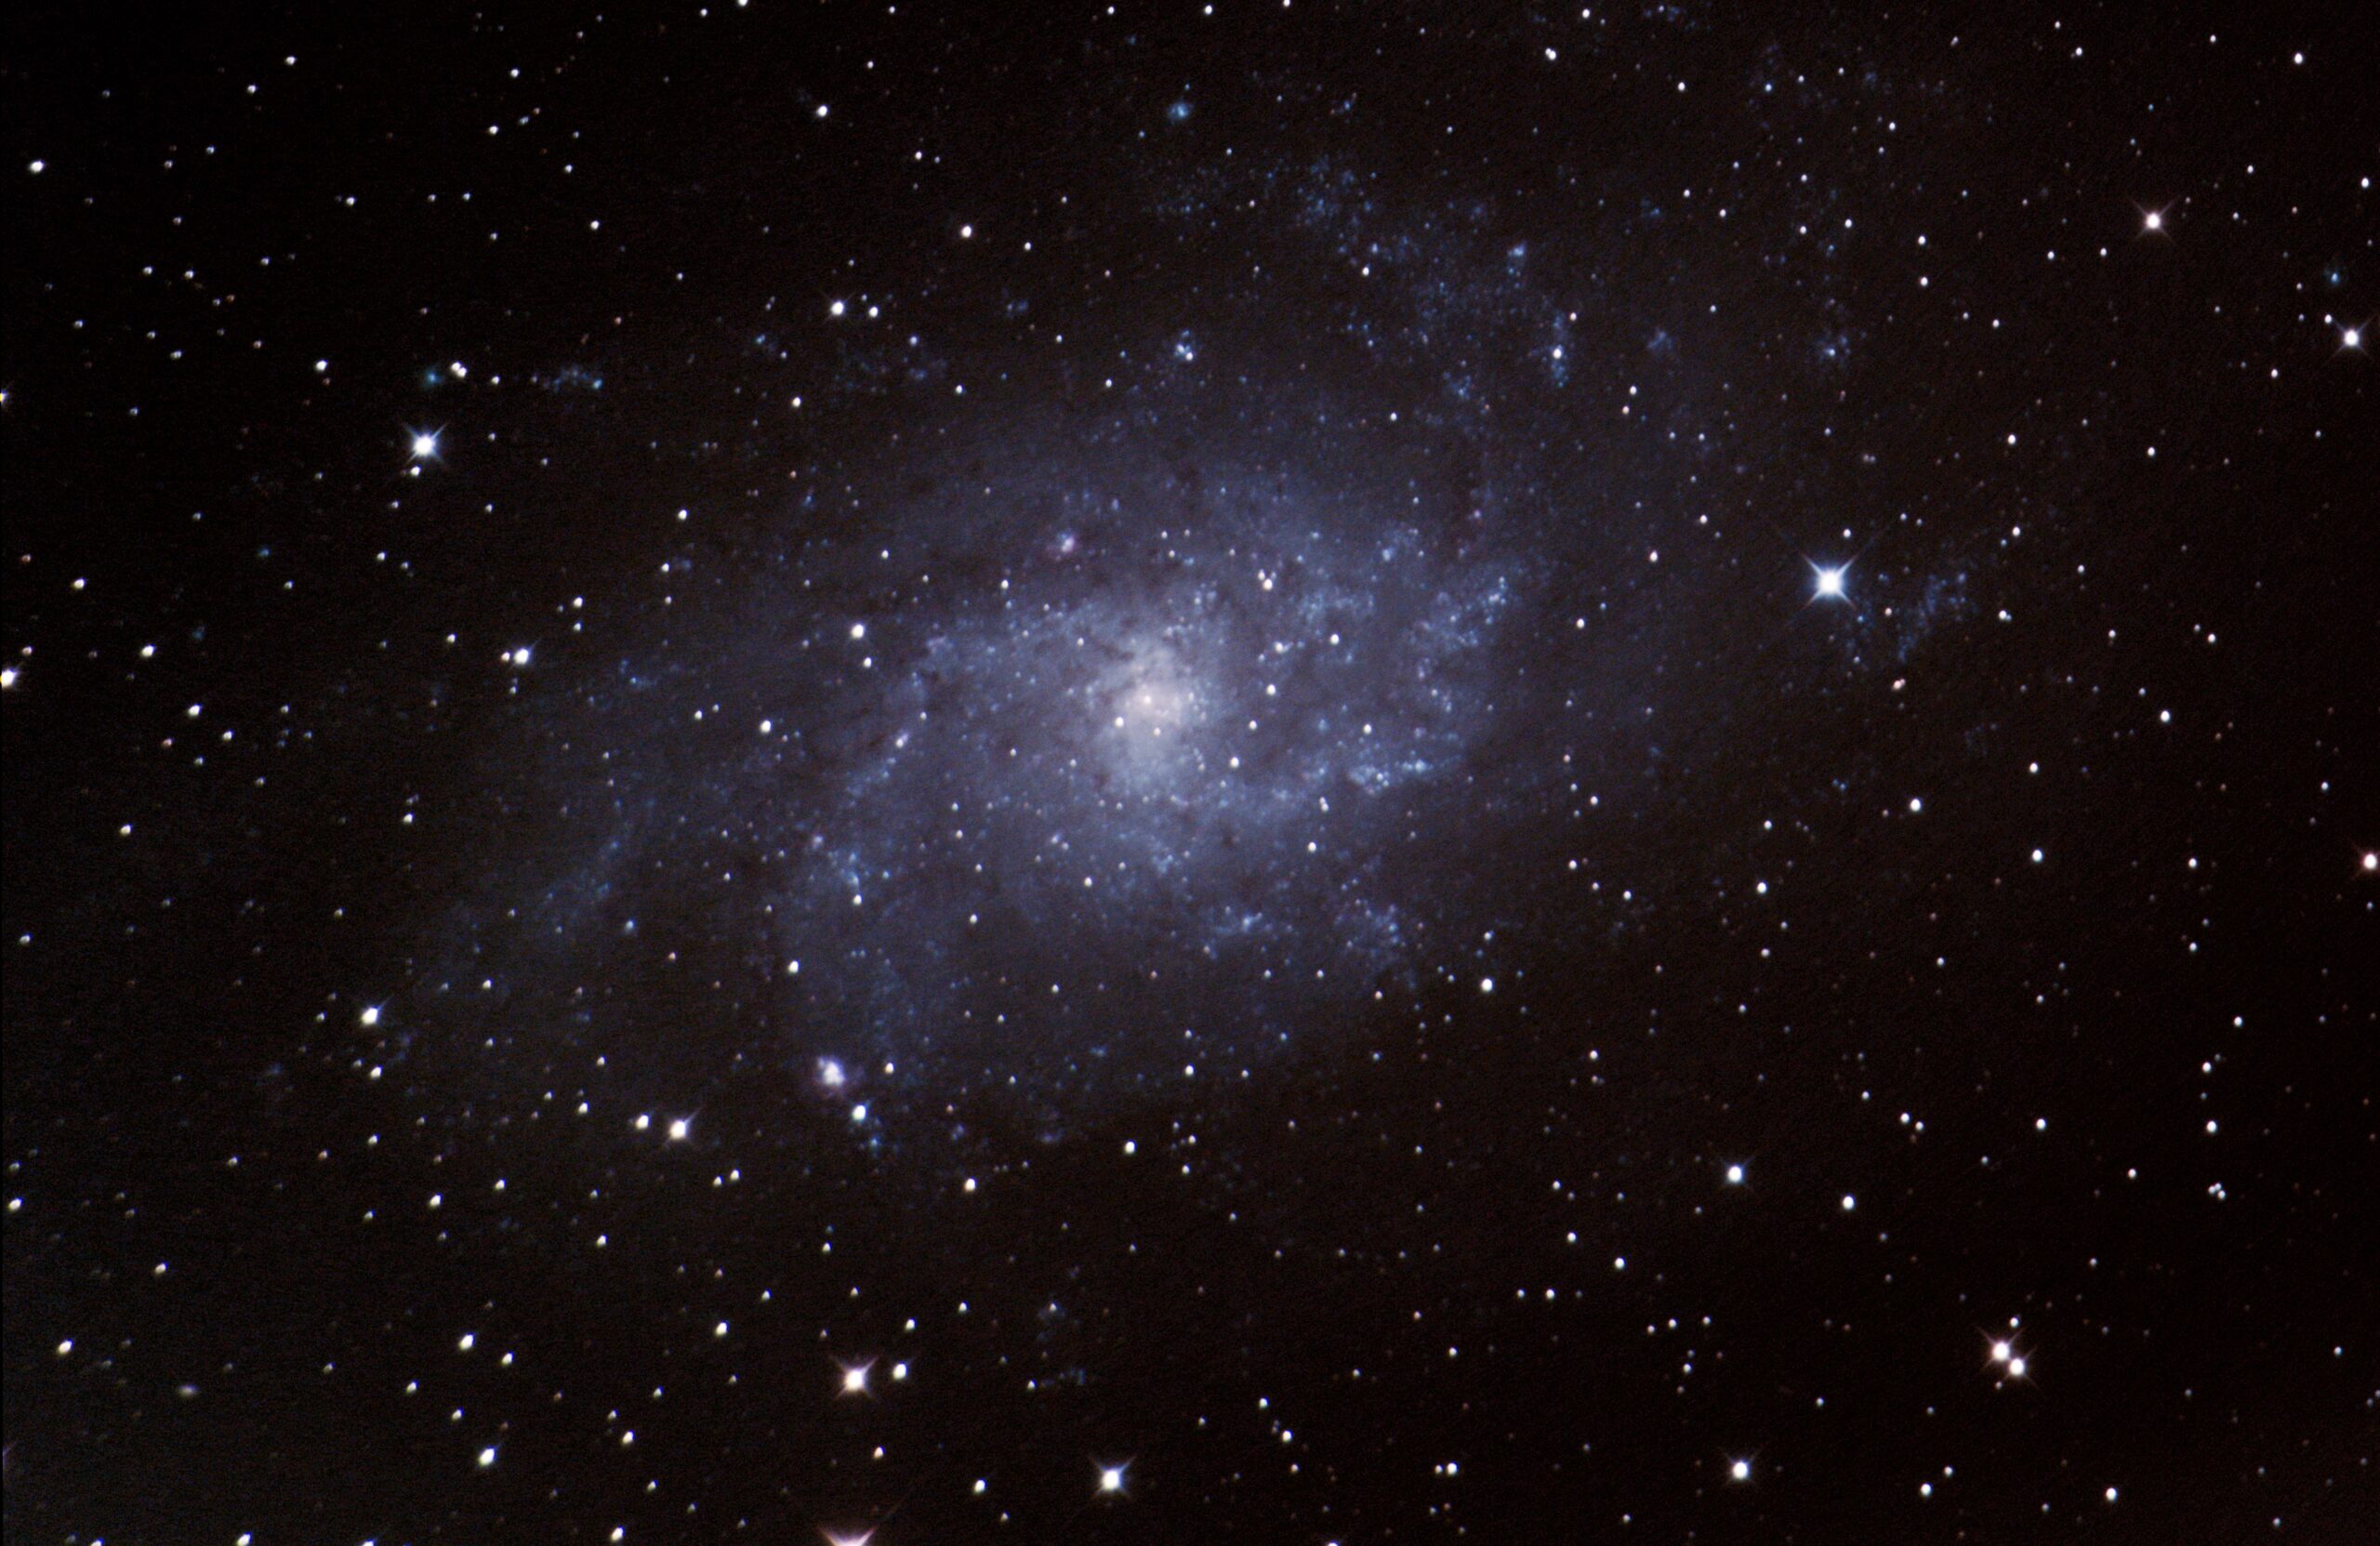
I’ve made a few trips out to the dark site this fall and winter. This last trip took place in October and I got eaten up by mosquitos, despite saturating myself in repellant. I still had a good time and captured 2.5 hours of exposure time on the Triangulum Galaxy. I tried shooting this galaxy a year ago with my Nikon D5300 from my backyard. You can see it in this previous post.
This pic has been roughly processed (and uses old flats… I haven’t taken new ones lately), but it’s definitely much improved due to the combo of my EOS RA and a darker sky.
Triangulum Galaxy, M33, captured with Canon EOS RA at 1600 ISO and 6 minute exposure time.
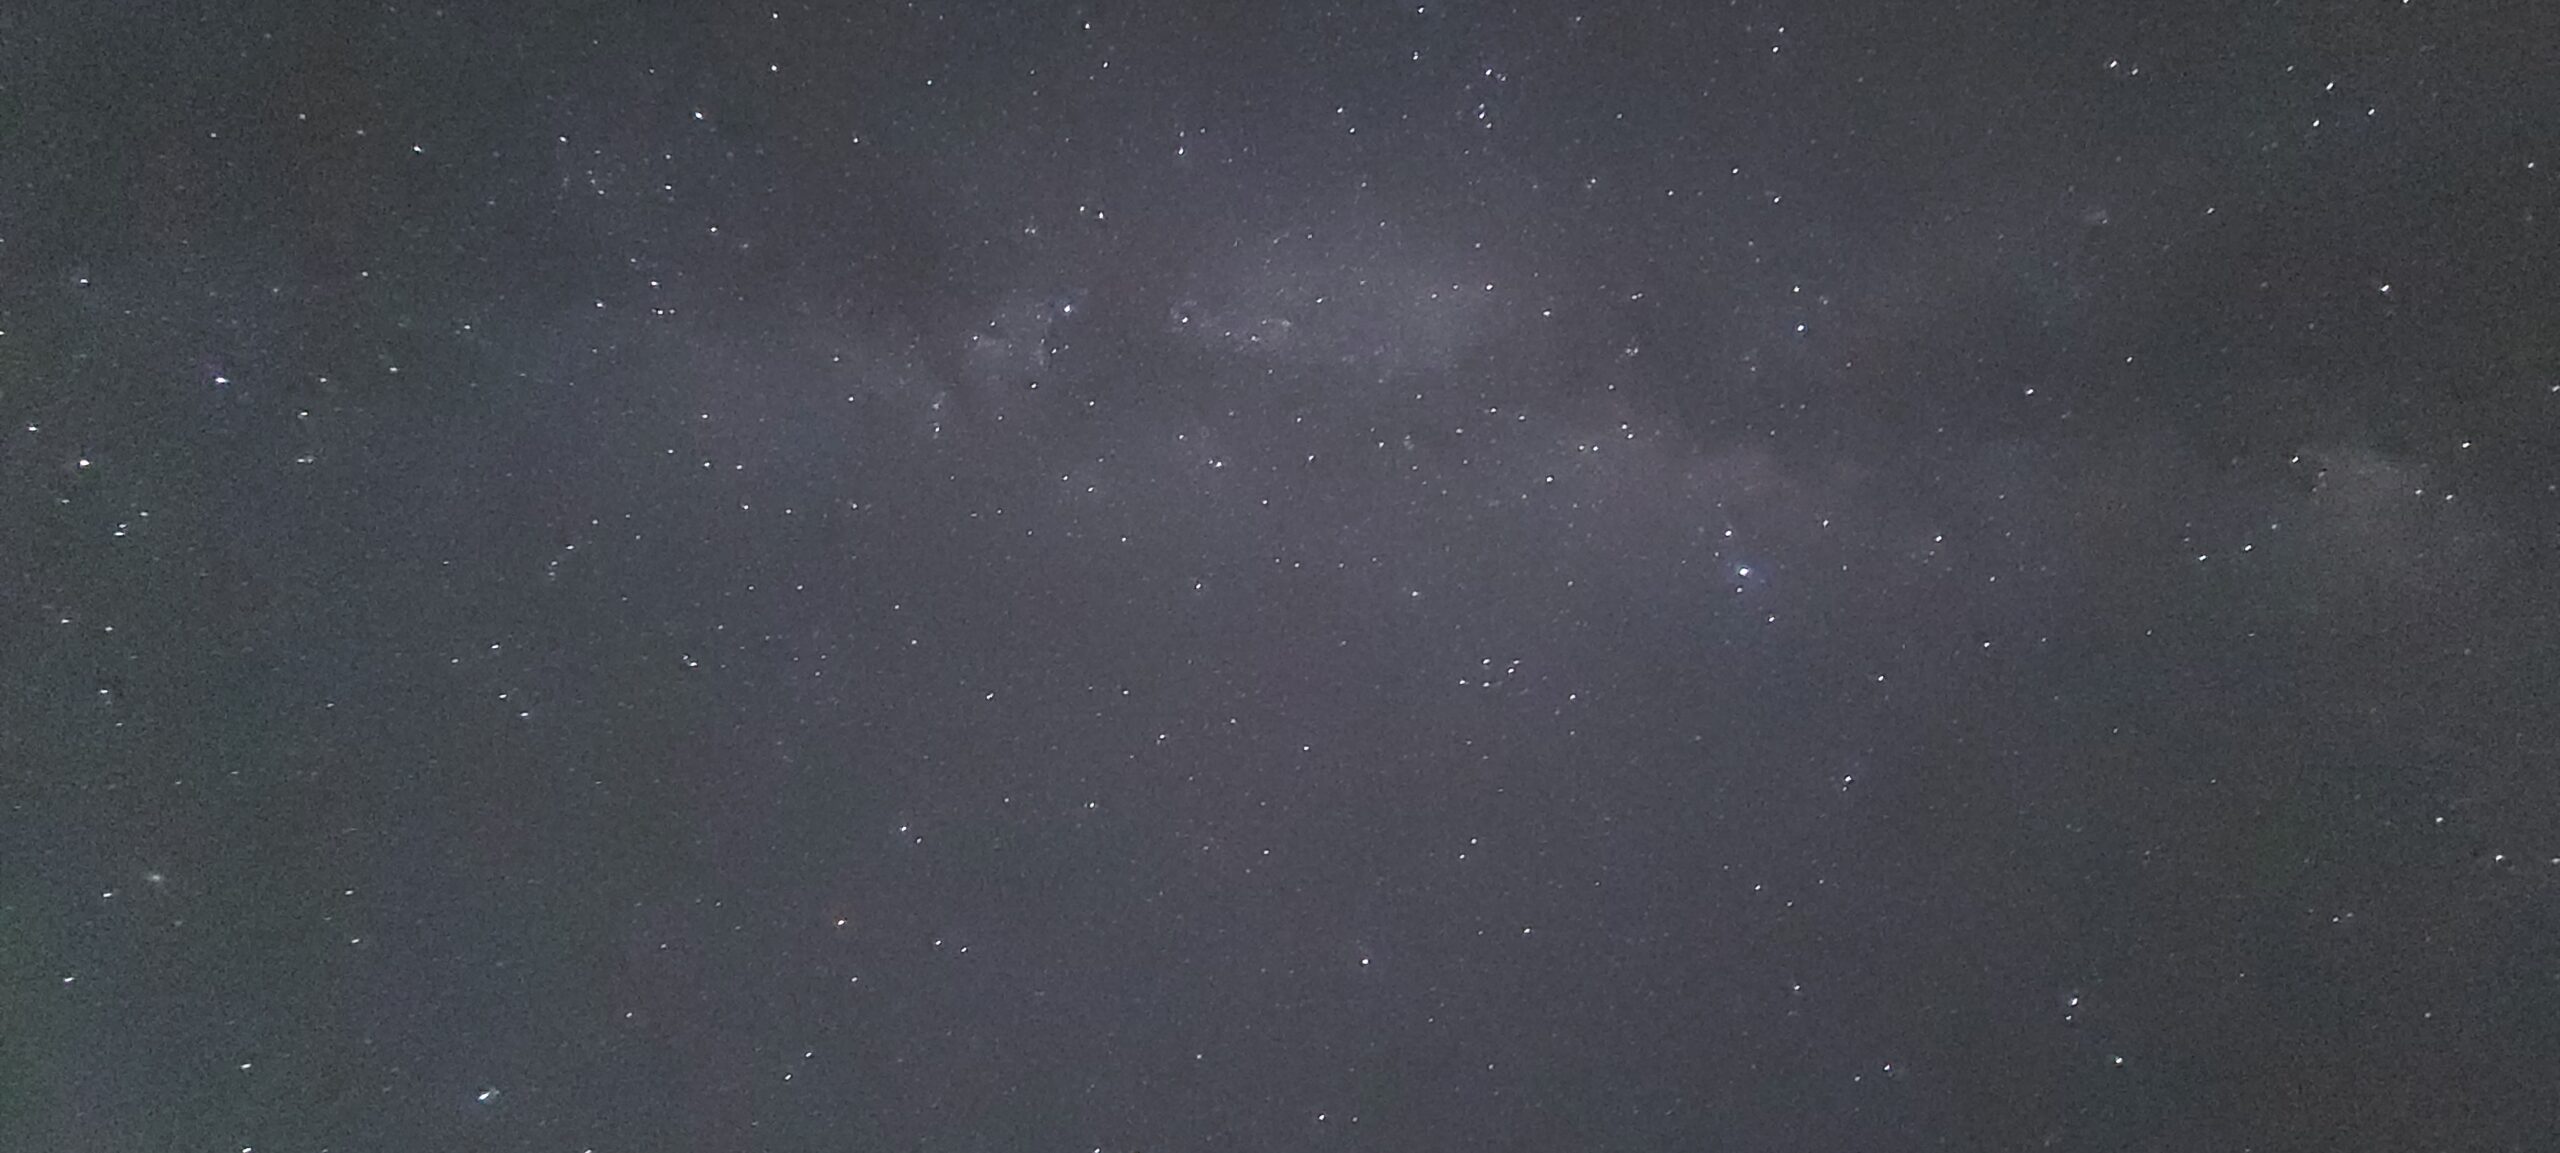
Speaking of darker skies, the last few times I’ve been to the dark site, I’ve been able to see the Milky Way with my naked eye. I snapped this with my Galaxy S20.
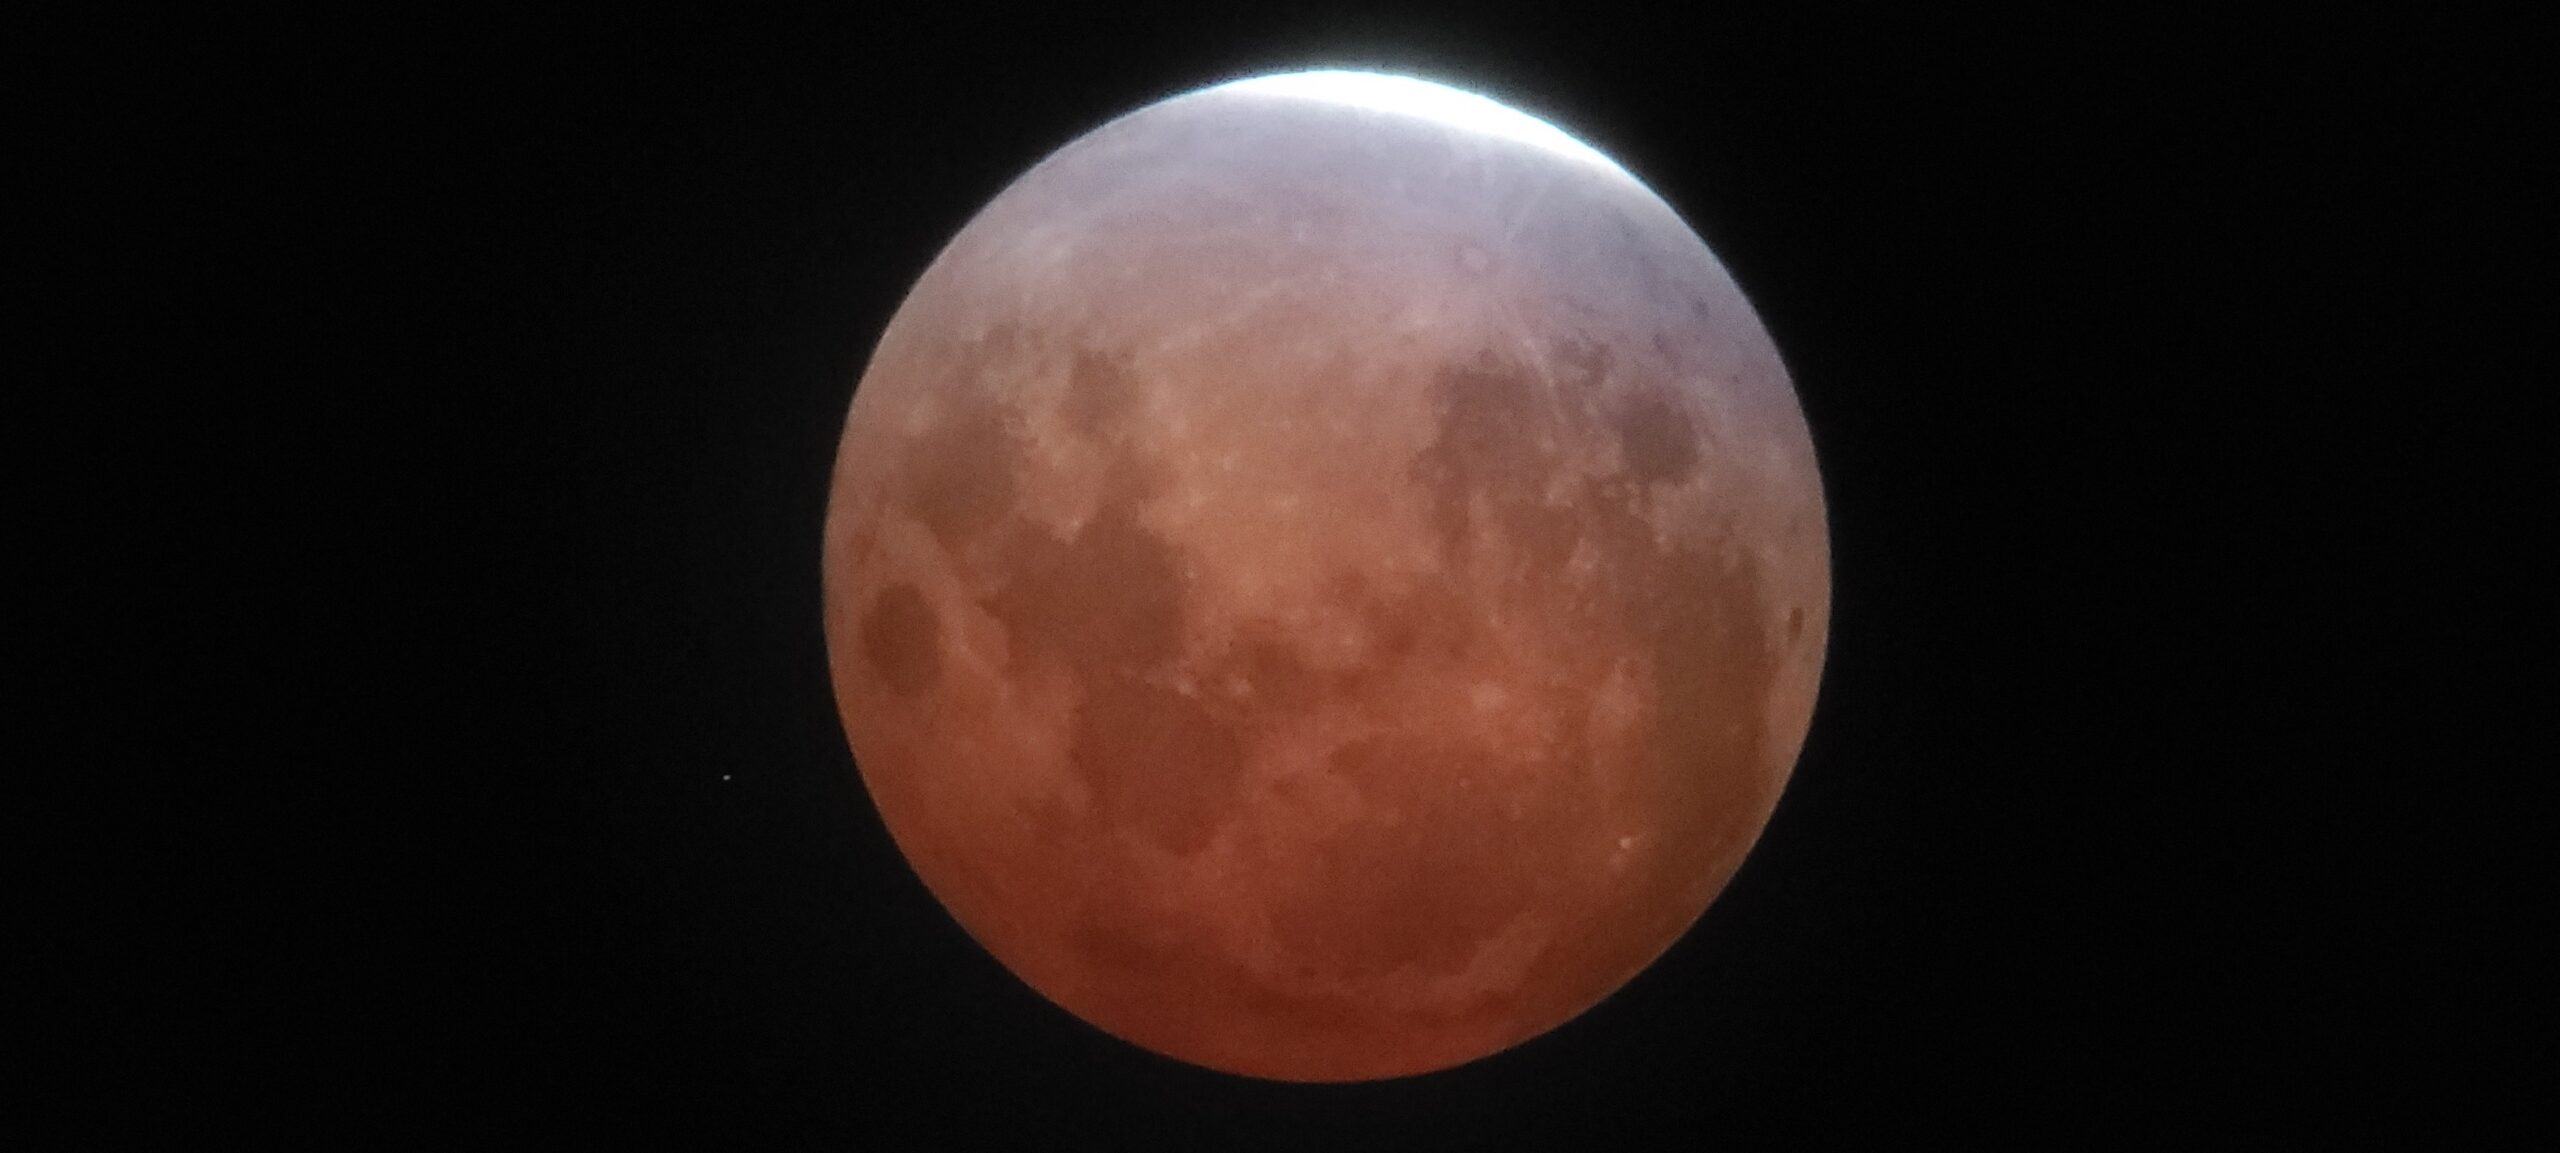
Moving on, I stayed up past 4 a.m. to get some snaps of the partial lunar eclipse on Nov. 19. I took a couple dozen with my Galaxy S20. I couldn’t use my Orion Starshoot Mini because the viewing angle is too small; I just get part of the moon. I did try, though, and got some video I haven’t tried to process, yet. I also used my trusty Orion XT8.
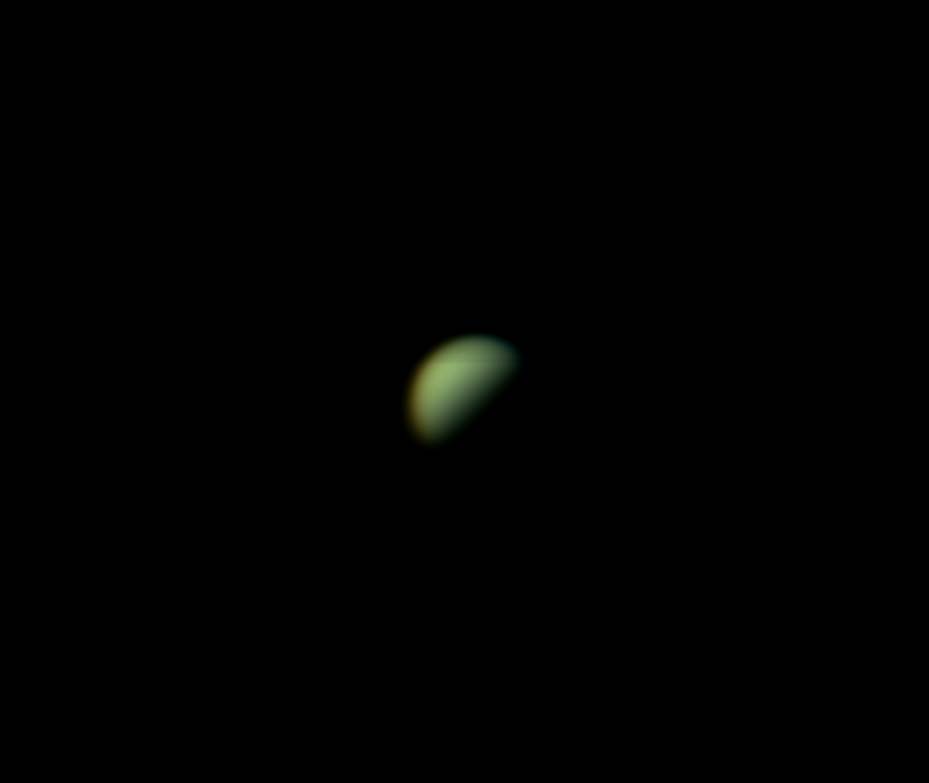
Lastly, I was feeling lazy but wanted to try to get a decent picture of Venus. So, I set up my Orion XT8 in my front yard, so I wouldn’t be viewing through the heat shimmer coming off my roof, and used the Orion Starshoot Mini. This little camera is supposed to be excel at this kind of imaging, but I always find the results kind of lackluster (and green tinted). But to be fair, I think it’s my best Venus pic yet.
I’ve been dabbling in some galactic voyeurism as of late. By that I mean, I’ve taken a crack at amateur astrophotography. Put more simply, I’ve been taking pictures of planets and the moon through my new telescope with my smartphone. It’s not as crazy as it sounds.
It’s been surprisingly easy to do and has produced some pretty surprising results. No, I’m not taking Hubble quality images, but I am getting way better picture than I have any right to.
For Christmas, I was given the Celestron PowerSeeker 127EQ, which is a Newtonian Reflector type of telescope. It uses a large mirror to capture light and focus onto a smaller mirror that sends the image to a lens in the eyepiece. It has a focal length of 1,000mm, which is the big number for determining the upper magnification power limit of the telescope. The formula goes that the magnification of the telescope is equal to its focal length (1,000mm) divided by the focal length of the eyepiece lens. The scope came with a 20mm and 4mm lenses and I purchased the Celestron PowerSeeker Accessory Kit for two more lenses, a 15mm and a 9mm. So with each of those eyepieces my possible magnifications are roughly 50x, 67x, 111x, and 250x. The 15mm and 9mm lenses are my favorites to use.
Included with the scope was a 3x Barlow lens, which for all intents an purposes, “zooms” in on whatever image you’re looking at by 3x at the cost of sharpness and brightness. It’s very much akin to using the digital zoom on a camera. I haven’t been too impressed with it so far and I’m curious if a 2x Barlow would produce better results.
So, with all these lenses and this pretty decent amateur telescope, I set out on my adventure of exploring the solar system from my driveway. It is not an ideal location to setup a telescope with plenty of light pollution (stupid streetlight), being less than 50ft above sea level, and only have a few completely clear nights. My first target was the moon, mainly because I wanted to adjust the finder scope so that it would be properly aligned with the telescope. The most frustrating thing about using any kind of high-powered telescope is actually pointing it at what you’re trying to look at. And the more powerfully and narrower the field of view is, the faster the object you’re trying to target will move away. I took a couple of videos that demonstrate this.
The moon is easy to find with a telescope, especially with the low magnification 20mm eyepiece. With the moon sighted, I adjusted the finder scope and set about trying a couple of different lenses. And once I was comfortable with those and operating the telescope, I broke out the handy little gadget that lets me attached my Samsung Galaxy S7 to the telescope, Gosky Universal Cell Phone Adapter Mount. Fitting my phone into it and adjusting it so the camera lines up with the eyepiece takes some fidgeting and is most easily done with a bright target like the moon and the low power 20mm lens. But it takes some trial and error.
Once I got that right, I had to manage the camera settings on the Galaxy S7. Getting deep into them hasn’t been as intuitive as I would like and I’m still playing with them. The camera wants to be helpful with a lot of automatic settings and light sensors, but those things actually hinder trying to take a crisp image. I suppose I should go hunting for an app designed to set the camera settings for astrophotography. One important thing I did learn (other than disabling flash) was to set at least a 2 second time delay on taking photos and video. My telescope is actually really stable on its aluminum tripod mount, but just pressing the camera button on my phone’s screen causes slight shaking that becomes more noticeable the higher up in magnification you go. That 2 second delay lets the vibration mostly subside so I could take a clearer picture.
Here’s one of the first pictures I took of the moon. I believe I used the 15mm eyepiece and you can see how I don’t quite have my phone’s camera close enough to the eyepiece. That curved edge on the right of the image is the phone catching the edge of the lens. The camera’s field of view tends to be larger than the lenses I have.
Taken with 15mm lens and Samsung Galaxy S7.
While taking pictures, it also occurred to me that I could shoot video as well. The camera actually works somewhat better in video mode for this than in snapshot mode. Unfortunately, there’s a little noise being picked up by the mic. I need to research how to disable it for these kinds of videos.
I’m going to work on getting some better pictures of the moon when it gets fuller and the weather clears up. The next picture, which was one of many I took, is of Jupiter and four of its moons, which I believe are referred to as the Galilean moons. The sky wasn’t perfectly clear when I was watching Jupiter, having a slight haze to it. Again, I’m going to try to get better pictures when Jupiter gets closer to earth in the next couple of months.
Taken with 9mm lens and Samsung Galaxy S7.
And here’s the video clip I took of the gas giant and its moons. Notice how swiftly it moves through the lens and the field of my camera at a little over 100x magnification and about 2x digital zoom.
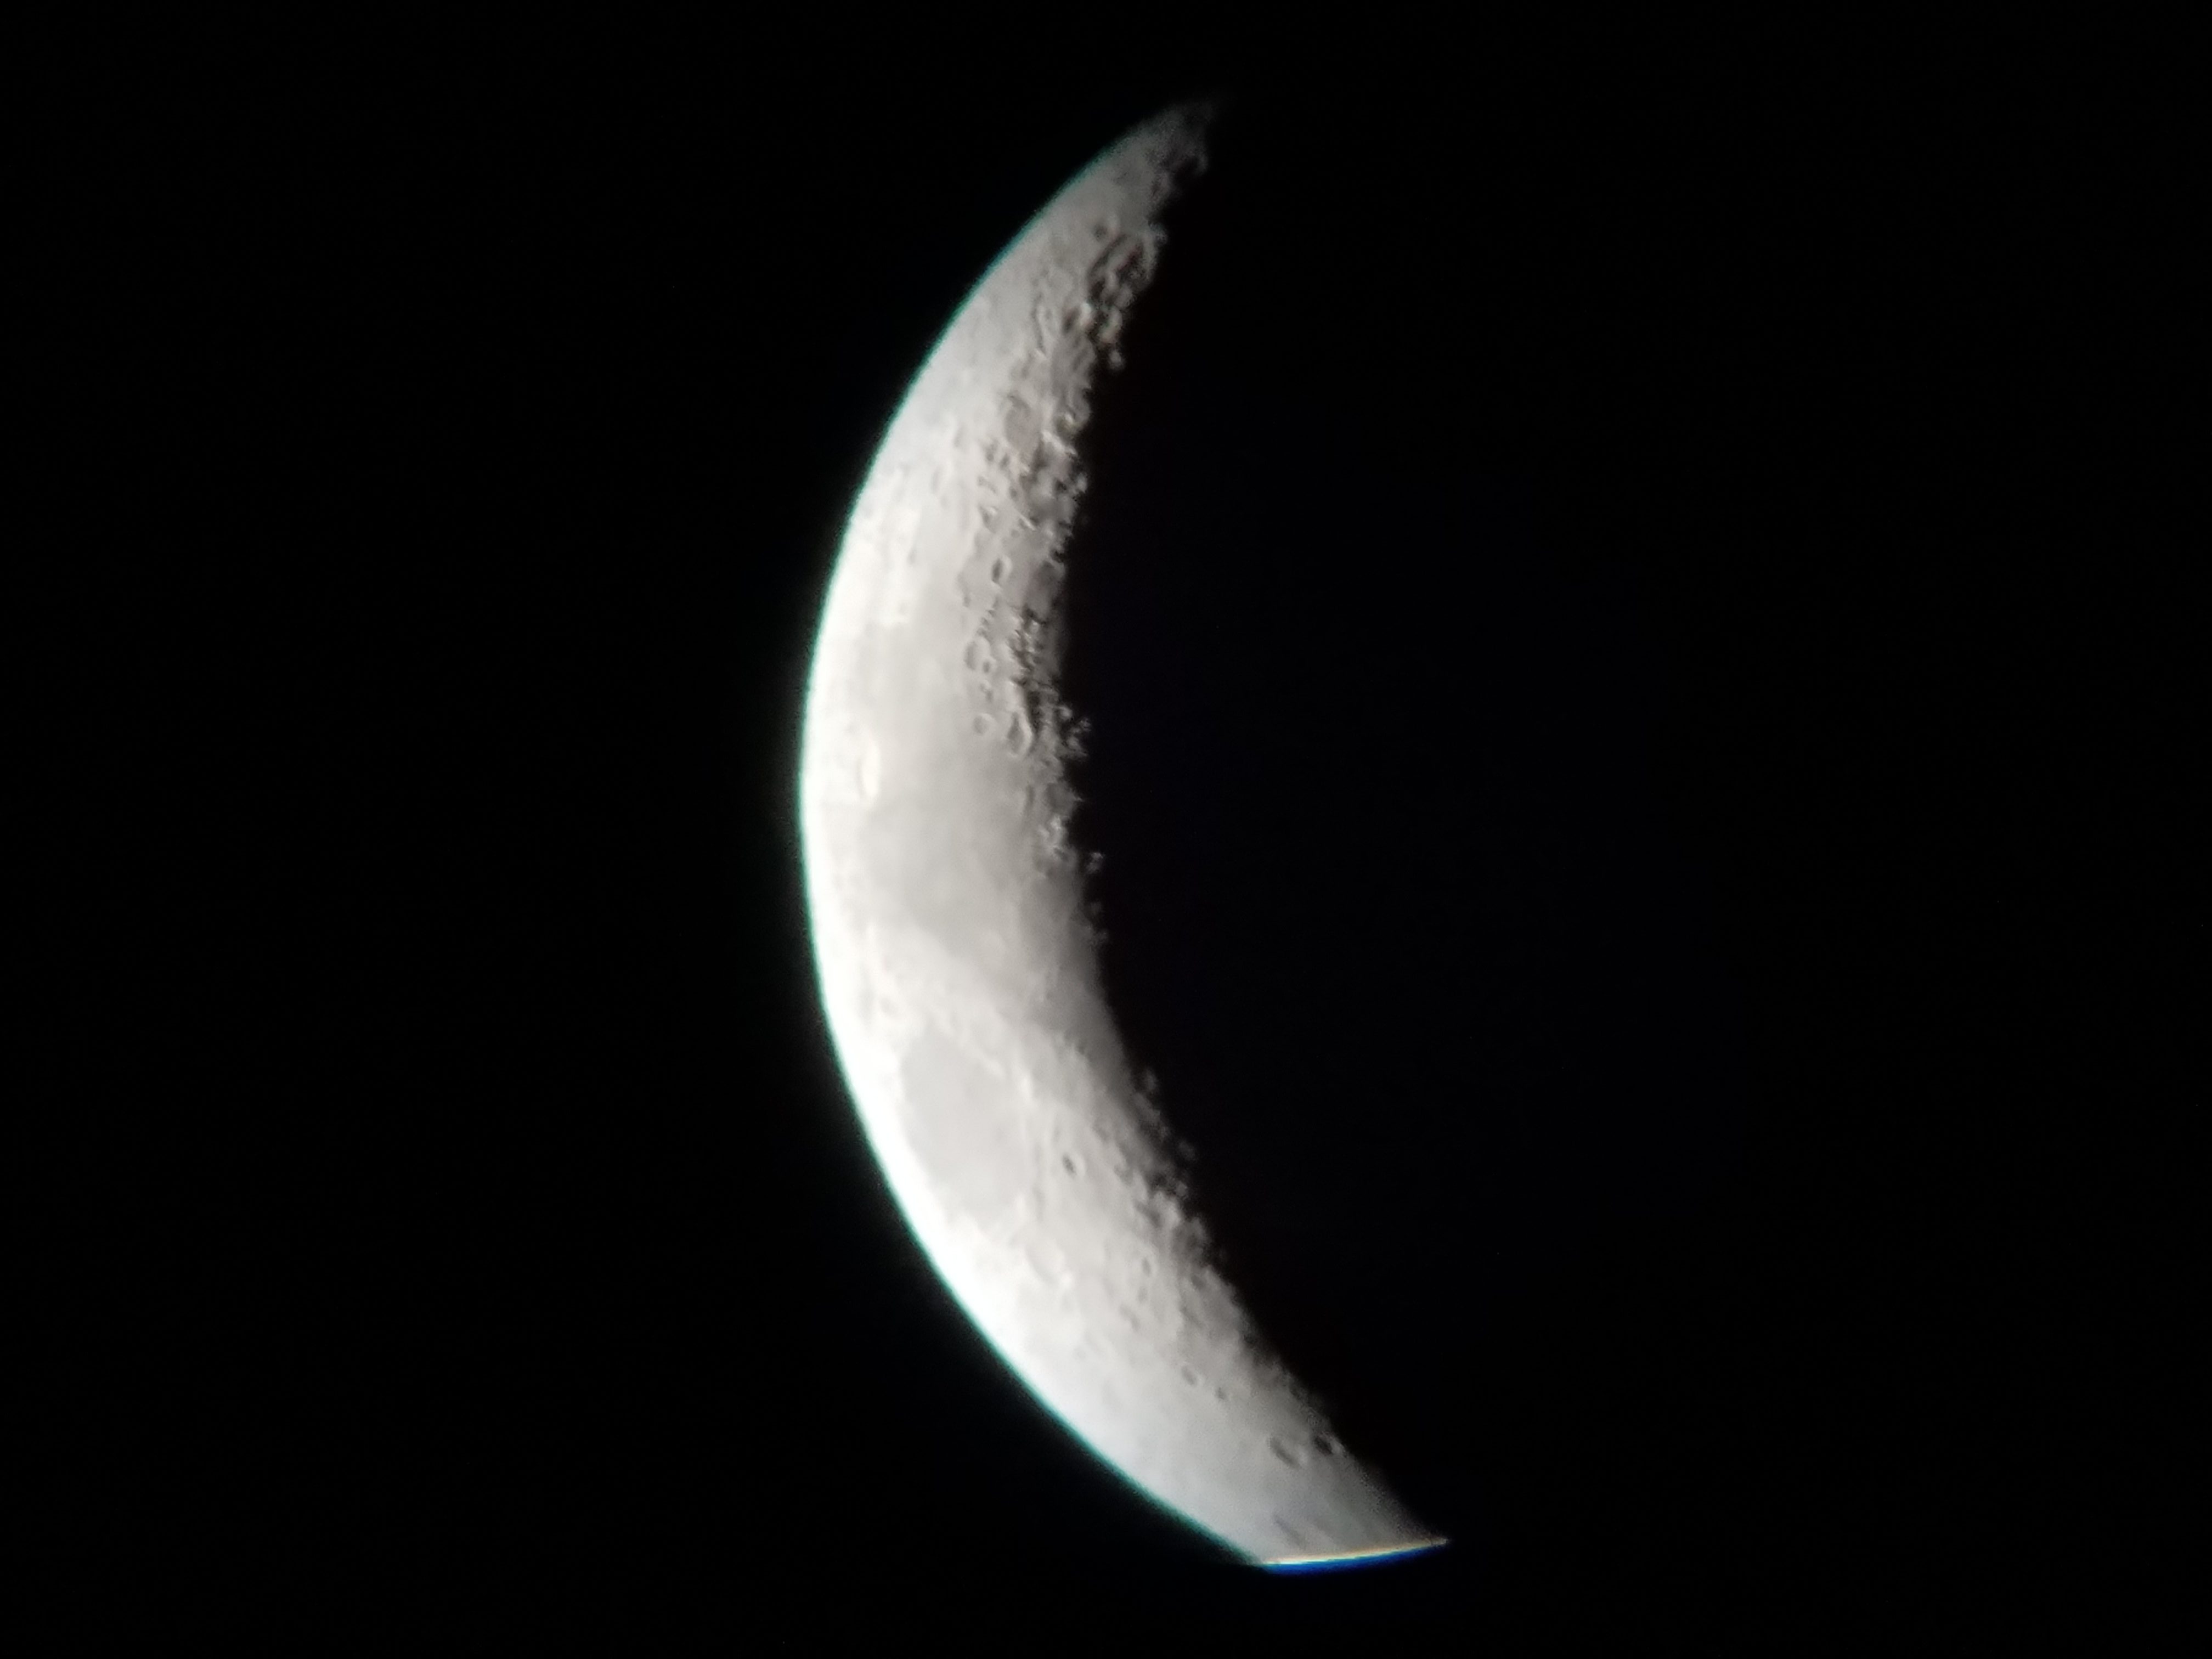
But where are your Venus pictures, you might be wondering. Venus is the brightest object in the sky, second to the moon. Well, I’ve tried and I don’t know what gives. I got one good look at Venus with my low power 20mm lens where I could barely make out its crescent appearance. But after changing lens, it just turns into a bright blotch. One time, I think this was due to condensation forming on the telescopes mirror. Another time, I think it must have been some thin, high clouds. It should reach its peak brightness on February 17. So, I’m hoping for clear skies then so I can try to get some good pictures.
Until then, I’m looking forward to more galactic voyeurism with my Galaxy phone. I mean, Samsung must have known what they were doing when they named the phone that, right?