“Vignetting” remains a problem for my astrophotography and has become an even worse since using my new astrophotography camera, a Canon EOS Ra. The pricey camera was a surprise Christmas gift and it works really well, so much so it feels like I just got my learner’s permit and someone handed me the keys to a Lamborghini. But it’s so much more sensitive to light with a larger sensor that it’s almost unusuable in my light polluted sky and backyard.
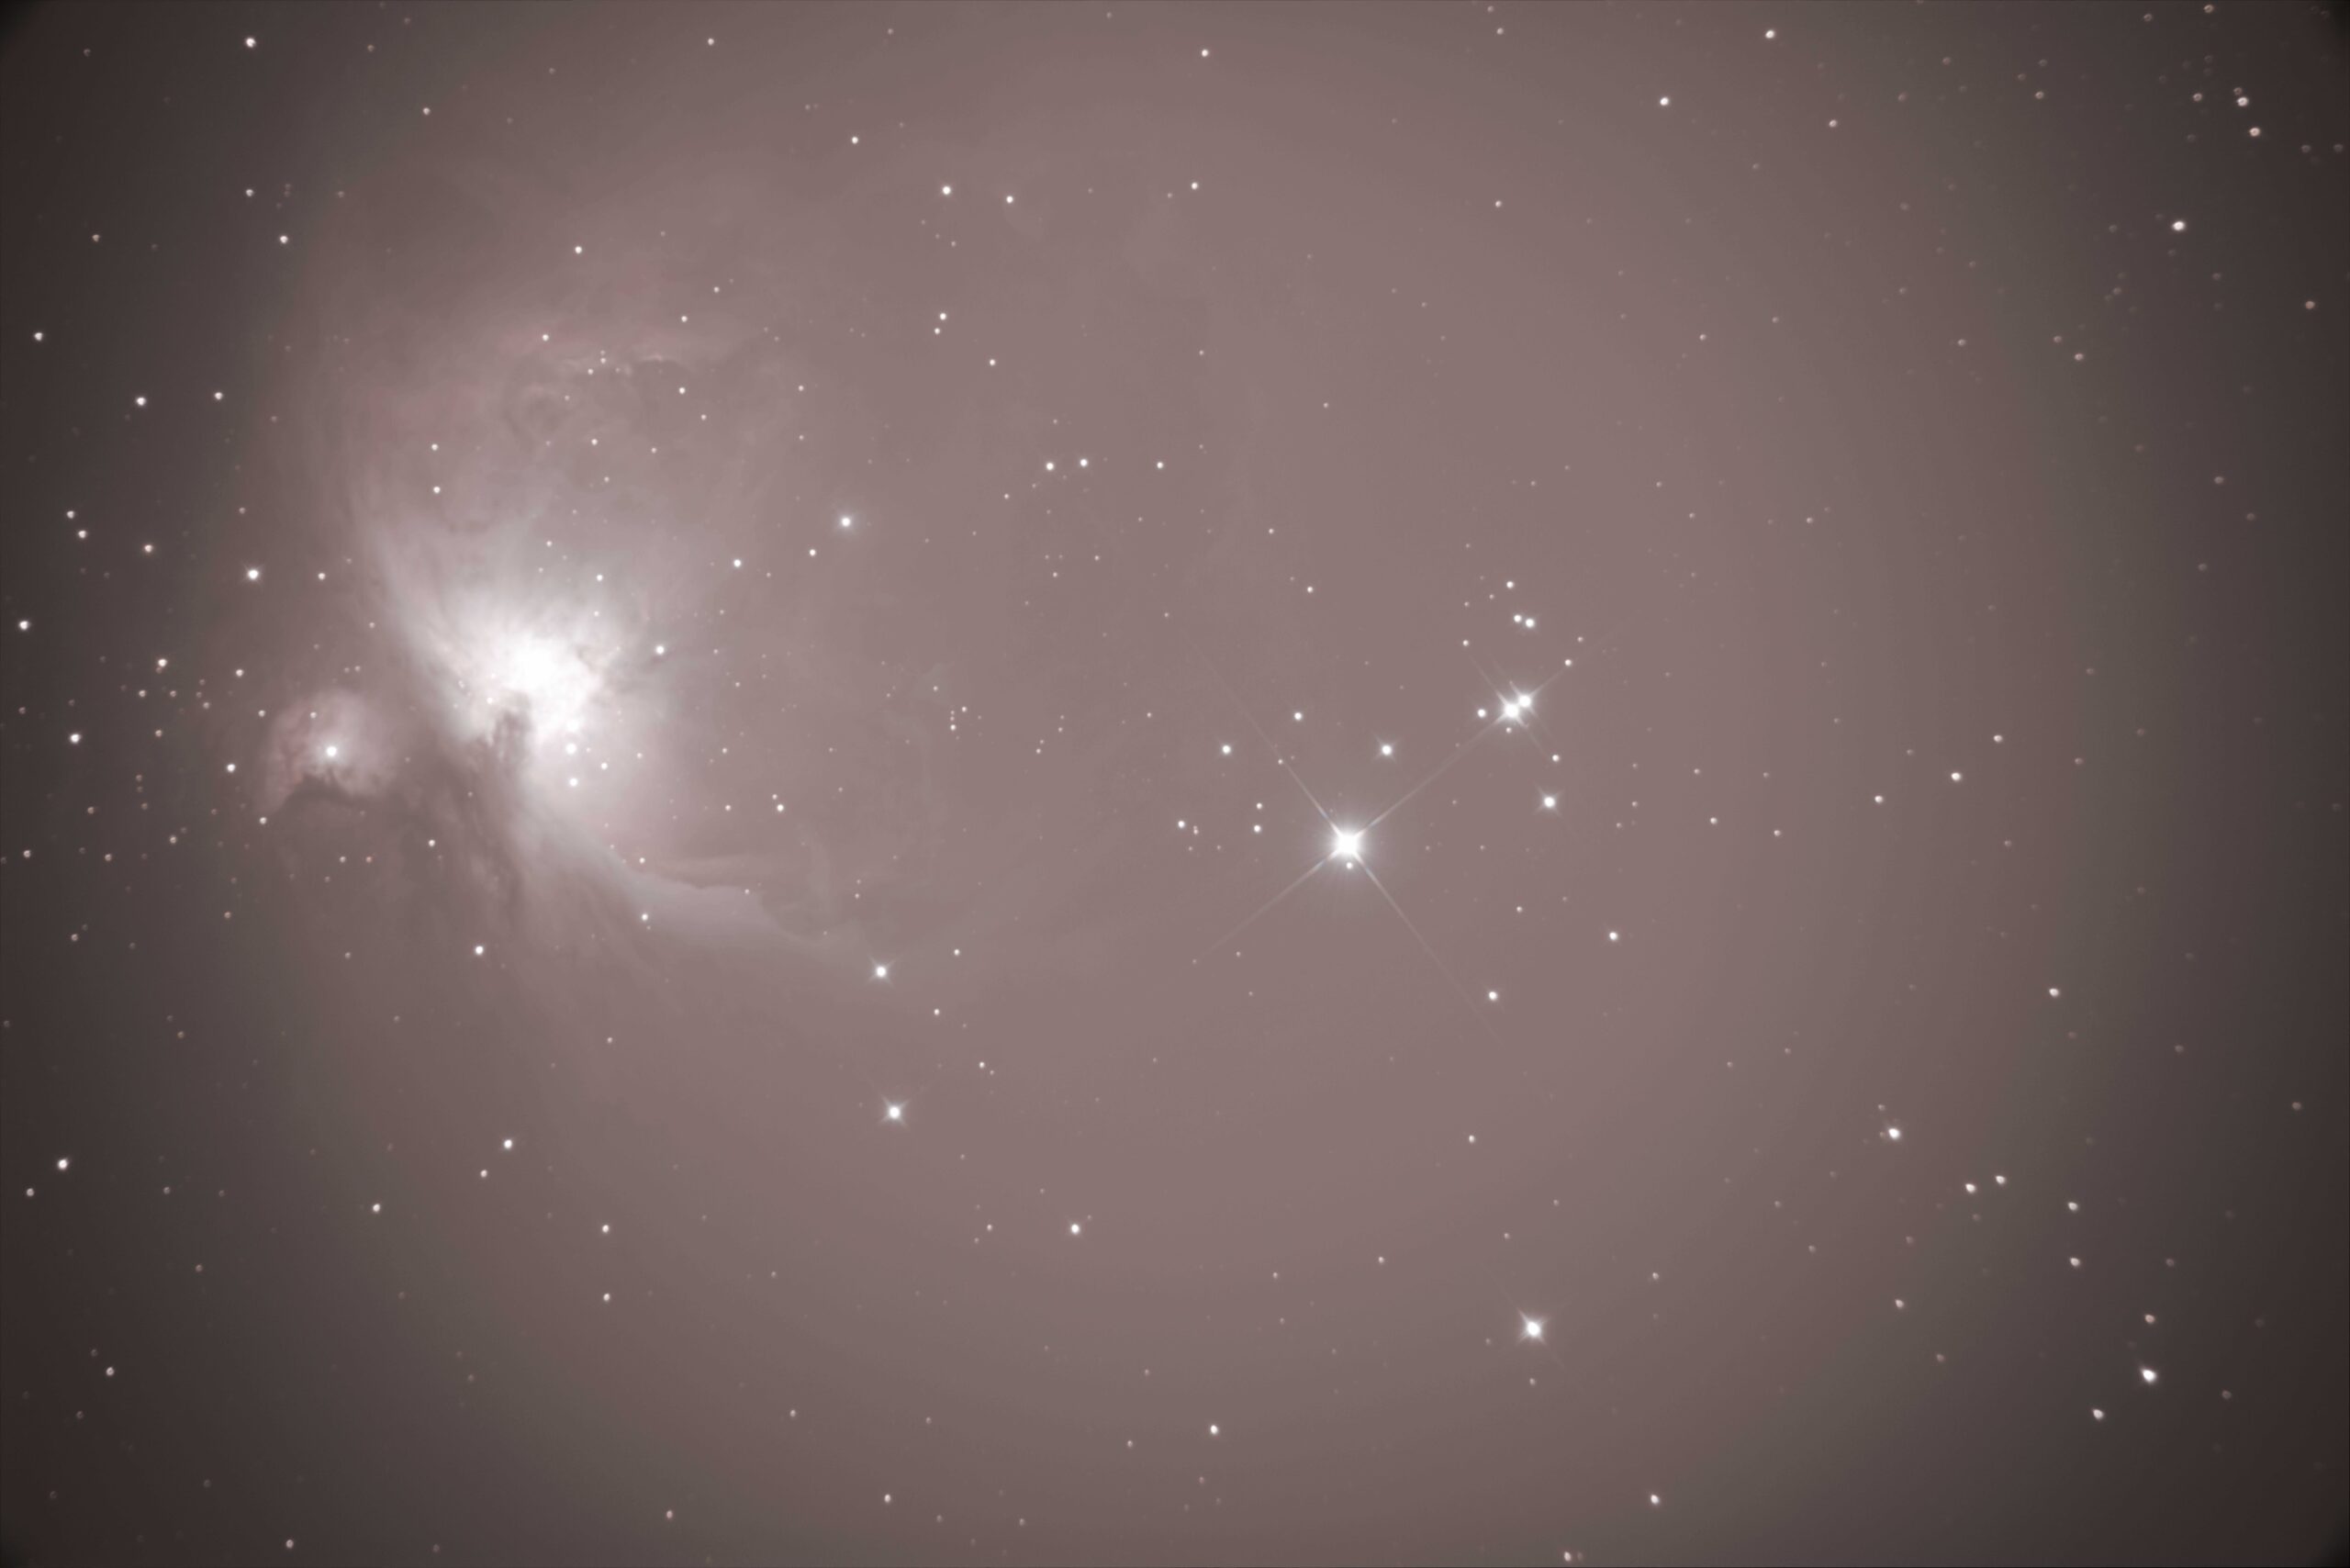
But what is vigentting? My understanding is inexpert, but I would describe it as the background light in my photographs not being exposed evenly across the frame. So, my corners will be really dark, the middle of my image typically has a brighter rings, and then the middle is the brightest part. This disformity or unevenness in the light gradient makes balancing the background light and stretching the image cleanly almost impossible (at least for me…). As you try to darken the background, especially the brightest parts, you lose the image or you have this blob of overexposed noise.
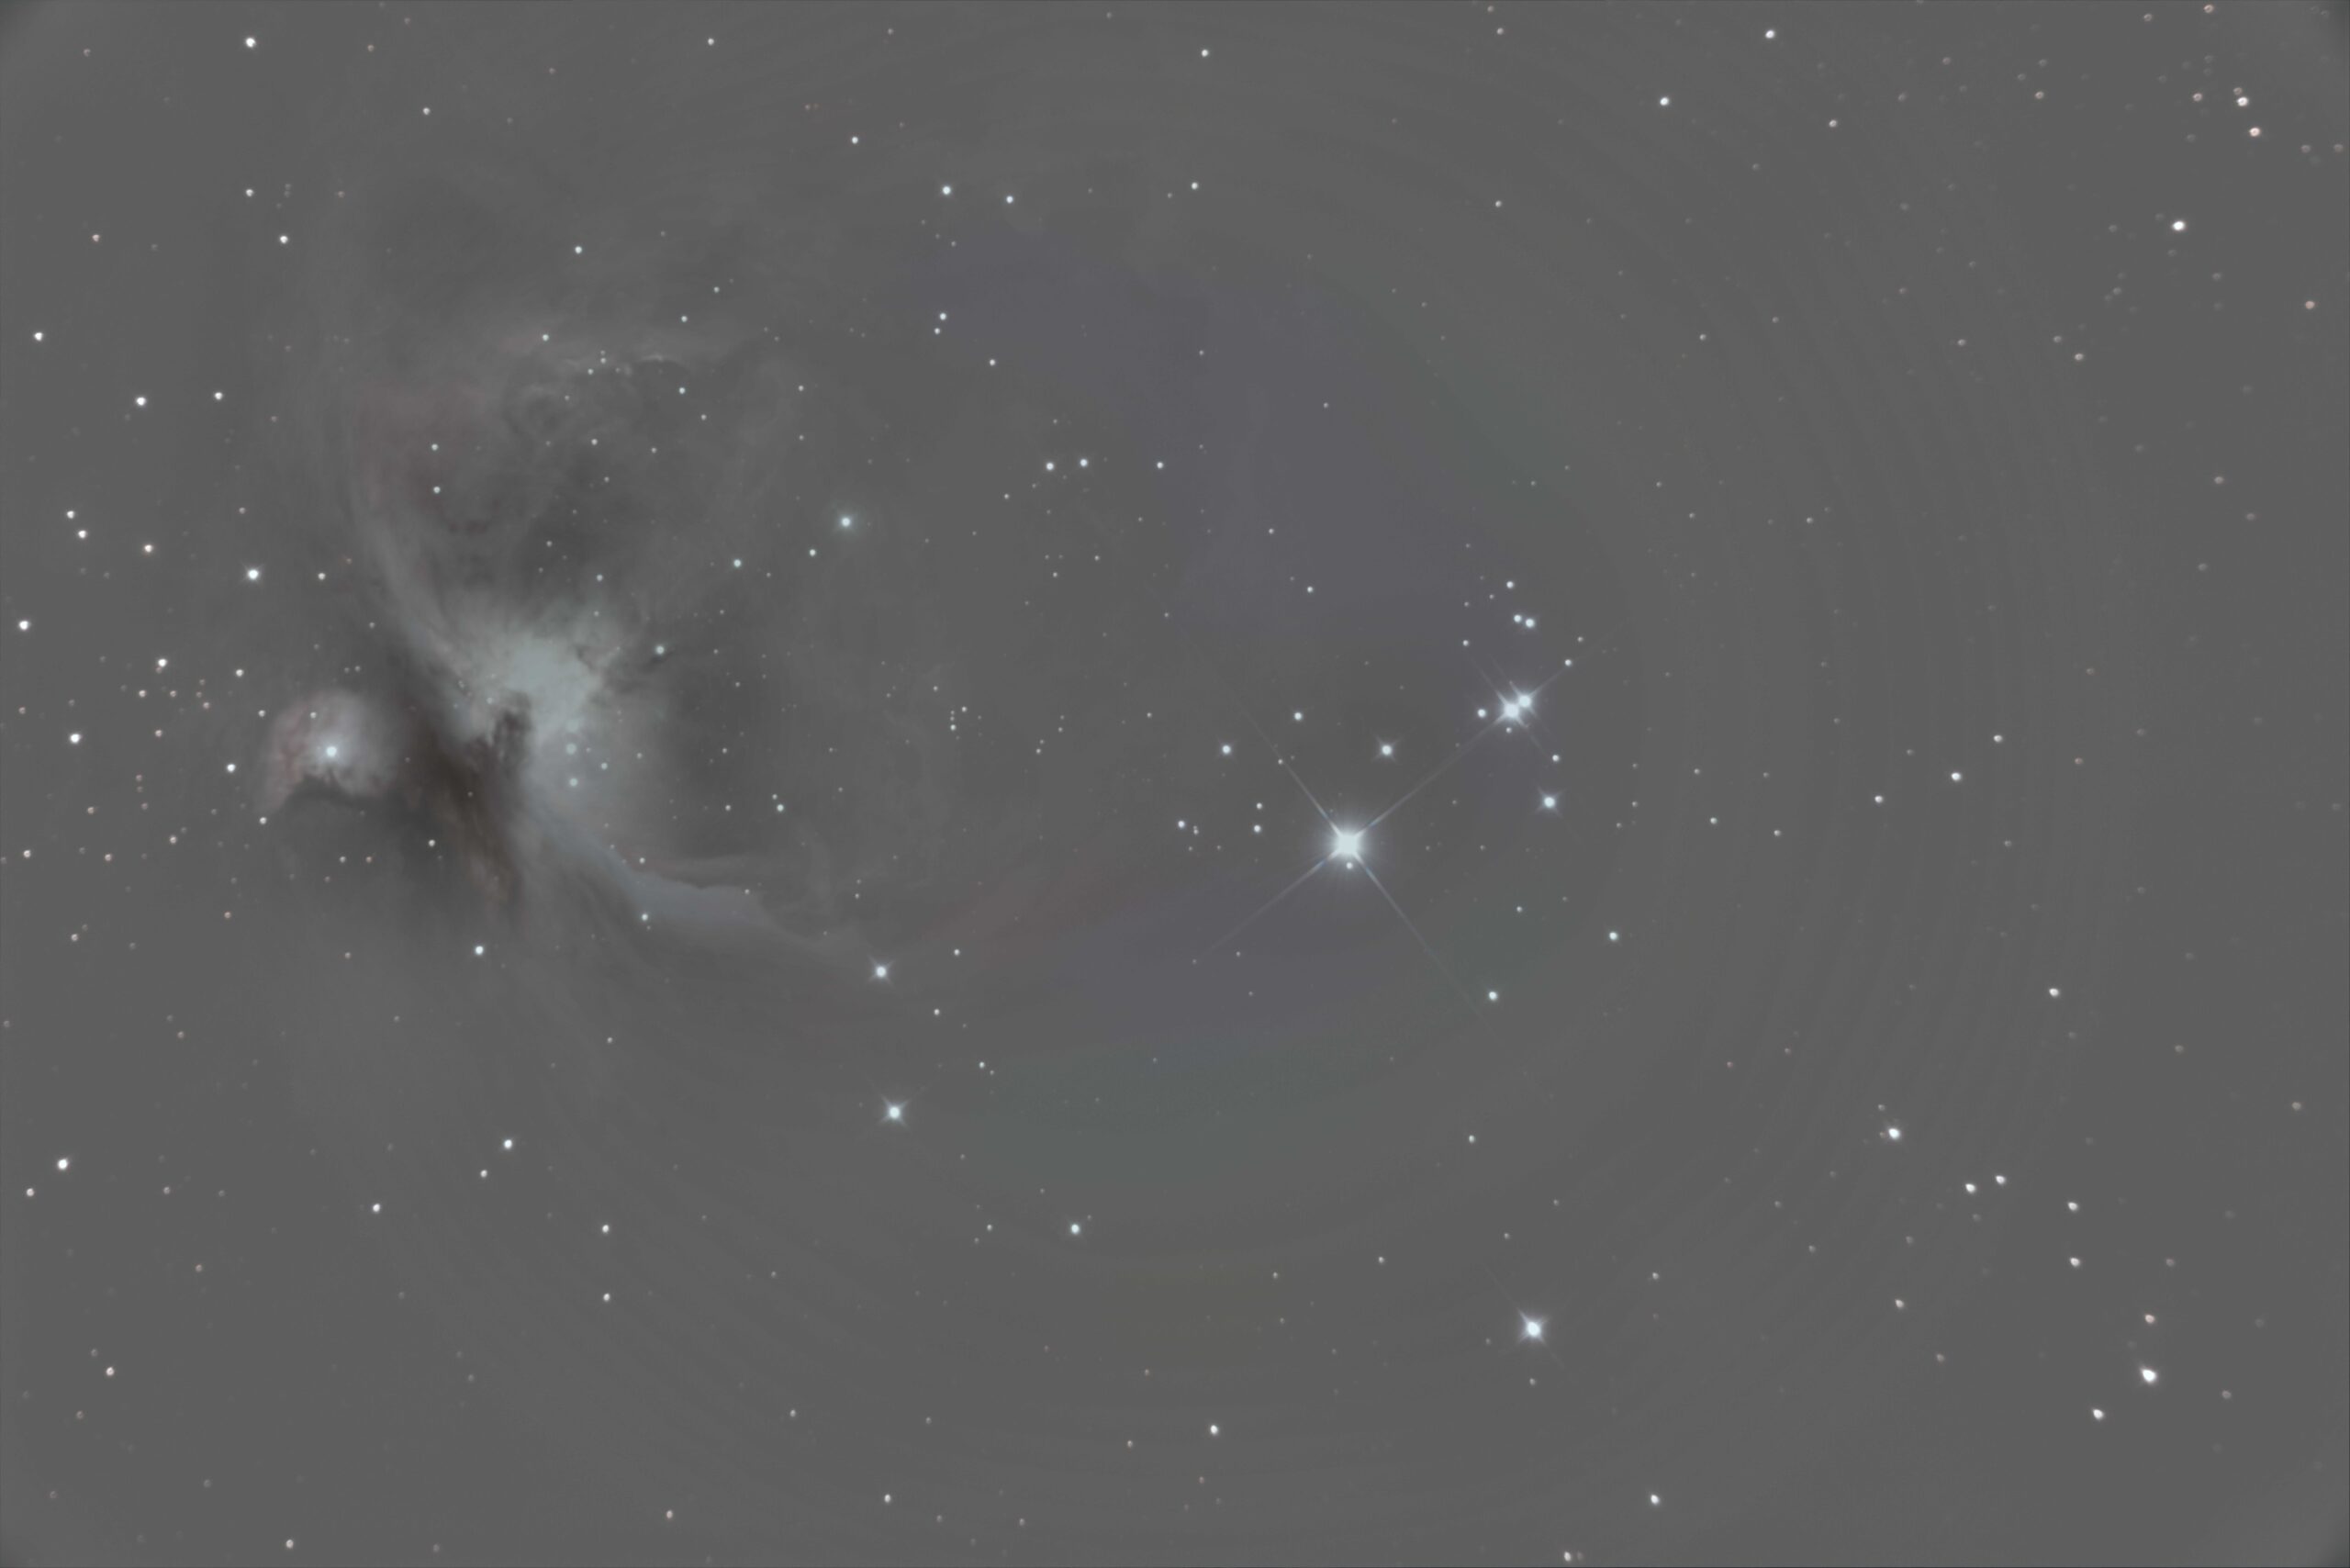
There are a variety of ways to remove or reduce the vignetting. One tool I attempted to use after hearing it recommended by AstroBackyard was GradientXTerminator. You can download the tool to try for free for 45 days, but past that it costs money. I think it’s a great tool and would be really useful going forward, but I had limited success with my current batch of stacked in images. Here’s what the TIF image above looks like when GradientXTerminator is used on a medium/aggressive setting.
There are also more manual methods that can be performed in Adobe Photoshop that create fuzzy screening layers to even out the background noise or rely on using the radial gradient tool. I didn’t have much luck with either.
Really what I should have done is take some flat frames. These frames are used by stacking software like Deep Sky Stacker to balance out the background light to remove the vignetting. These images should consists of an uneven frame of light, not too bright, across the entire censor so the exposure artifacts and anomalies like dust can be substracted from your final image.
I used to think the flats were just unhelpful and not that necessary. Whenever I did take them, I either didn’t notice a difference or they made the final TIF file worse. But that’s largely because I was taking them incorrectly.
Unless you have a light panel or light box to stick onto the front of your telescope, you’ll be advised to use the “T-Shirt Method”. This method entails stretching a cotton white T-shirt over the end of your telescope and then exposing the end to an even light source like either the dawn sky, a tuned-down all-white LCD screen or light panel, or whatever light source you can at hand that’s both not too bright and also uniform. The T-shirt helps diffuse the light for a more even spread. Once you have the shirt attached and a light source, you snap some frames, like 20 or 30, at the same ISO setting and focus as the frames you took of your deep sky image, but generally with a much shorter exposure. As I understand it, non-technically, you want to return a grayish frame, not an all white one and certain DSLR cameras have an AV mode that will automatically adjust the exposure time for you to achieve this result.
With these flat frame, the frames of your image (light frames), and some dark frames (and potentially some bias frames but I’m not there, yet), you should be able to composite a much more balance TIF file from your stacking program.
That’s all theory to me for the moment, however. My first attempt at flam frames saw me using a rubber band to affix a few coffee filters onto the opening of my smaller refractor telescope and then pointing the scope at a 100-watt-equivalent LED bulb in a shop light. To make matters worse, I still relied on my intervaluemeter to take the snaps and it couldn’t take snaps of less than 1 second of exposure. So, my “flats” were blowing out my image to the point of uselessness.

The next not too cold and humid clear night I get, I’m going to give the flats another shot. I’ve actually bough some brand new T-shirts and figure I can still use the shop light with a lower wattage bulb and possible a second T-shirt over it. I’ll post about how well it goes eventually. Will it work or will I fail? Wait and find out.
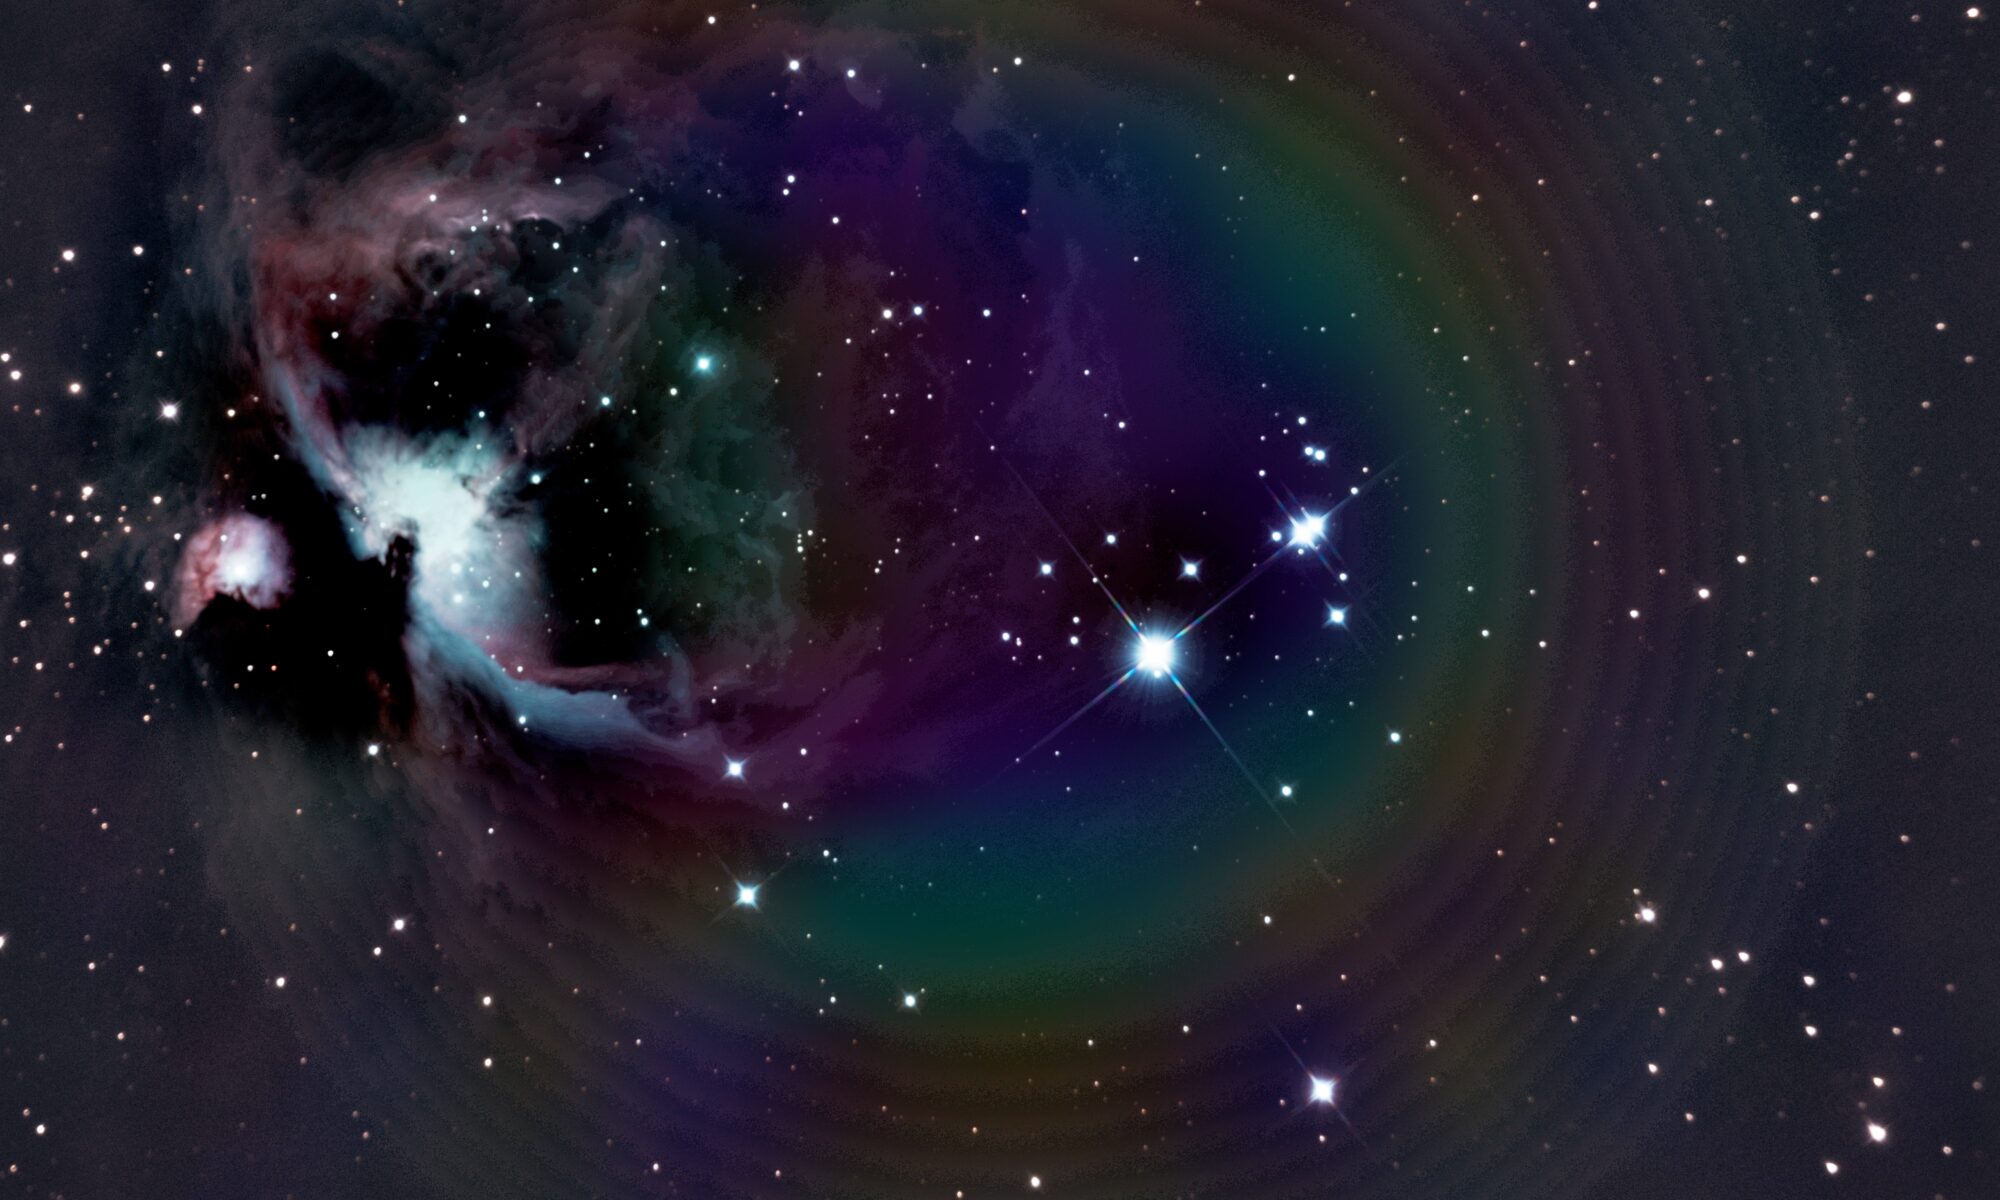
In the meantime, here’s an image of my ongoing misadventures in learning to process these images. I guess I inadvertently activated the hidden Sailor Moon plugin.
