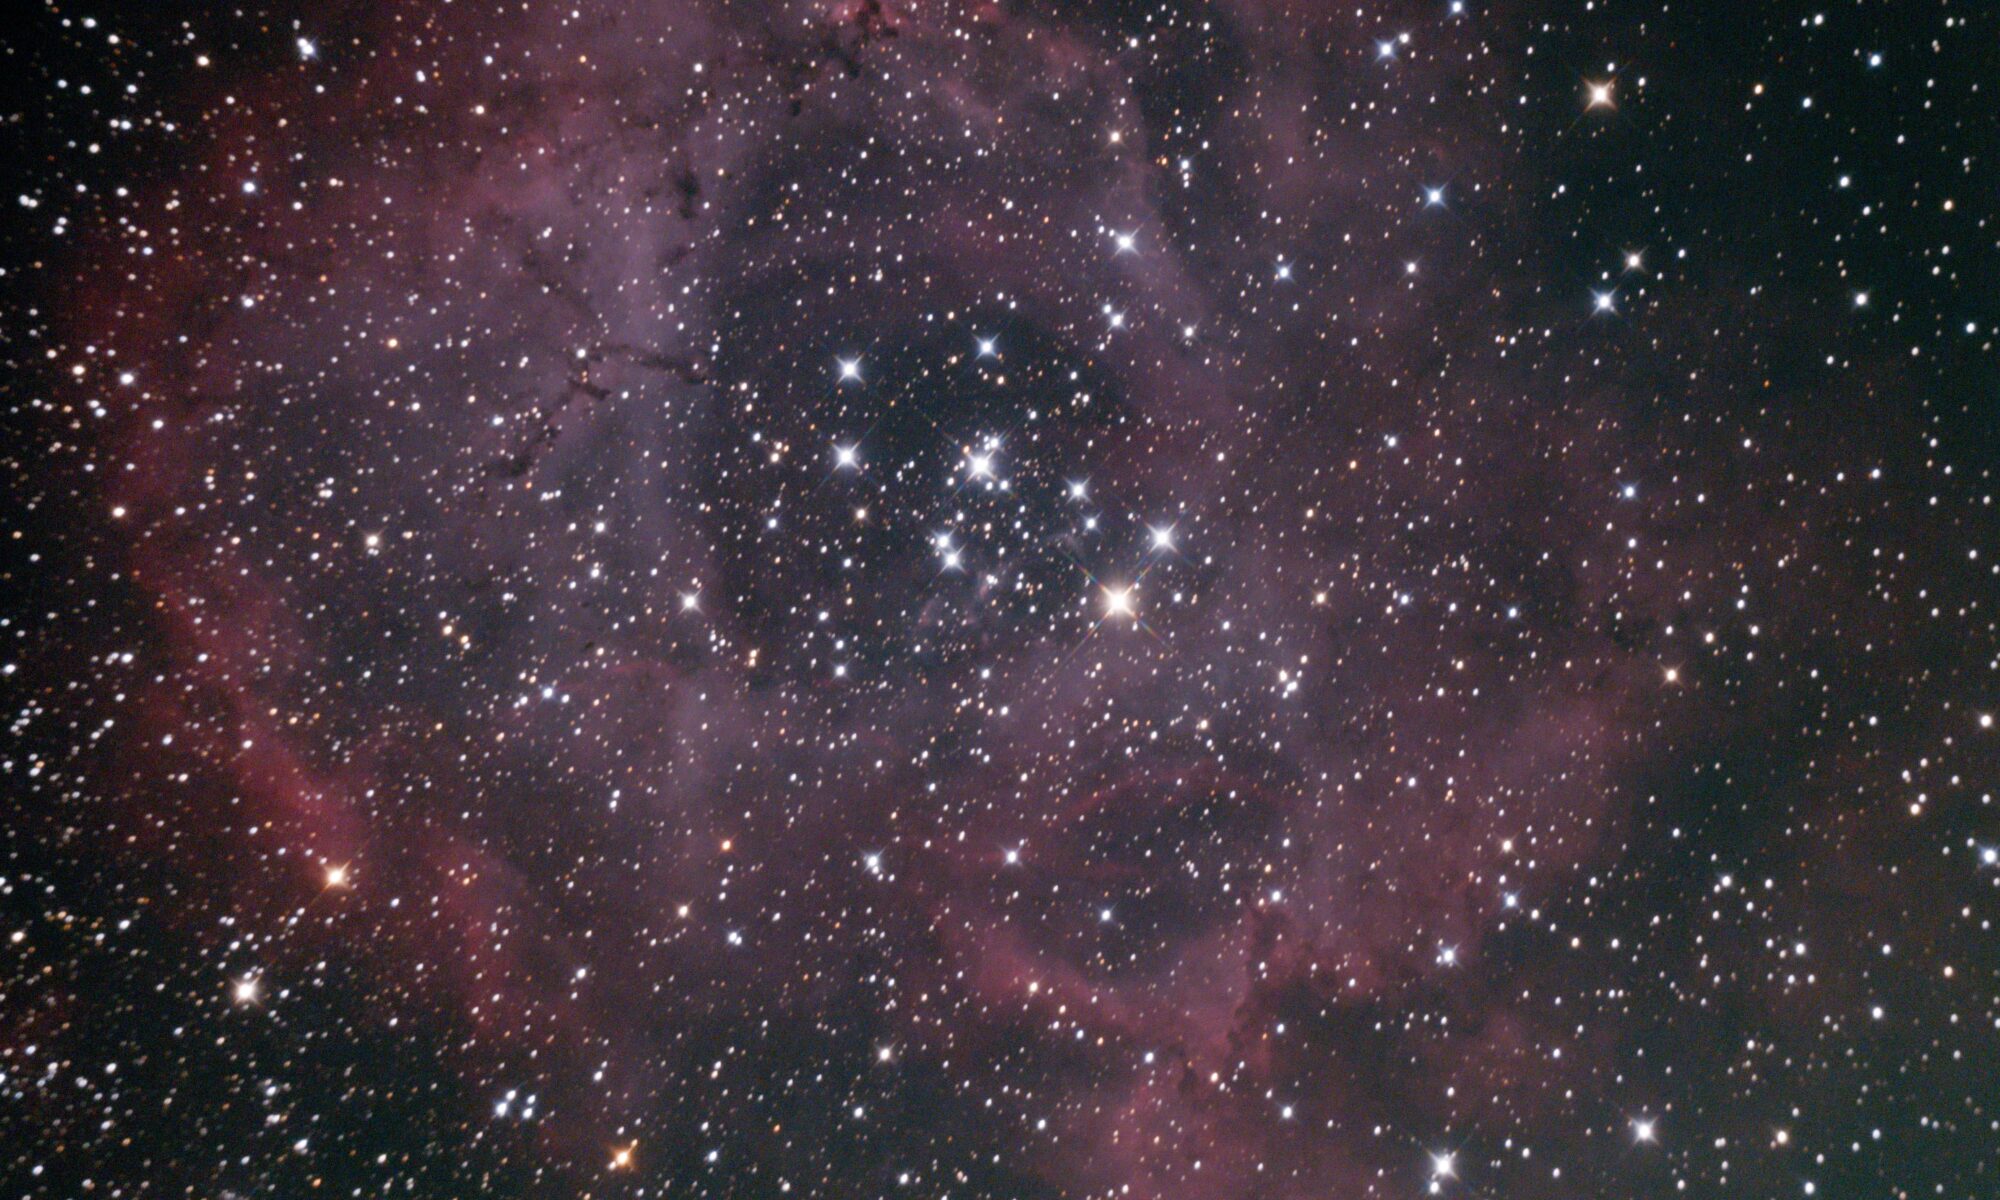
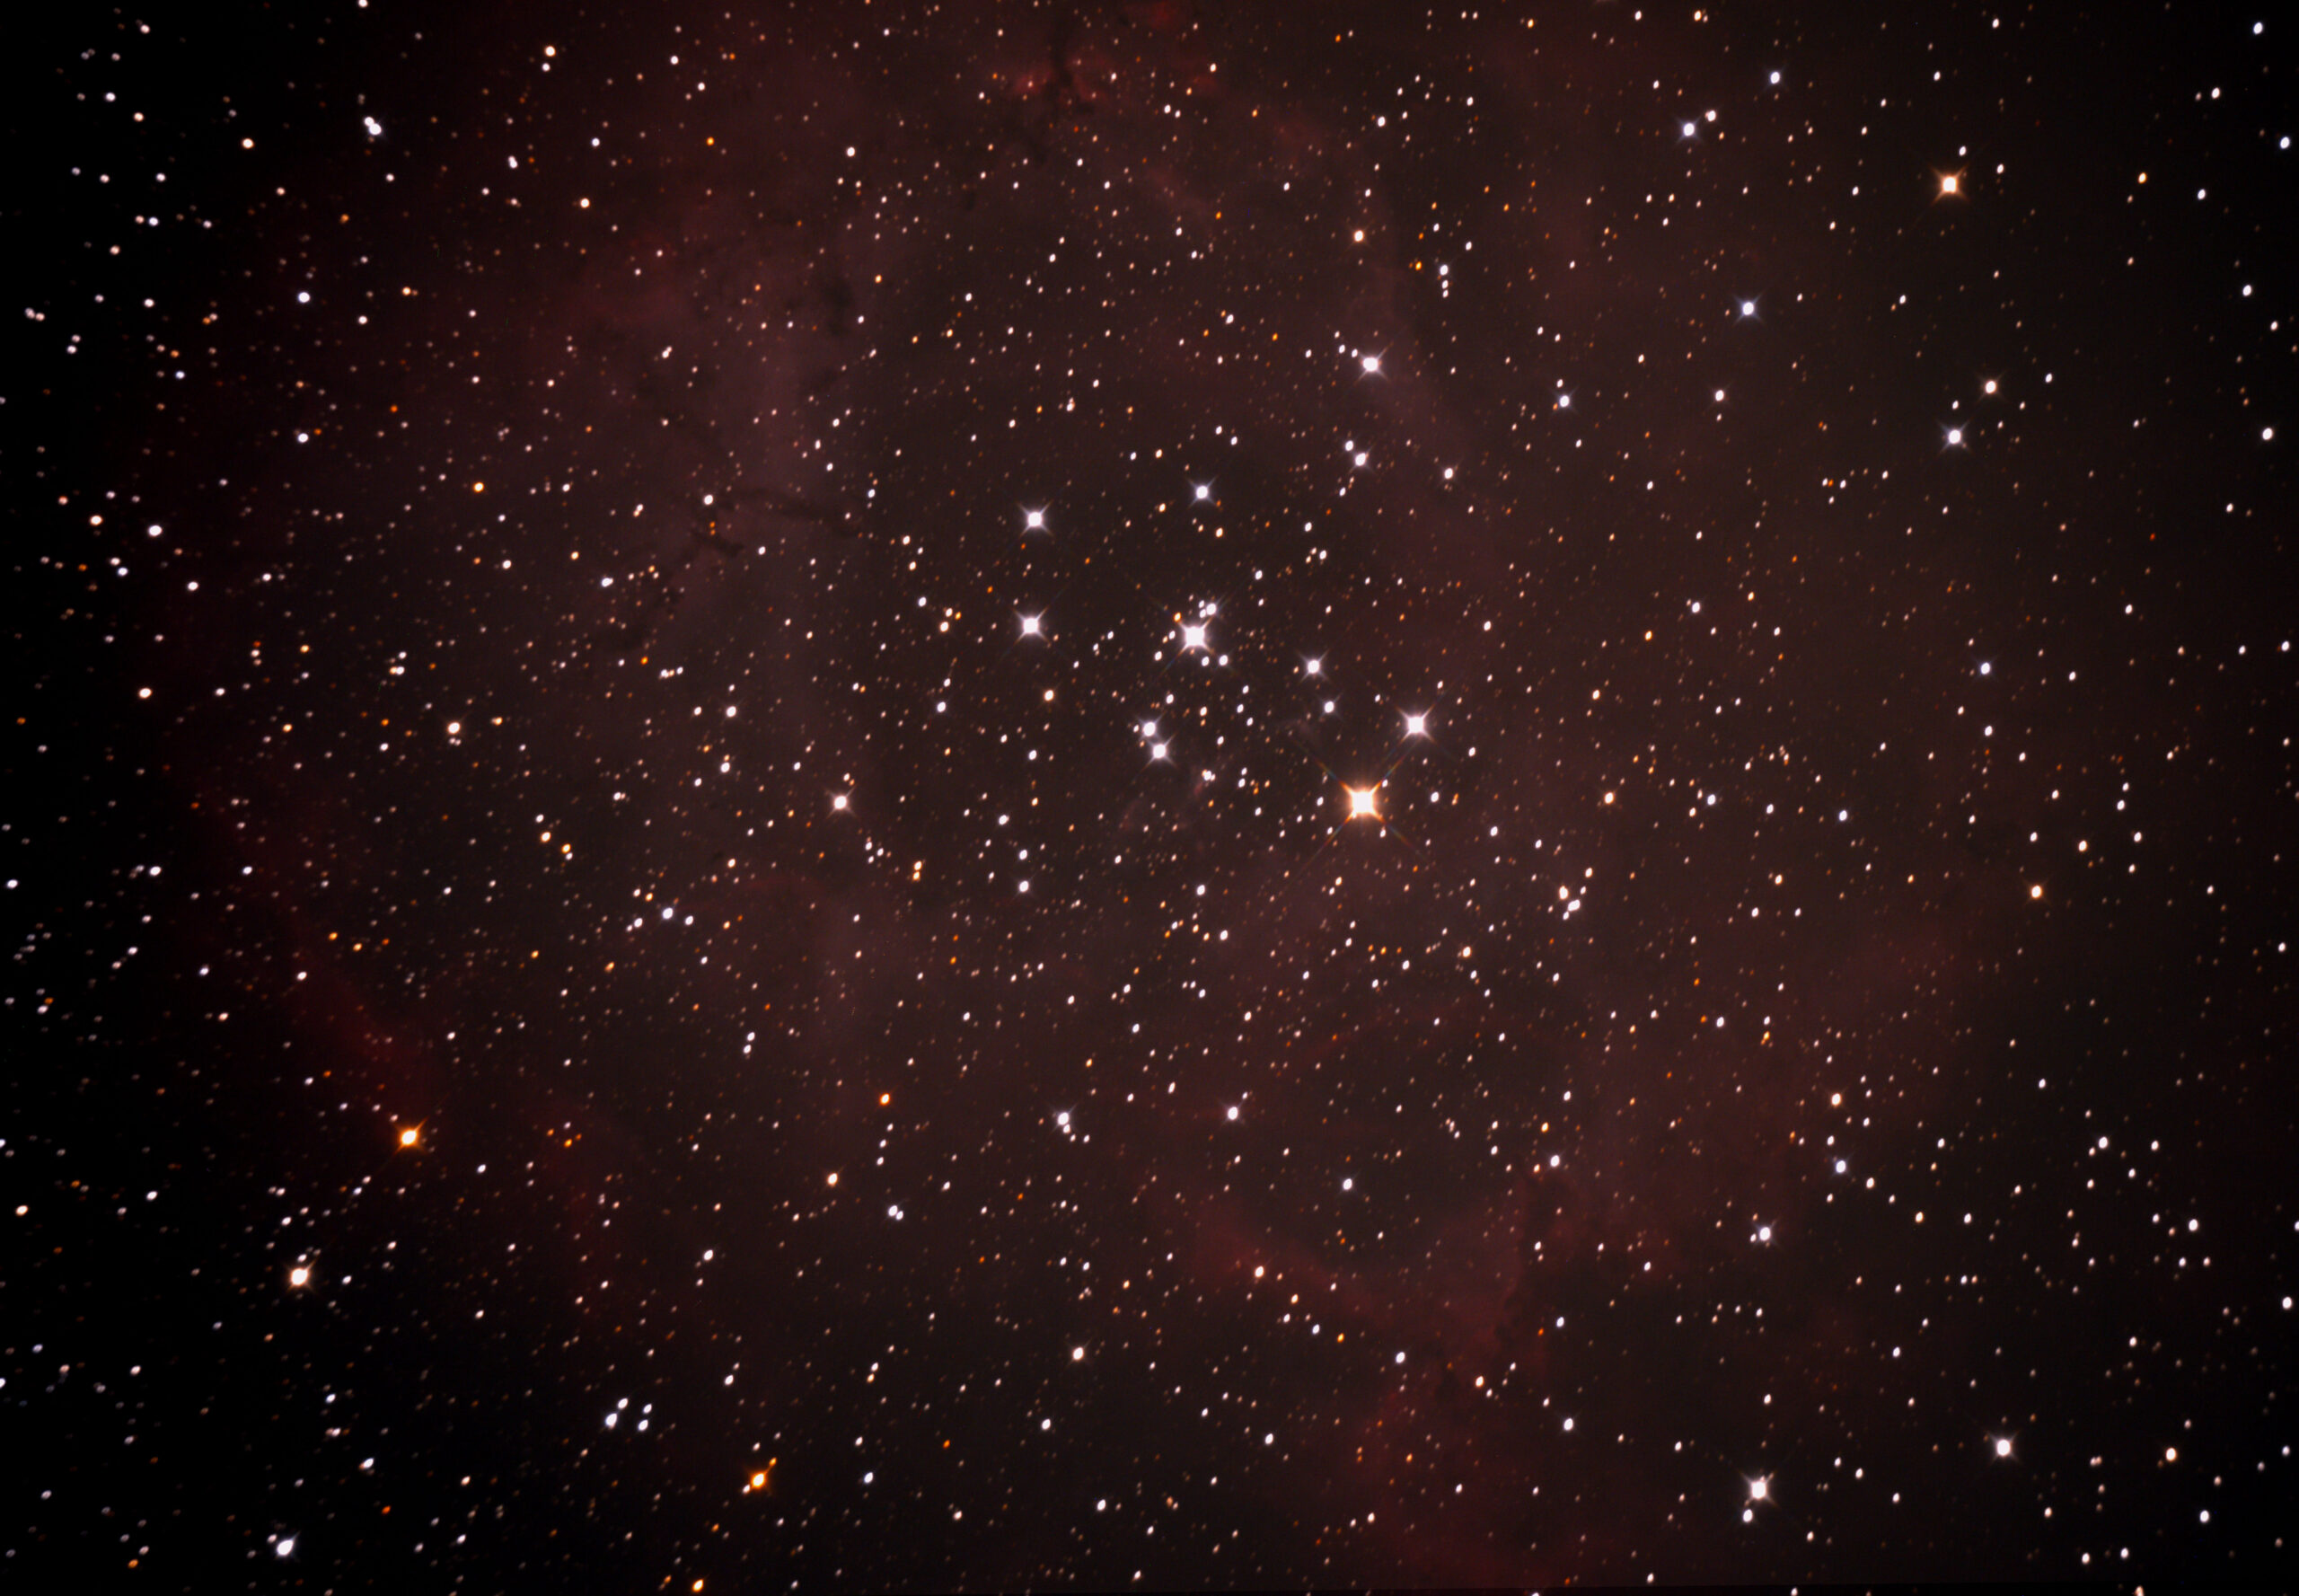
Poor viewing weather and illness have really slowed my astrophotography, but I did get a chance to brave the cold last Saturday and take some shots of the Rosette Nebula, NGC 2244. It’s a really pretty reddish, pinkish nebula that resembles a rose and is located roughly 5,000 light years away in our Milky Way.
Driving out to the dark site, I wasn’t even sure what I wanted to shoot. It had been so long, and I was feeling so rusty. A member of the local astornomy society recommended some targets, but I wasn’t sure my gear was even up to the task. Some of these objects are pretty dim compared to the brighter galaxies I’ve been shooting.
For example, the Andromeda Galaxy has a magnitude of 3.44 (lower is brighter). The Triangulum Galaxy, one of the dimmer objects I’ve photographed, is 5.72. but the Rosette Nebula? It’s 9!
My telescope had the specs for it. I checked before I tried. It gathers a lot of light for a 6 inch scope, but I thought I would either not be able to find the darn thing in the sky (even with my computerized mount) or just not be able to capture it at all.
One of the appealing things about this target, other than it’s one of the prettiest nebulas, was I had been shooting galaxies almost exclusively. I did some great imaging on Orion because it was an easy, bright target I could cut my teeth on with my new camera. So, I thought I needed to try something different and tackle a nebula.
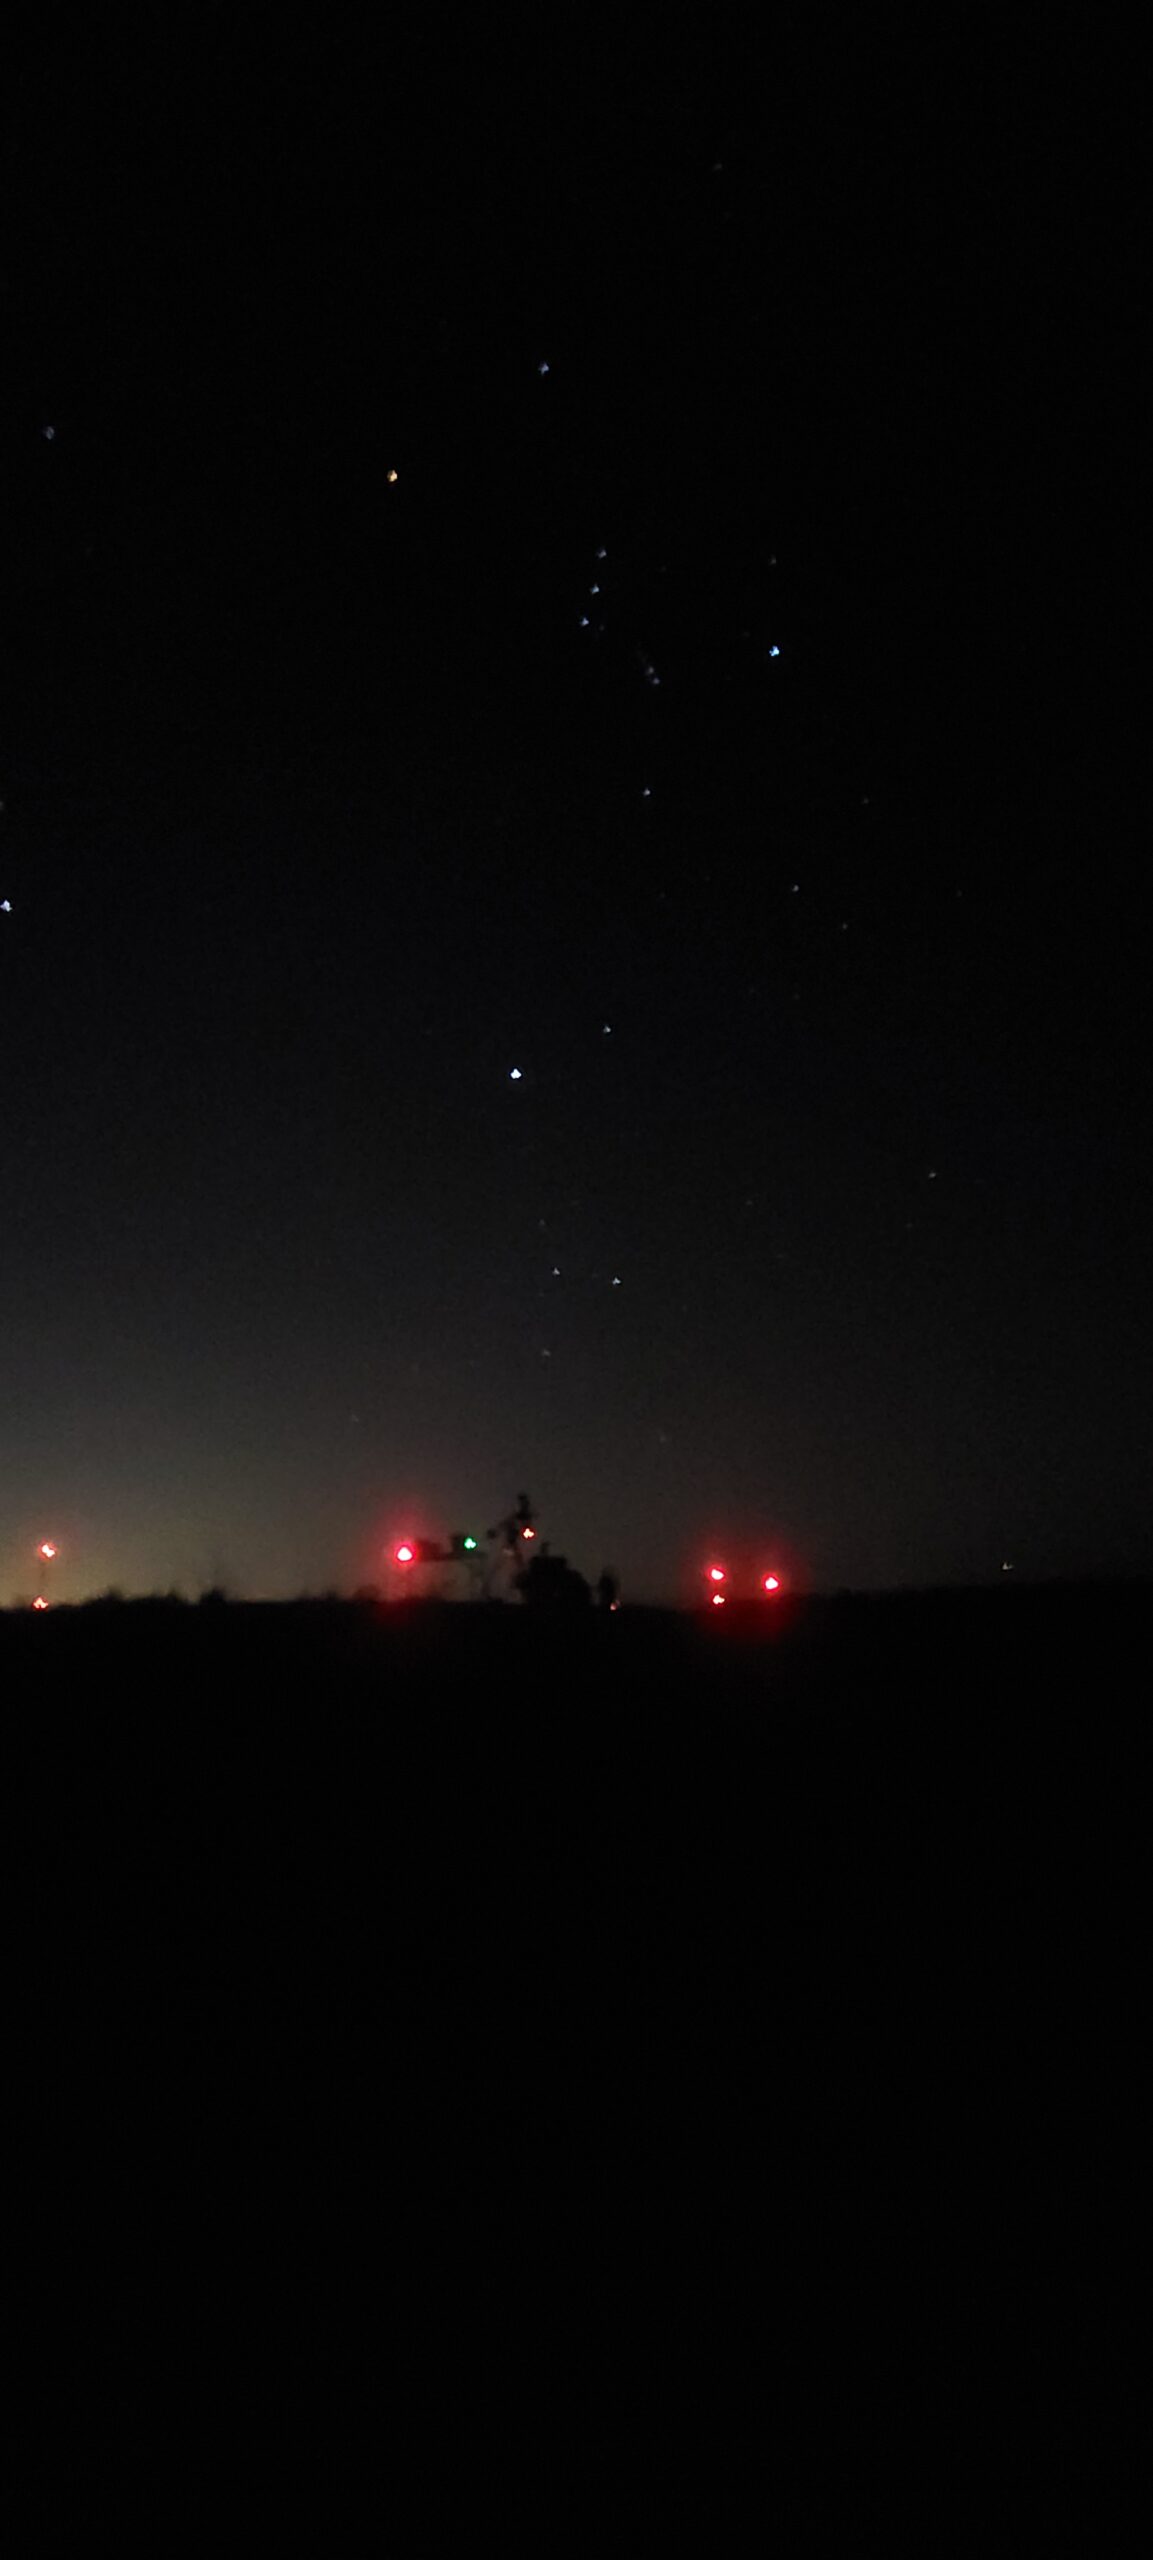
Setting up for the evening wasn’t hard, even as the temperature began to drop. I had my table, my laptop, my scope, snack food, and a brief moment of panic when I couldn’t find the North Star. What really happened was I was in a different place on top the levee where I normally set up, so I was turned a bit more westward than usual. Once I realized this, I reoriented my mount and got it aligned. But I still felt like a total newb.
I had just gone through the ordeal of packing up for the trip to come out to the dark site. It was more stressful than usual. You don’t ever want to be out there and realize you’ve forgotten some crucial piece of equipment and then have to weigh disrupting other people’s imaging so you can take the long ride back home to grab the missing gear. This happen to me once when I forgot my laptop, which is as crucial a piece of gear as my mount, my scope, and camera. This time, I nearly left the house without my hair dryer.
Hair dryer? Even a veteran might wonder at that one. Yes, a hard dryer. I’ve seen people using dew strips and such, but none of those seem quite as effective to me as a hair dryer on cool (no heat mode) plugged into one of my external power supplies. It gets dew off mirrors and lenses real quick. It works even better in my own backyard when I can actually turn the heat on low and warm things up a little.
Despite my panic, there was no dew and no need for my hair dryer all night.
Anyway, I set my gear up, connected power cables and data cables, and had my PHD2 software guided my scope smoothly. My camera was snapping crisp 6-minute exposures and I could see the Rosette Nebula in the LCD screen when each new image appeared.
I was back in the game! Things were going great, but it was getting colder and colder. I popped open some hand warmer bags. They helped, but my fingers were too numb for me to want to do anything other than keep my hands in my pockets for most of the night. I even brought along my little Celestron travel scope, hoping I could do a little viewing to help pass the exposure time. But after fighting with the crappy little mount on the thing, my pockets seemed a better place for my hands.
One of the other astronomy society members was out there with me. Far more advanced in experience, knowledge, and gear than me, he was still a little bored while his scopes did their thing. So, we started messing around with his big 10 inch scope and its computerized mount.
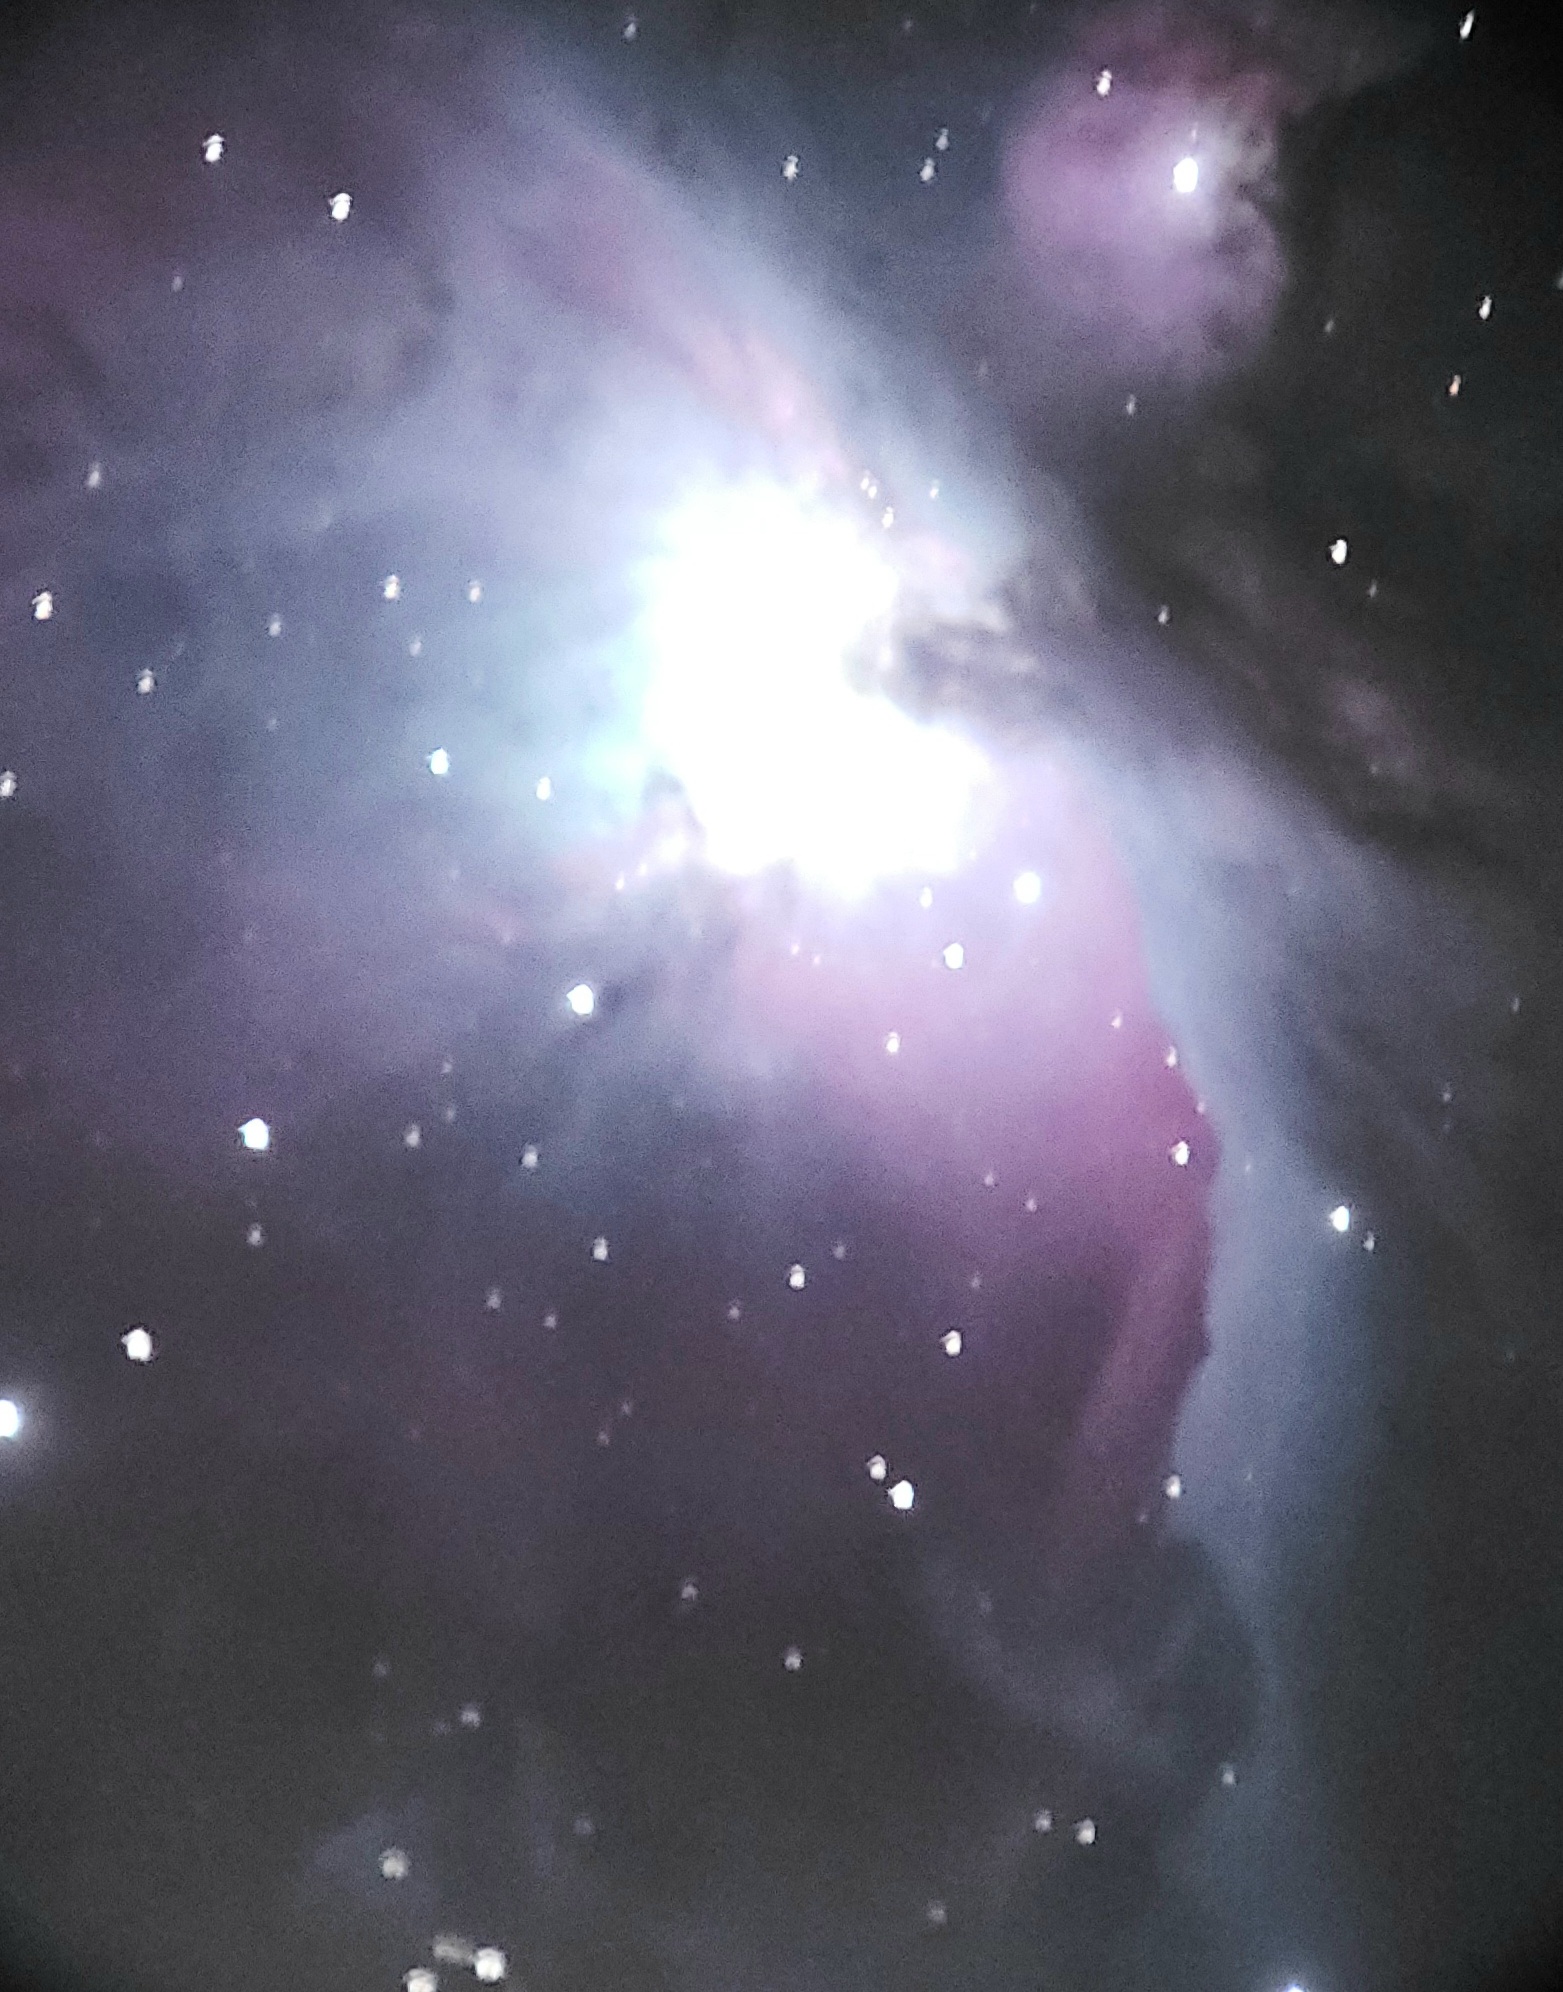
We slotted my Samsung Galaxy S12 on his eyepiece with his much more precise cell phone mount and tried to snap some pics of some of the brighter deep sky objects. He has an iPhone and for whatever reason, Apple has its camera much more locked up than Samsung. I can go into Pro Mode and do a whole lot, even take 30 second exposures.
And that’s what we did. The results were surprising. The only reason the images aren’t better is because my fingers were too numb to properly adjust the sliders on the screen for the focus.
Orion was the easiest. You can see the image we got from one 30 second exposure. I did crop it and touch it up a little on my phone later that night. And while I didn’t share it, I caught a satellite or two in a couple of the other Orion images we took. It looked like a bright squiggle. Still, that cell phone pic is as good as my early attempts with my Nikon D5300 and refractor scope.
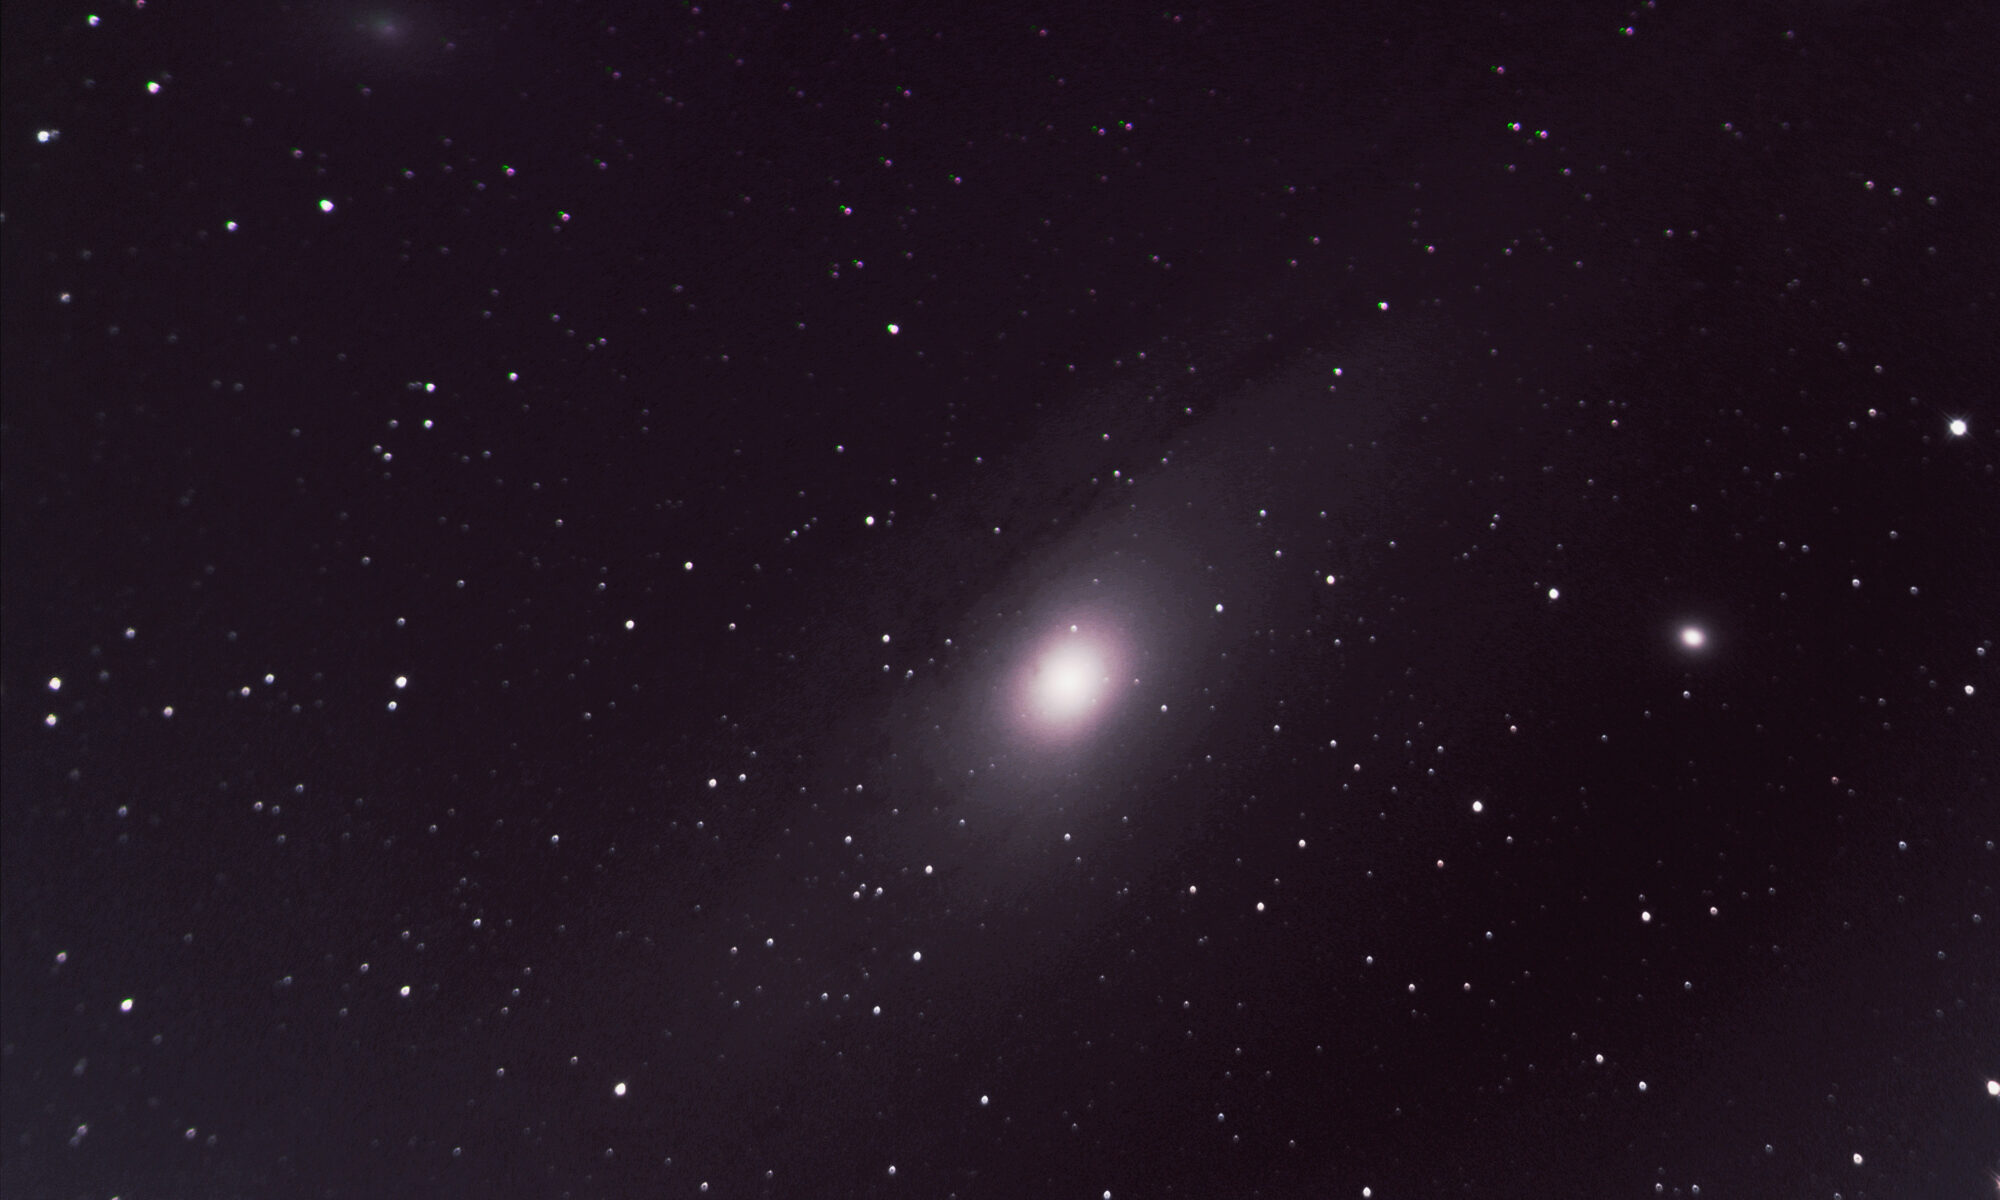
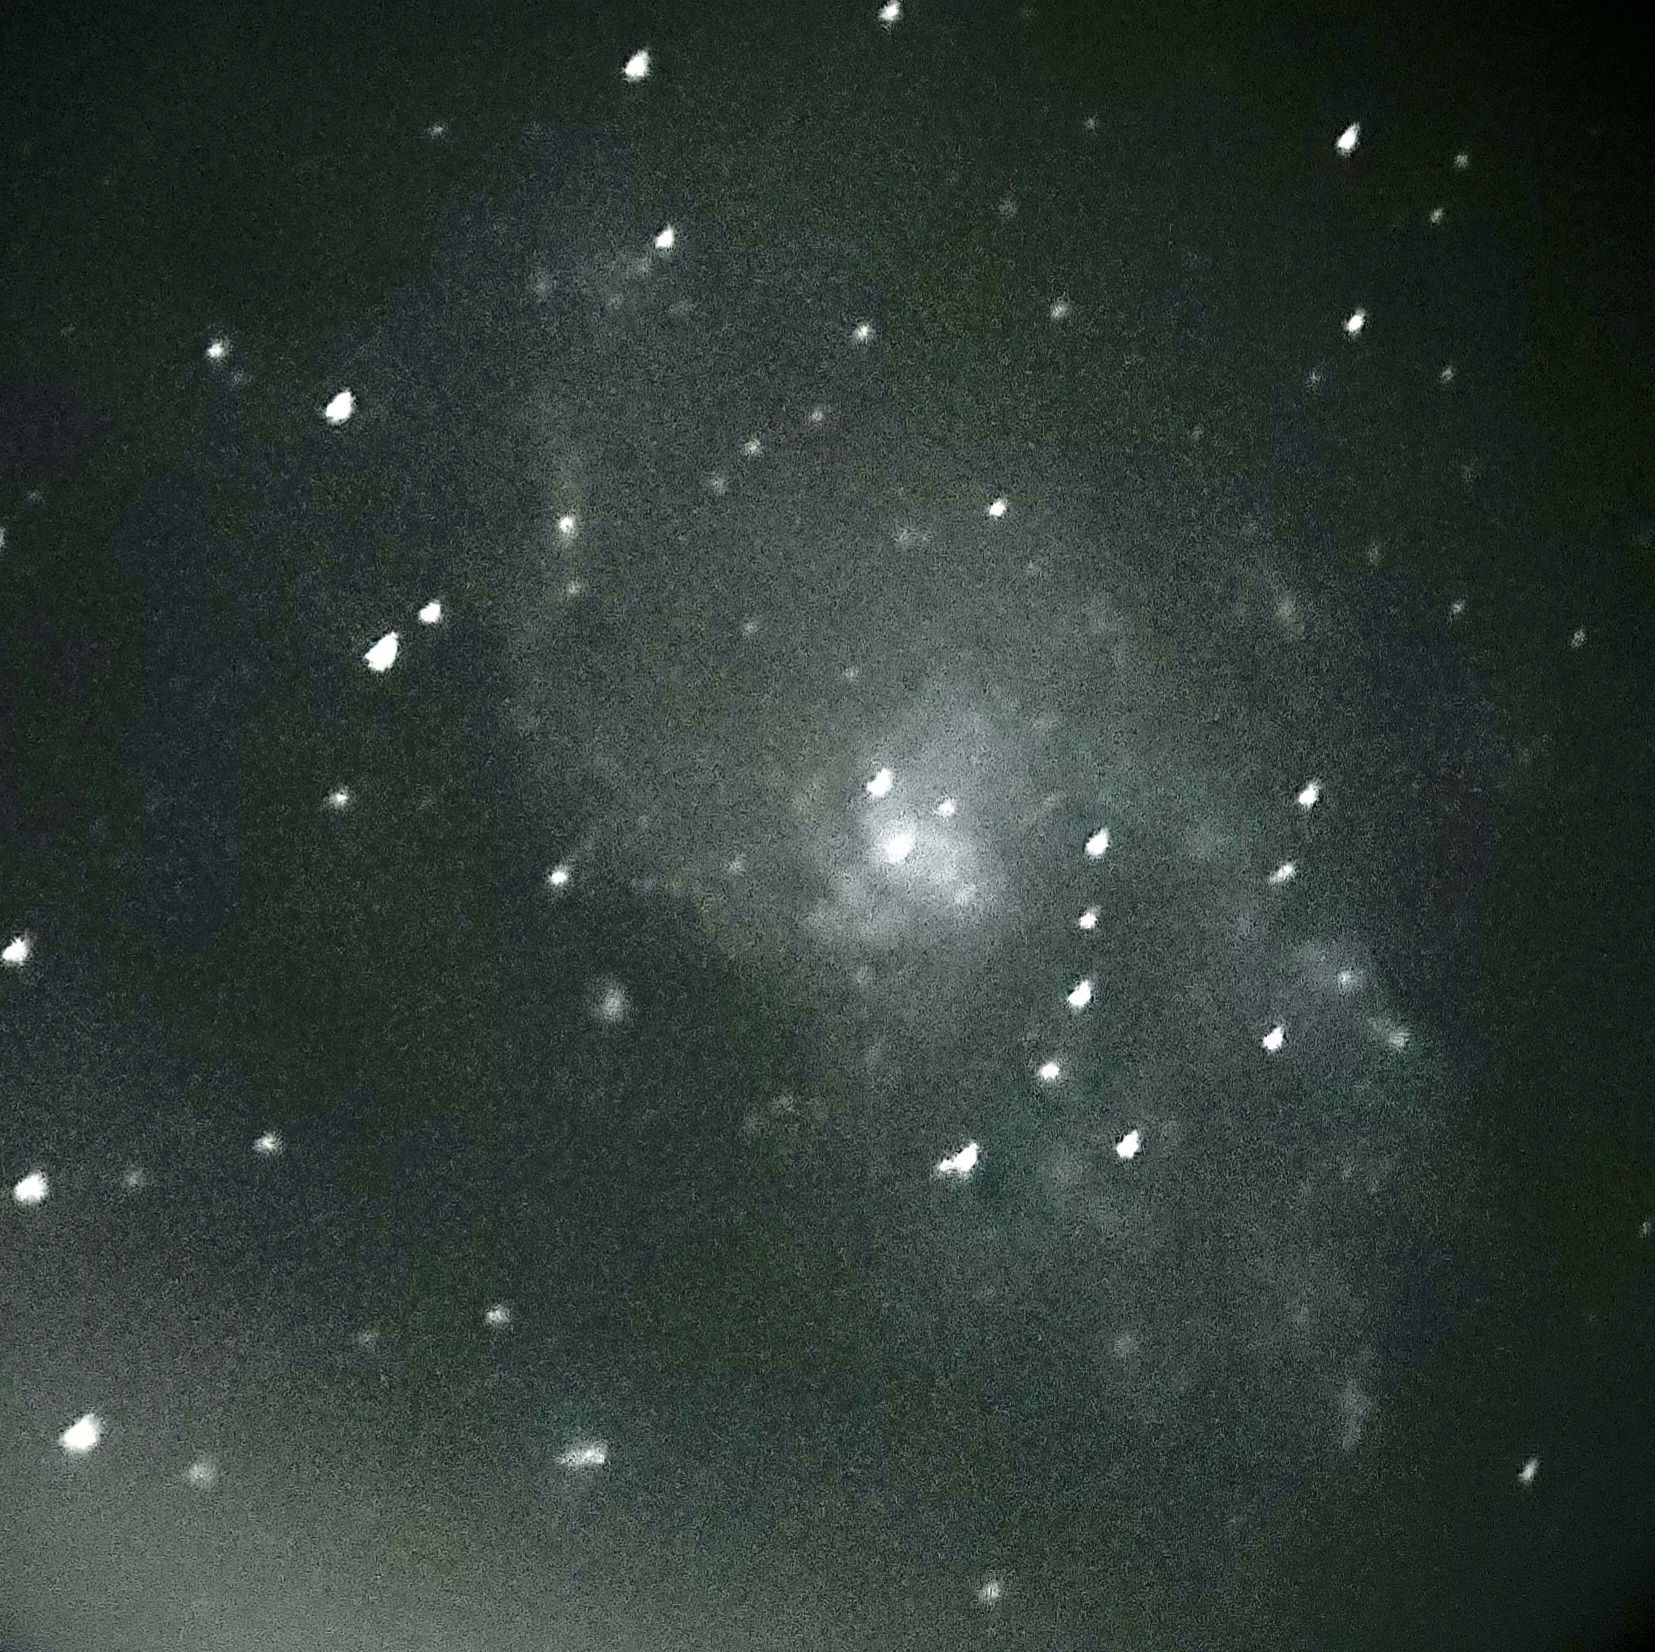
We also tried Andromeda. I haven’t figured out how to shoot Andromeda, yet. It’s technically brighter than the Orion Nebula and has a really bright core, but that seems to be the only thing I’m ever able to capture of it, even with my good gear. Despite just using a phone camera, you can make out one of the satellite galaxies in the top left.
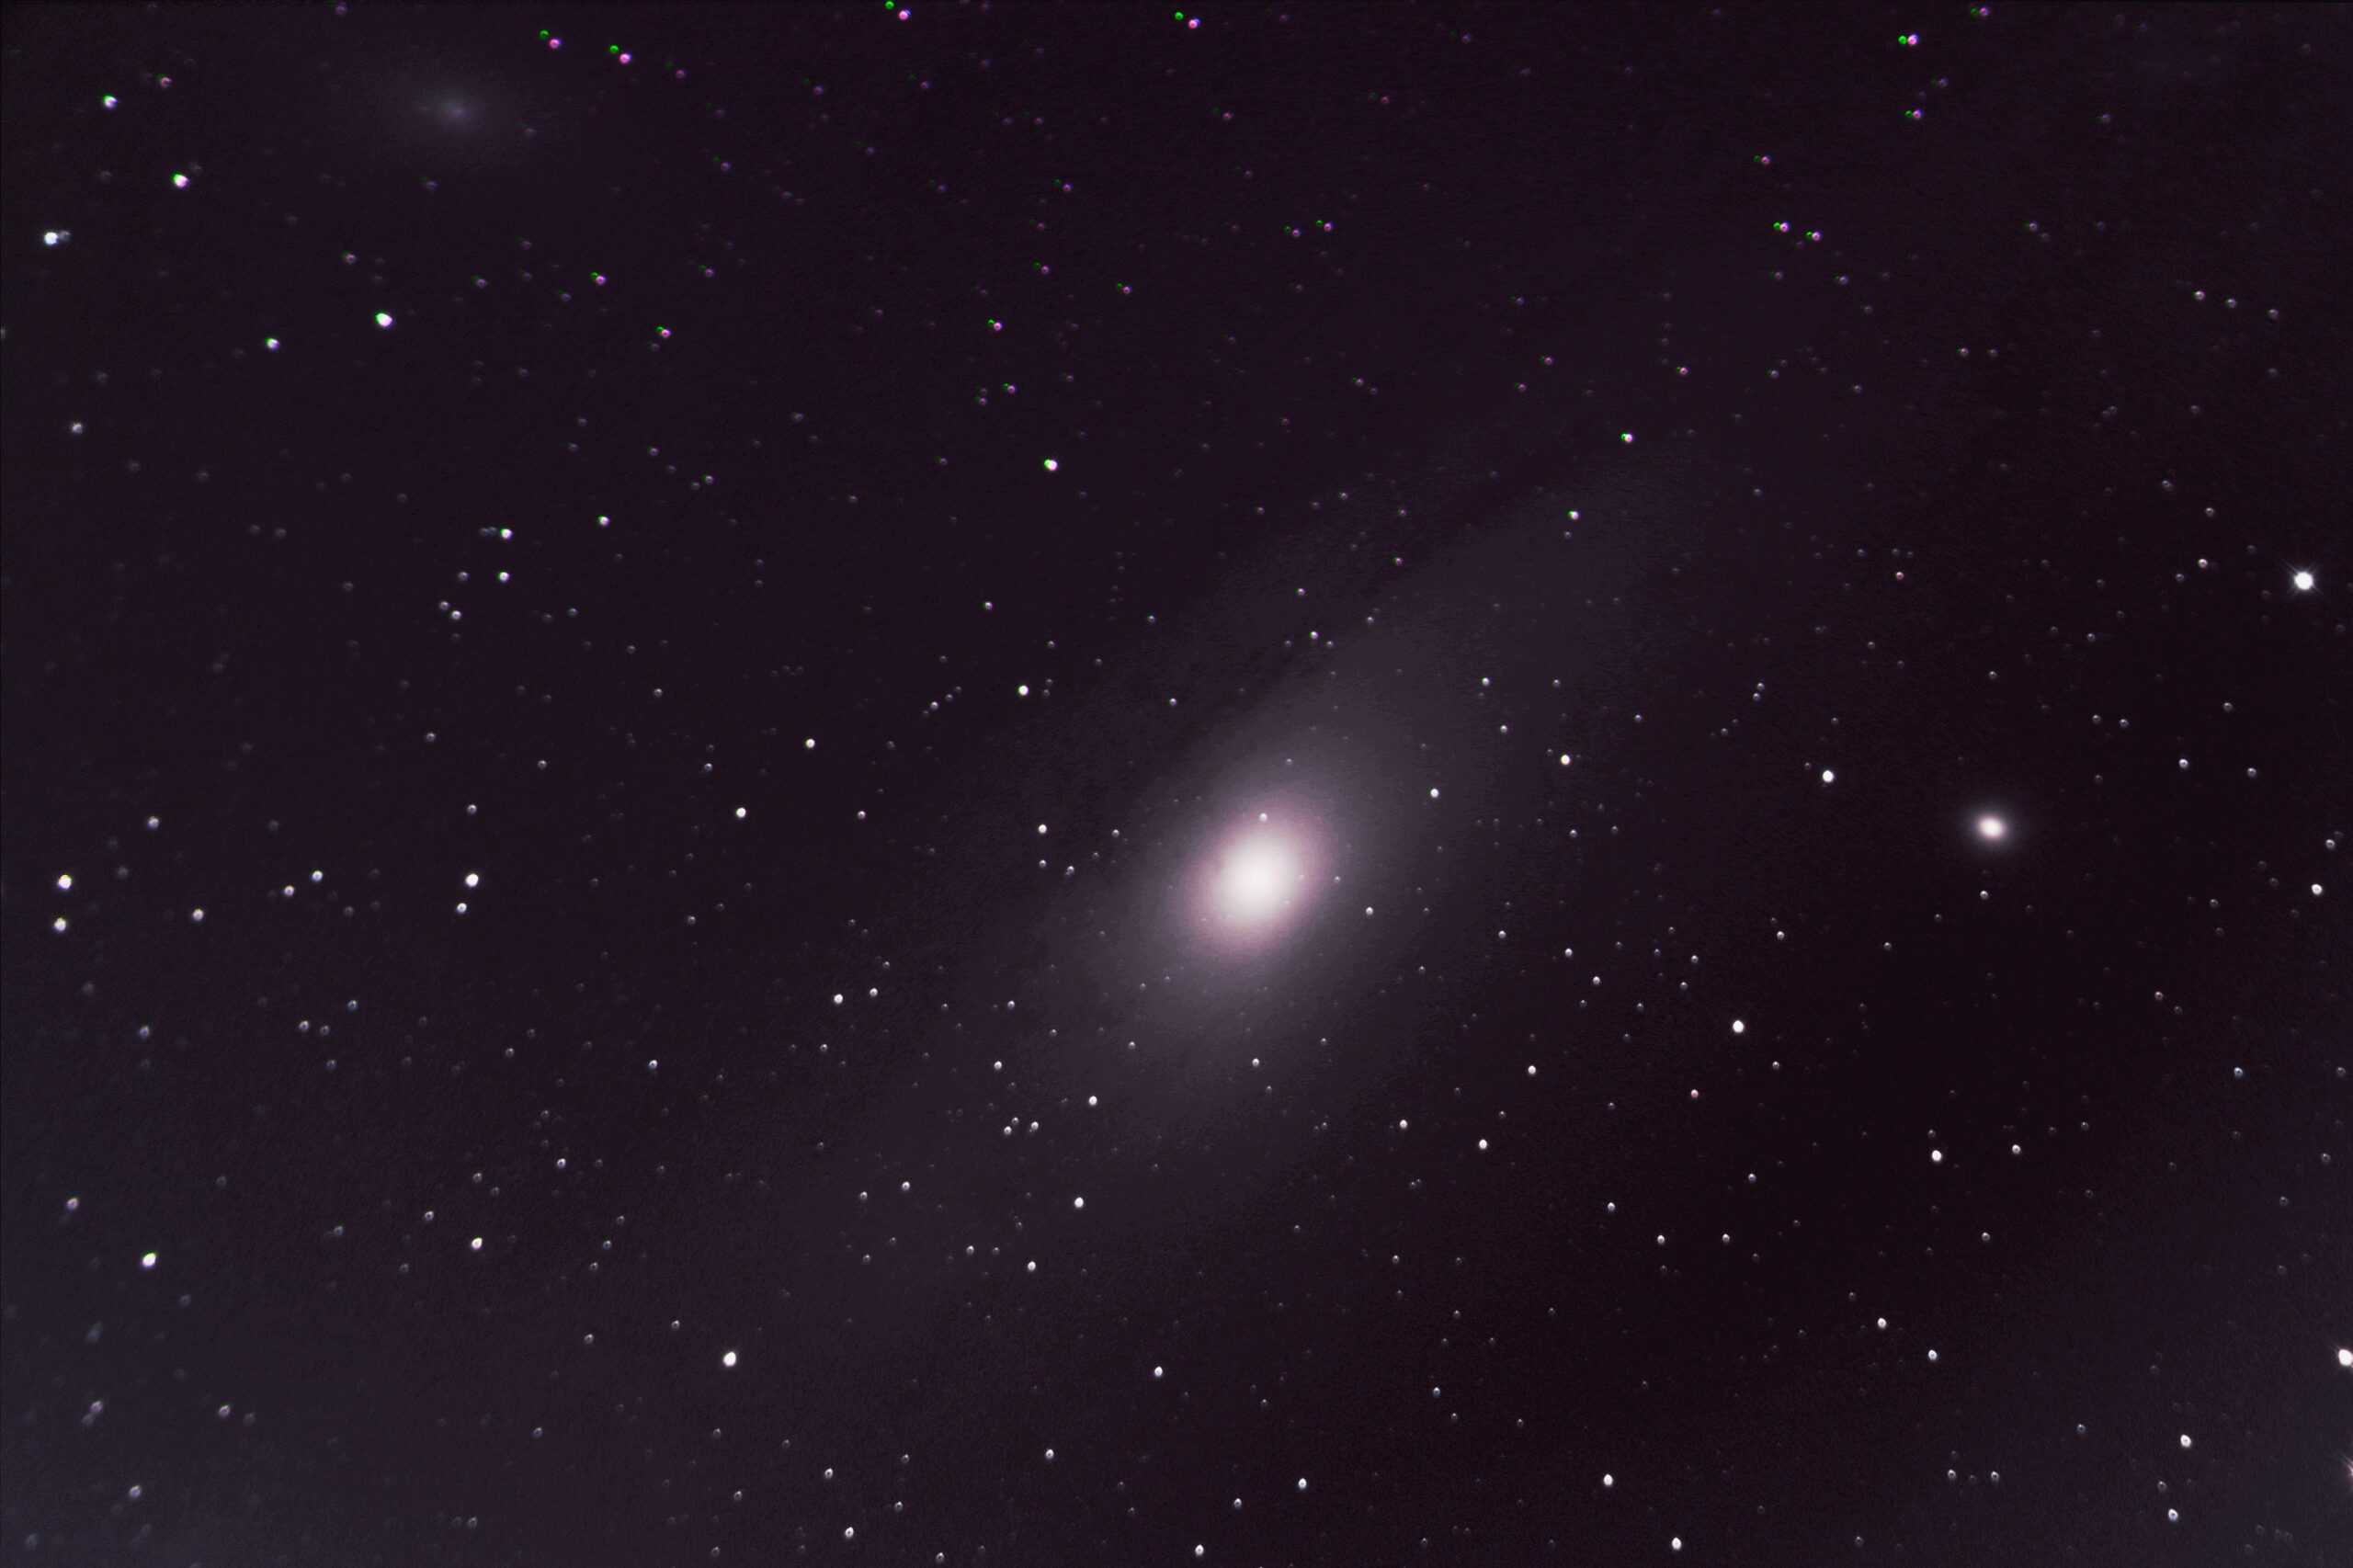
The most surprising image I got back, and again, this could have been improved with more effort and less numb fingers, was the one of the Triangulum Galaxy. I usually find that the phone will distort the color a bit when I take long exposures with my phone and my cheap, wide angle lens. This was not the case with the lens we used for these shots.
The image I got back and improved with my elite phone photo editing skills is really nearly as good as my first attempt at the galaxy with my Nikon D5300 from my backyard. To be fair to the Nikon, I’ve learned a lot since those days and could probably get much more out of the camera if I ever feel like grabbing another computerized mount.
The moral of all of this is don’t underestimate your phone’s camera’s capabilities, unless it’s an iPhone. Then you’re probably out of luck.
While playing with my phone and the big scope, I was not paying attention to my laptop. I upgraded to Windows 11 and things had been pretty smooth. Other than some clumsy new menu designs, the upgrade seemed solid. But I didn’t know that it changed my power settings. I have no problem with the screen shutting off after a few minutes to preserve battery life, but Windows 11 reset my setting for putting my laptop to sleep after half an hour. I caught it soon enough that I only lost four image to unguided blurring, but it still sucks. I fixed the setting and got everything moving again.
Then the battery on my laptop’s external power supply died and I didn’t notice it right away or anticipate it. In Windows, the next set of power settings relate to when the laptop is on battery power only. That’s rarely something I rely on, so I didn’t even consider the setting after the first incident, until Windows 11 put my laptop to sleep again. I woke it up, checked that PHD2 was still connected and tracking, changed that power setting, and then swapped batteries. I use the Ryobi 5Ah 40V batteries in the Ryobi Inverter to run my laptop. It doesn’t last as long as my Jackery Power supply, but is still pretty good. When one of those batteries runs dry, I’m usually ready to swap it out with a fresh battery while my laptop runs on its own battery. I can’t hot swap the power to my computerized mount like that without having to repeat the setup and star alignment processes.
Another crisis averted and after spending some time sitting in my dark car snacking, I was relieved when my camera snapped its last pic for the night. I hoped to get 30 pictures or 3 hours of exposure time at 3200 ISO. And I did, technically. I took my flats next, but I might have screwed up. I used a little utility lamp with a LED bulb intended to help plants grow. I’m not sure, really, if that matters, but I do know it emits different light wavelengths than one would get from a standard “daylight” LED bulb. With Av mode on my camera and a T-shirt, it only took me a couple of minutes to get the flats.
I gambled I could let my camera start taking darks while I broke my gear down and packed up. But, I forgot to switch my camera back to bulb mode. It did this weird thing where even though I used the controller to have it take six 6-minute exposures at 3200 ISO with the lens cap on, it was actually only taking 13 second exposures. I was unaware of this, as the camera was making noises and flashing indicators like it was taking pictures as normal every 6 minutes.
I didn’t discover this problem until the next morning when I grabbed the images from my camera and loaded them into Deep Sky Stacker. After that night, I was done with being in the cold for a while and didn’t feel like leaving such an expensive camera in my backyard in the cold by itself to take new darks, so I borrowed some from my last trip out to the dark site in October. That was the best I was willing to do until I can get some new darks in similar temperatures.
I loaded my lights, “grow” flats, and fake darks into Deep Sky Stacker and set it to stacking. It only took maybe a minute to do the work. That was a pleasant surprise. I caught a deal on a Ryzen 7 5800X over Black Friday and upgraded from my still awesome but aging Ryzen 7 1700. Talk about a difference in performance! What used to take 20+ minutes now finished before I could get a drink refill. Below is my first result of the stacking and rough processing in Adobe Photoshop.
I was excited by the results and was quick to share it to Facebook, but knew I could do better. I tried several more times that day to process my TIF file in Photoshop, but the results were never better and usually a lot worse than what I got with my first try. It seemed like every time I tried to stretch the data, I’d lose too much of it or it would trend into overexposure.
I was familiar with the results the more advanced people in the local astronomy society were able to get from their imaging and I was stewing over whether or not my scope was up to snuff. I considered saving some cash up and getting a much larger 10 inch scope to really bring in the light and detail of these objects. I could do that, I told myself. But I wondered if it would be worth it in the end.
It wasn’t until I sat down to write this blog that I made one more attempt to process my Rosette Nebula data from scratch.
I loaded the same collection of mismatched images into Deep Sky Stacker and paid closer attention to its settings and recommendations. I tried a few different ones that I didn’t even realize I could enable from the recommendation screen. And probably more importantly, I let it balance the colors for me on the output. I had always been muddling through doing this manually in Photoshop and the EOS Ra really redshifts its images.
I popped this new TIF file open in Photoshop and could immediately tell I had a different animal here. I could actually stretch the data, readjust the levels, and stretch again without the colors inverting. The dithering I had before was gone. And I think I could improve it further by walking through the star masking procedure and reinstalling GradientXTerminator. But this is the new result and it’s significantly better.

The image is a little grainy and the stars could be reduced a bit by adjusting some of the stacking settings, I think. Or, I should say, I’ll find out. But it goes to show it’s not all about the equipment, as much as it is about understanding the software and its capabilities. This is true whether you’re using a phone or a $3,000 auto-guided telescope.