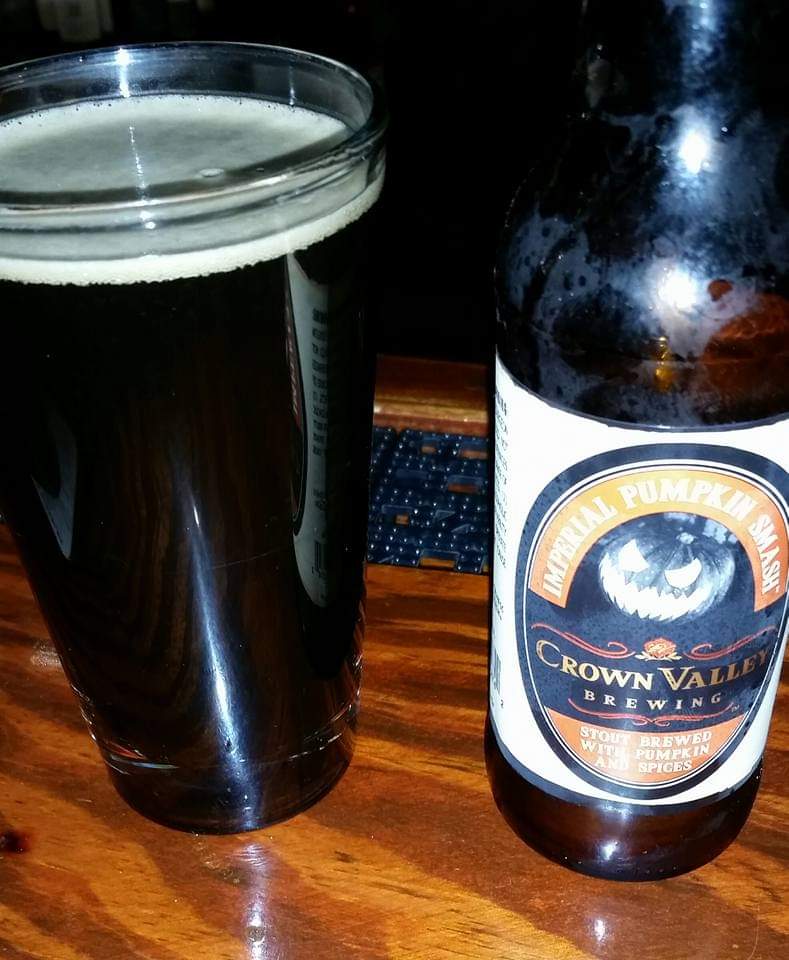
Years ago, I discovered the Missouri-based Crown Valley Brewing and Distillation’s beers. Their Imperial Pumpkin Smash became my all-time favorite pumpkin beer and I looked forwarded to grabbing a 4-pack every fall, especially for Halloween Night. It’s a mildly bitter, chocolate-pumpkin-tasting concoction with a weighty ABV close to 11%.
But when the Beer Bug came, the beer went away. I heard rumors from retailers and local distributors that the brewery just couldn’t keep up with the demand for its beers due to manpower and supply chain issues. So, I haven’t been able to get it and even considered taking a road trip to Missouri to try to get some directly from the brewery. I still may do that some day, but I came up with another plan. Brew my own or something close to it.
I gained some experience with brewing from my experiment with wine making and I found some random person’s post about the suspected recipe for the beer on some random forum. I took the recipe to a local homebrew store for help and the truth was I lacked the experience, equipment, and ingredients to try to pull off the recipe. Instead, they sold me an Imperial Stout kit with all the ingredients and helped me pick out all the equipment I would need. My thinking was I could follow their Imperial Stout recipe and add in the assumed amount of pumpkin spice from the theorized formula to at least get an Imperial Pumpkin Stout.

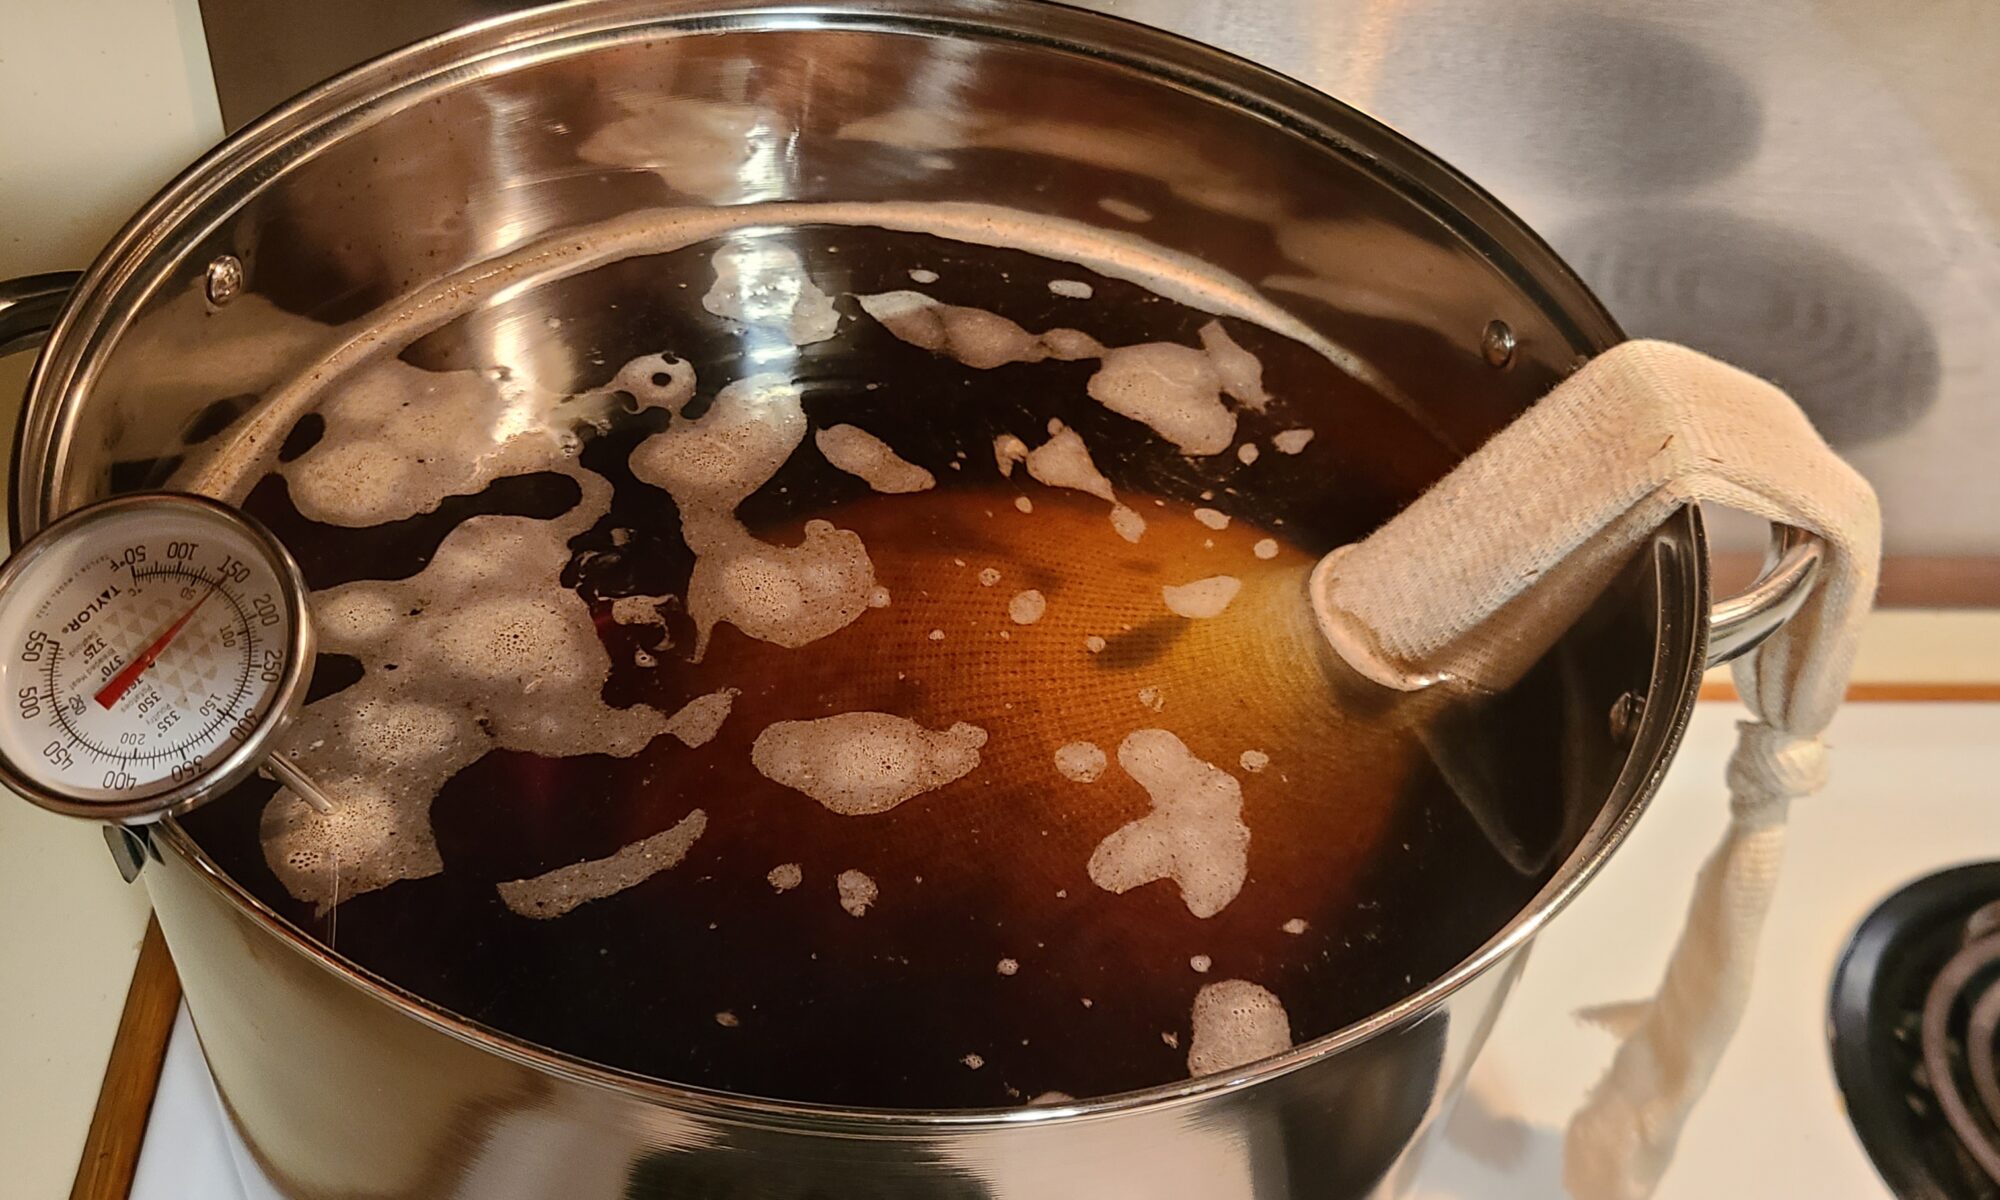
Kit and equipment ready, I went to work. The first stage involves a lot of boiling and pouring in different ingredients at specific times. The ingredients mainly consists of some syrupy malt packs and hops. For me, the most difficult part was heating up 3 gallons of water to a boil on my electric stove. It took a lot longer than I thought it would. I was also worried a full pot might be too much weight for the burner, but it held up without collapsing. It’s also a little unnerving to have that much searing hot liquid going in my kitchen.
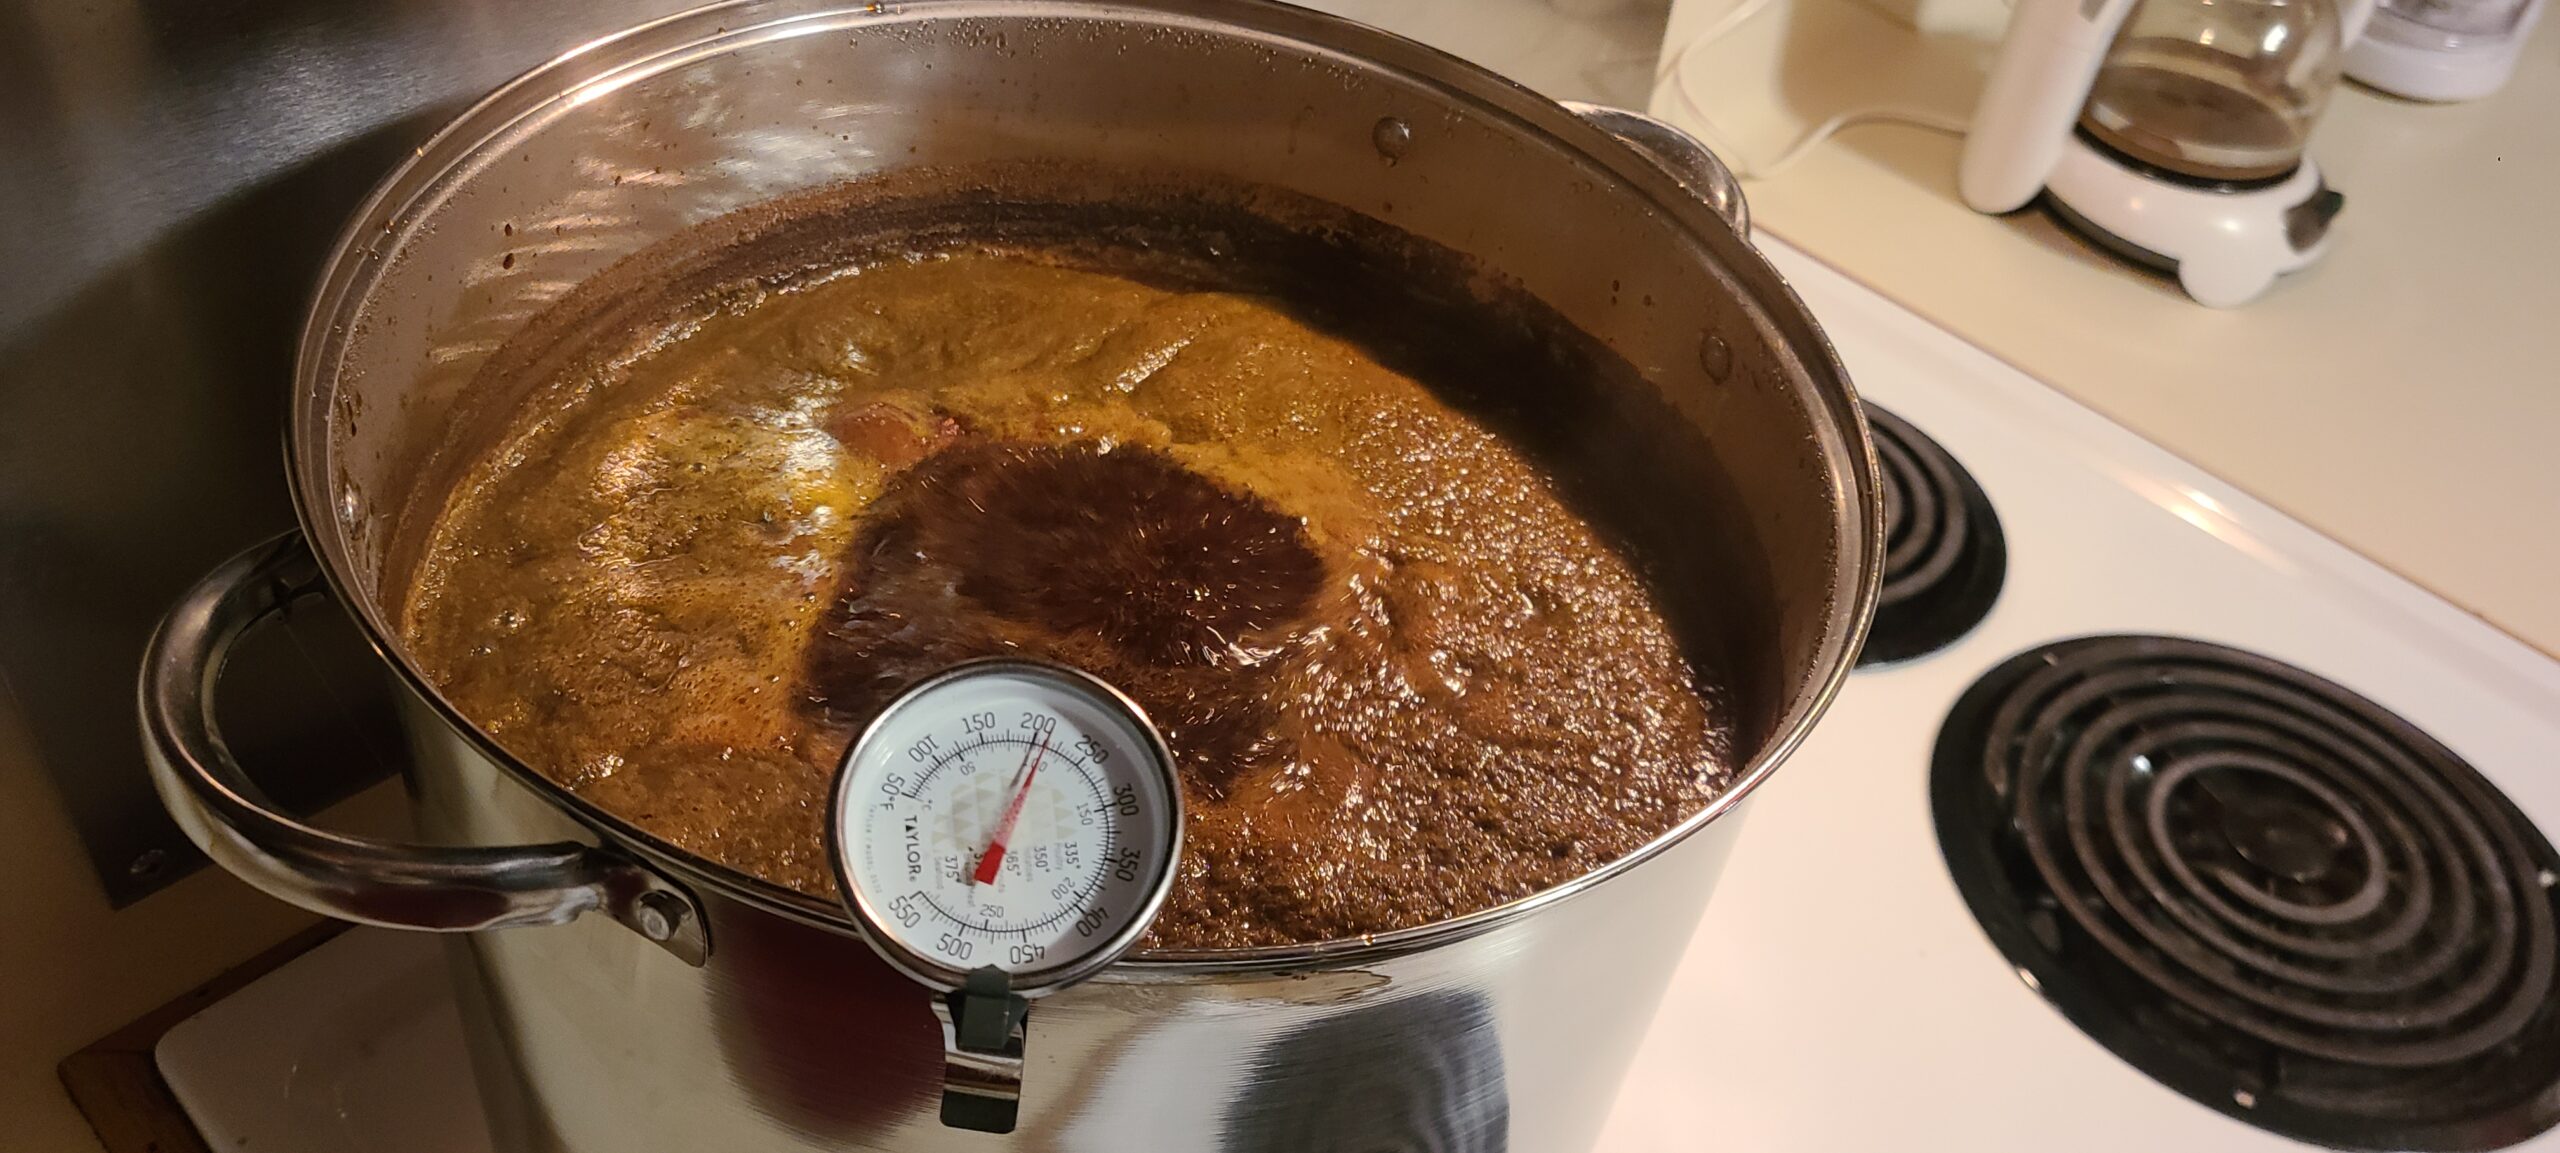
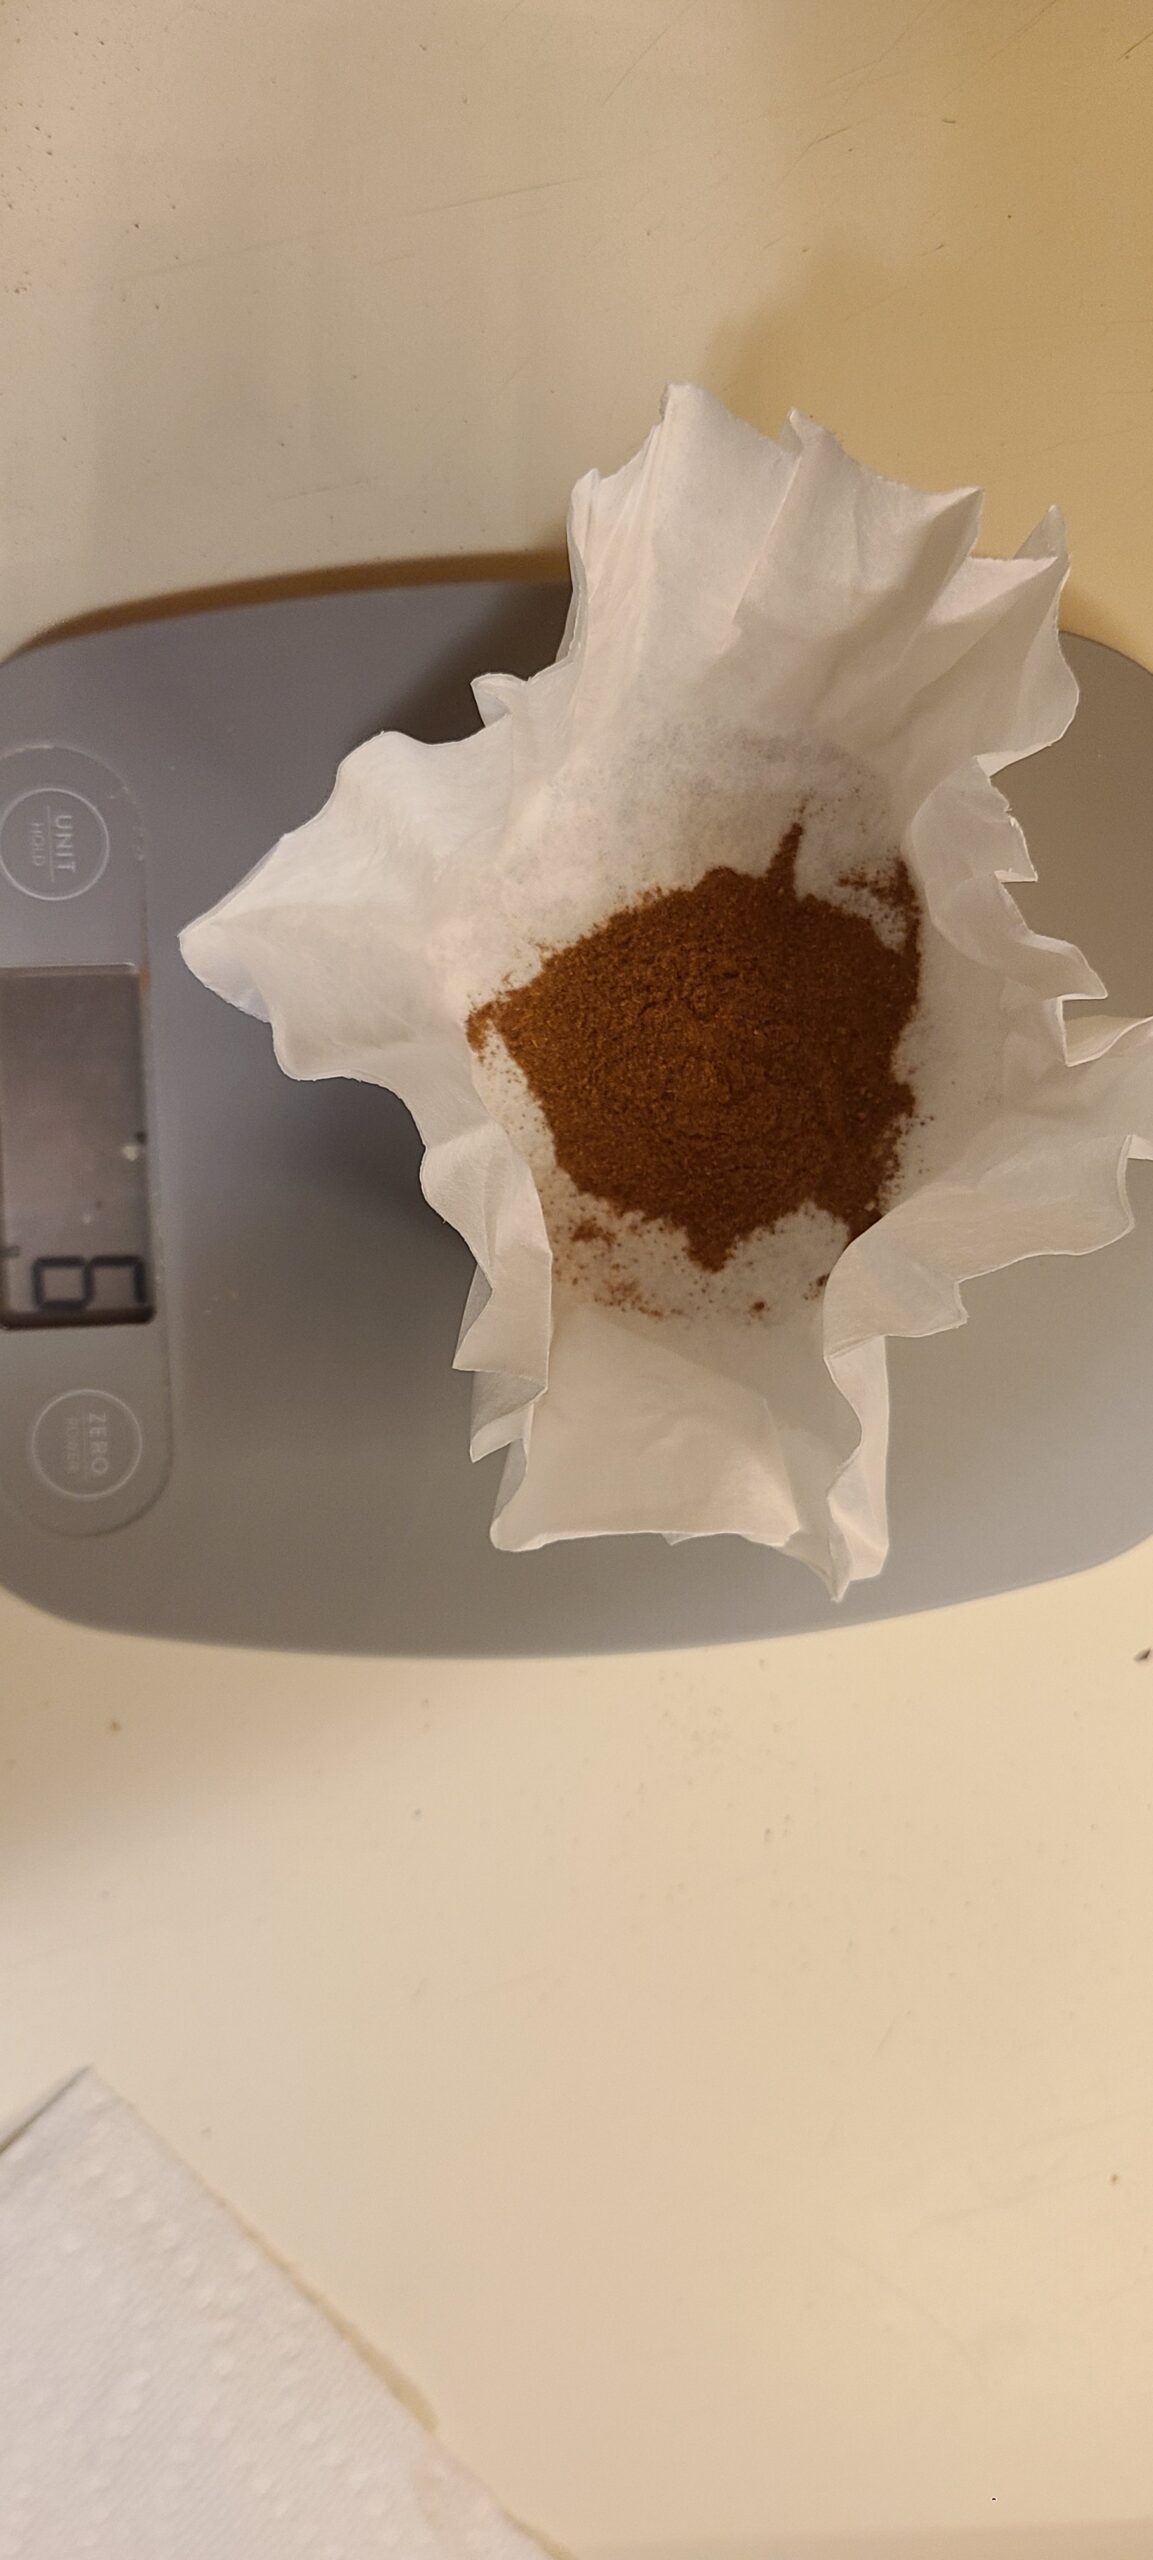
After about an hour of boiling and adding ingredients, I made my small change to the provided recipe to shift my Imperial Stout into an Imperial Pumpkin Stout. That involved adding 5 grams of pumpkin spice with a couple minutes to go before I would need to rapidly cool the pot (the contents are the “wort” or as I like to think of it, yeast feed).
When I originally started this project, I purchased an 8 gallon pot but opted to return it and get a 4 gallon one, which I used. I was grateful I did because the next step calls for immersing the pot into an ice bath. Well, the 4 gallon pot mostly fills up my sink and my carefully prepared ice bath. I still ended up splashing water everywhere while desperately trying to cool the pot down with bagged ice and tap water. (Spoiler: I later learned from a friend that you can simply pour cold water into the water to help bring the temperature down and it’s much more effective than sitting the pot in ice water).
I don’t completely understand the necessity for the rapid cooling; I suspect it has to do with suspending the sugar in the wort for the yeast. But you also need to bring the temperature down below 100 degree Fahrenheit before you can toss the yeast into the wort to begin the fermentation process. Any hotter than that and you might kill off your yeast and hinder fermentation (alcohol production).
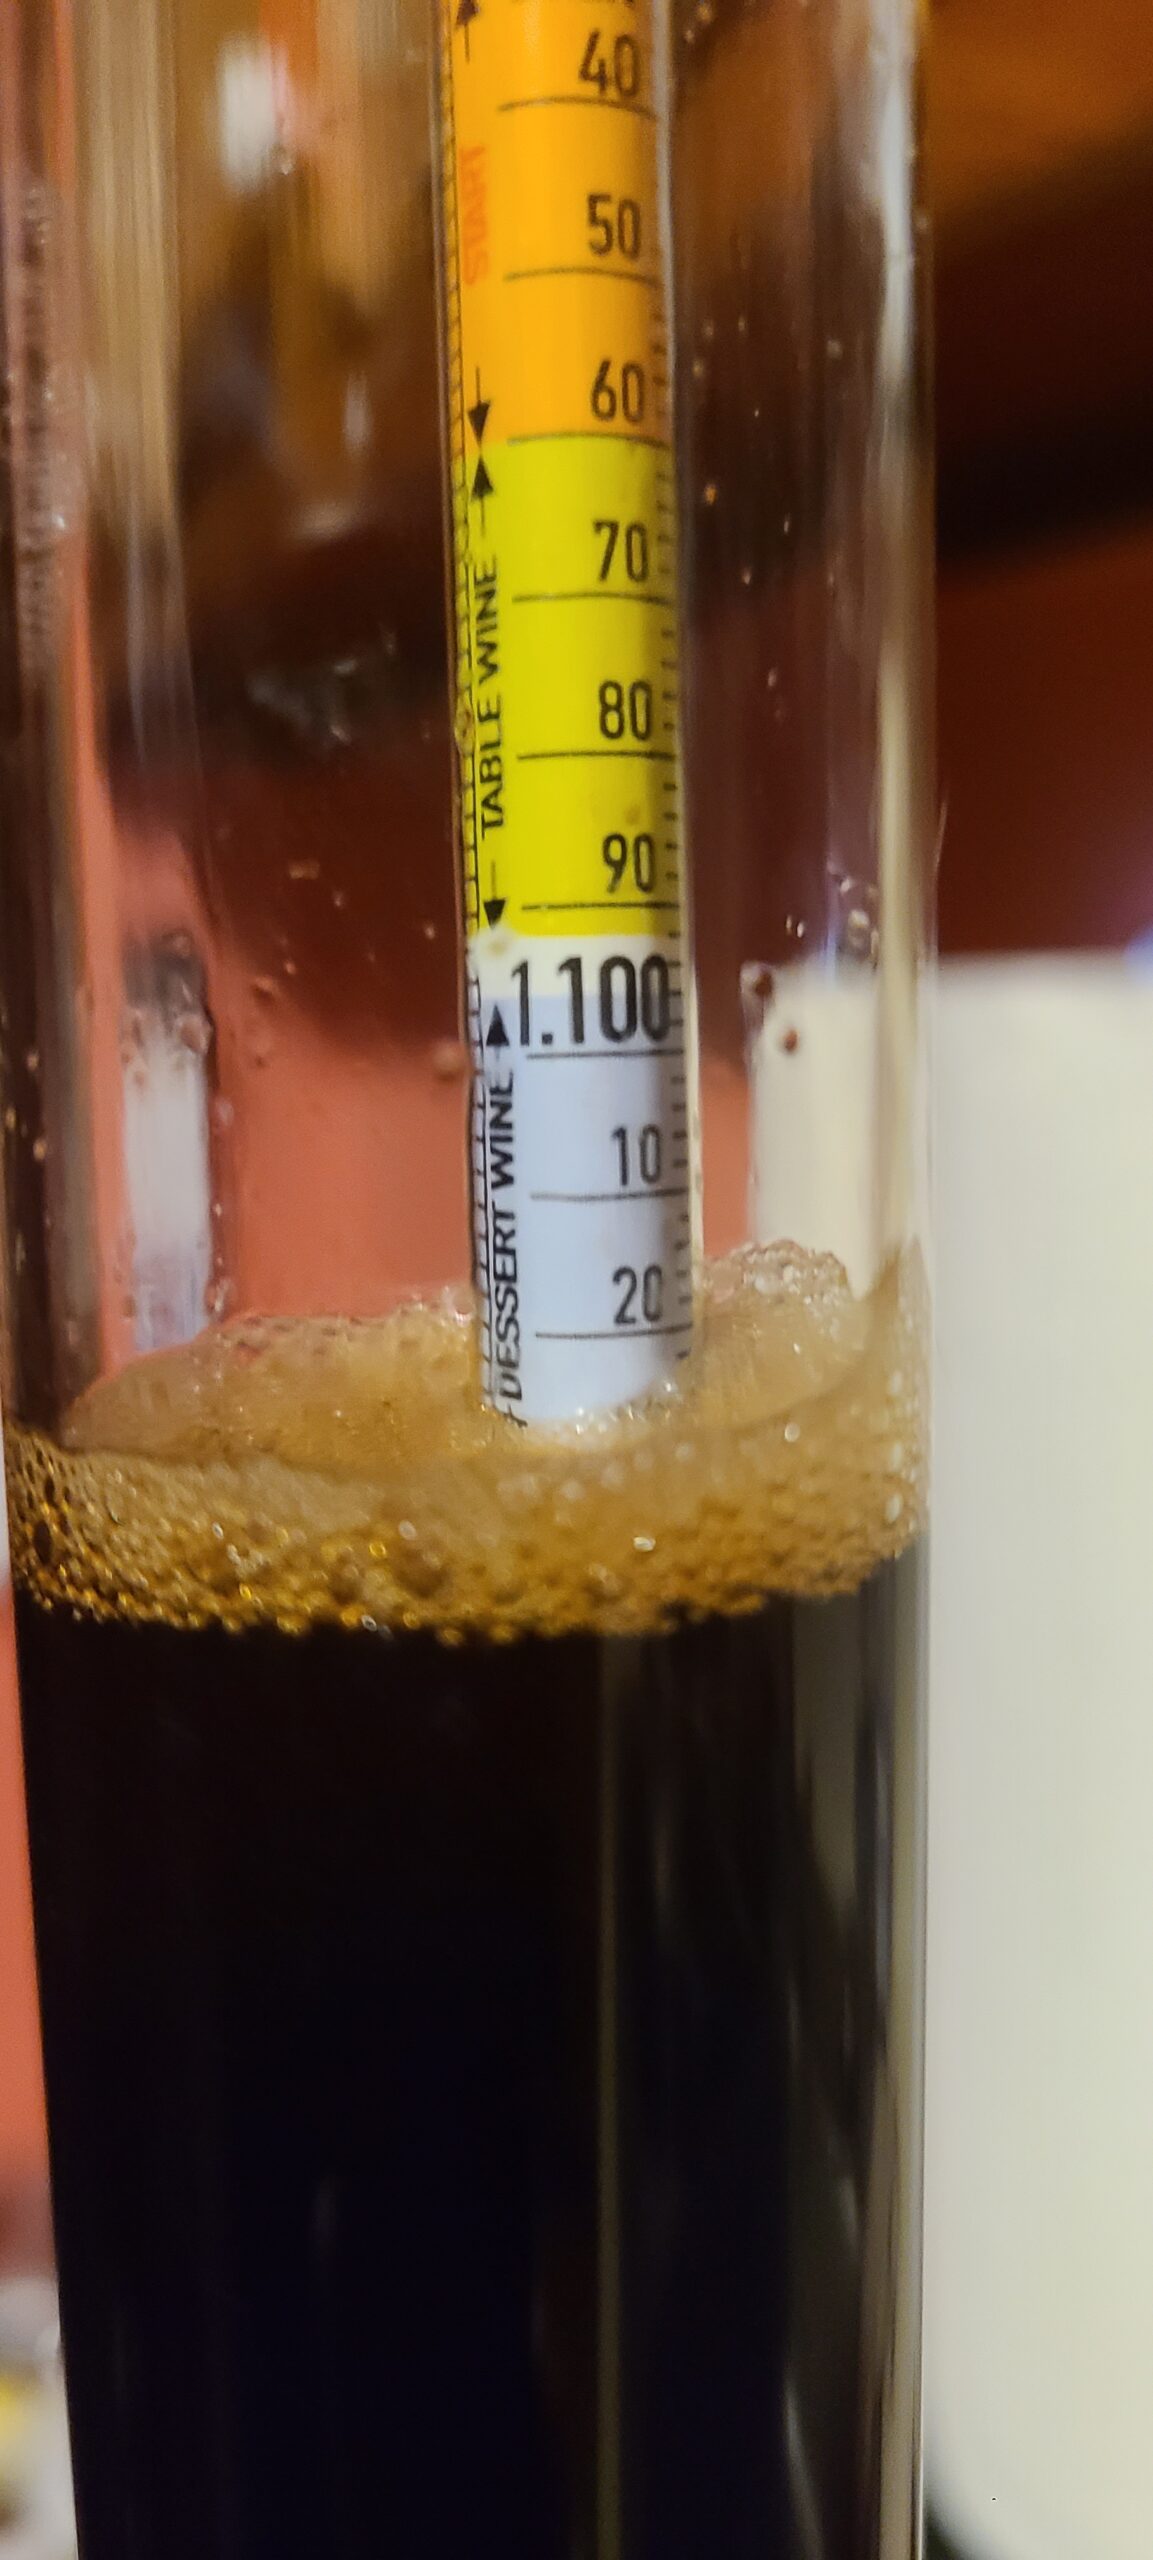
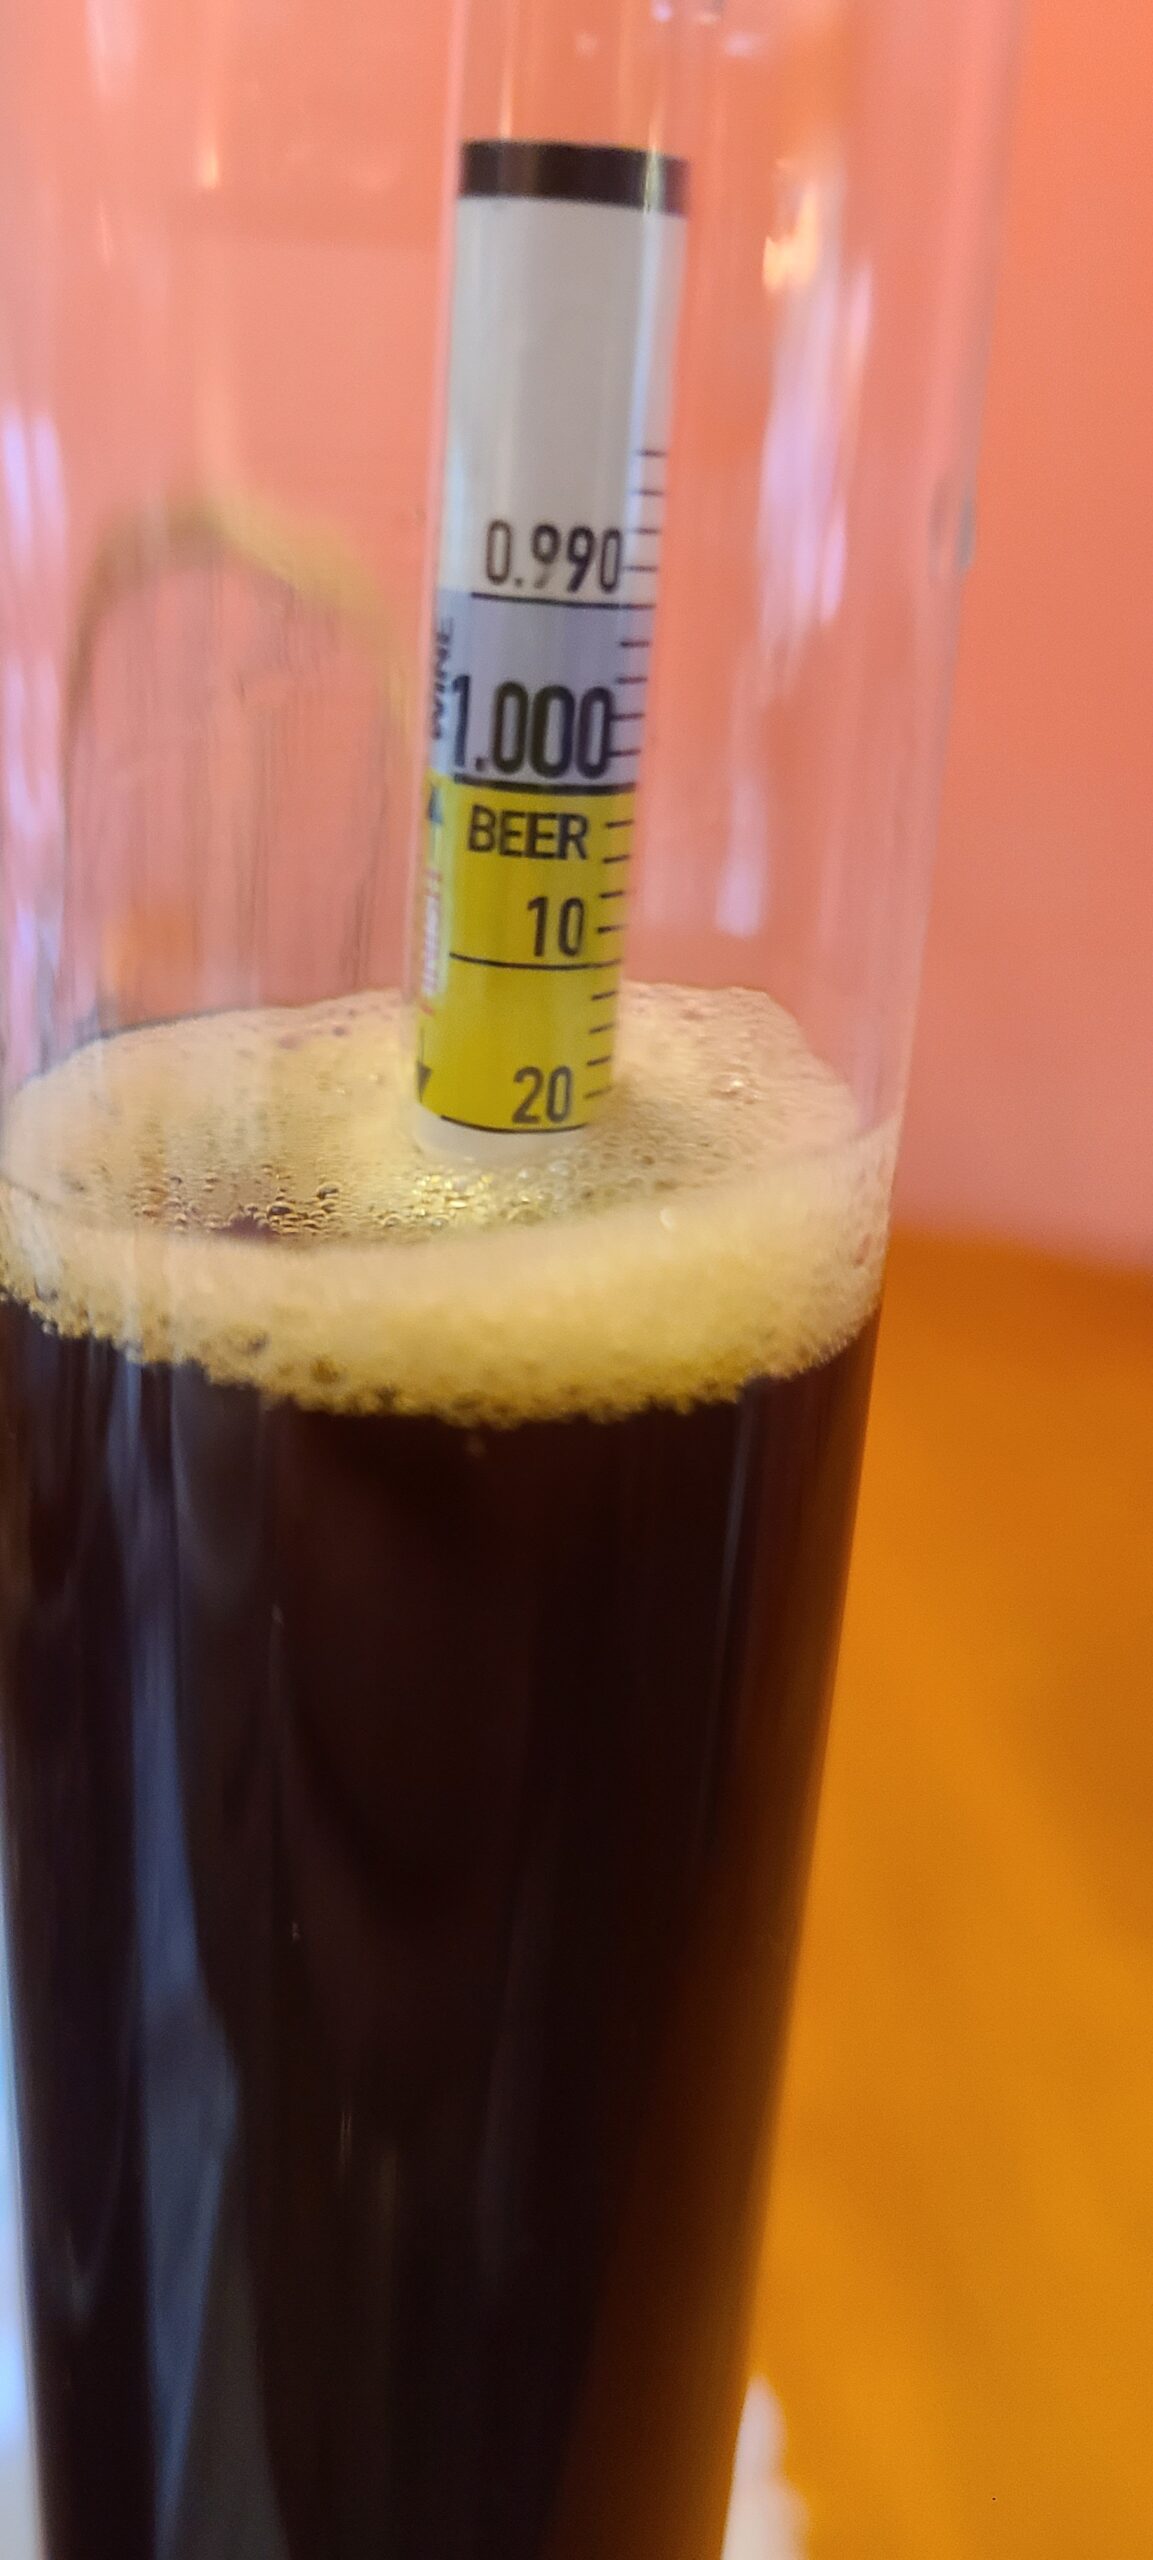
This is also the part in the process where you need to sample some of the beer to get an original gravity reading. This is basically a fancy way of measuring the density of the beer. I could be wrong about this, but the more alcohol the beer contains, the less dense it will be. So, you take this first reading and then compare it to the reading you take after the fermentation process to see how much alcohol the beer contains, e.g., the ABV. I botched this initial gravity reading by not letting the wort cool down to room temperature and for the bubbles to go away. Here’s the formula for reference: ABV = (OG – FG) * 131.25.
There’s also a small step where you add extra water to get the carboy topped off and then rock it back and forth to help oxygenated it for the yeast.
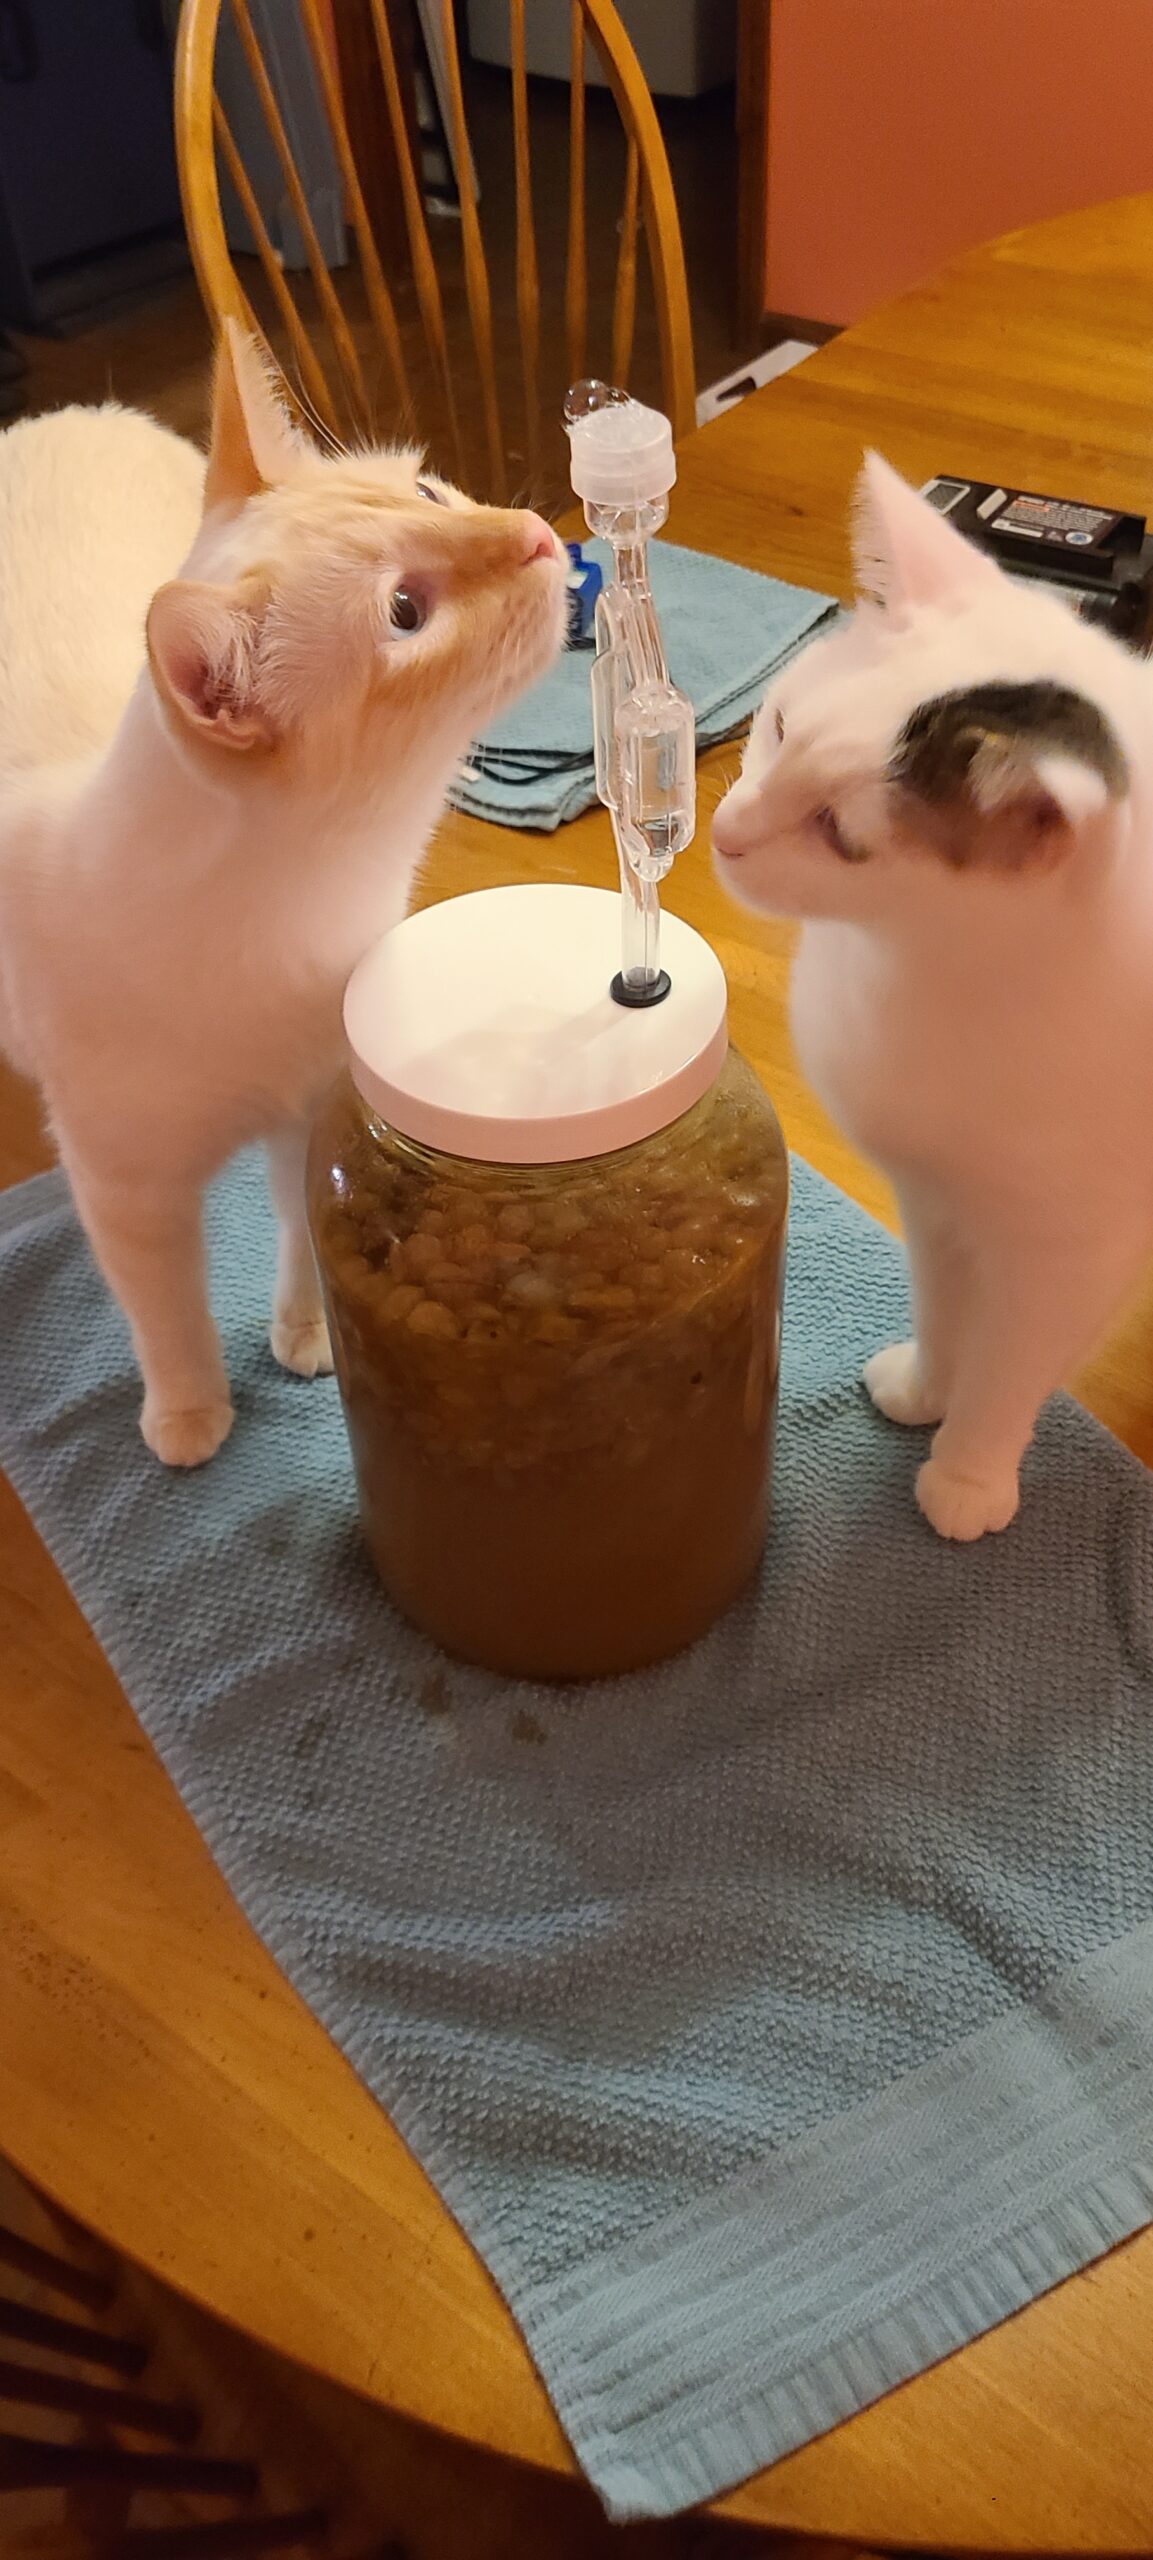
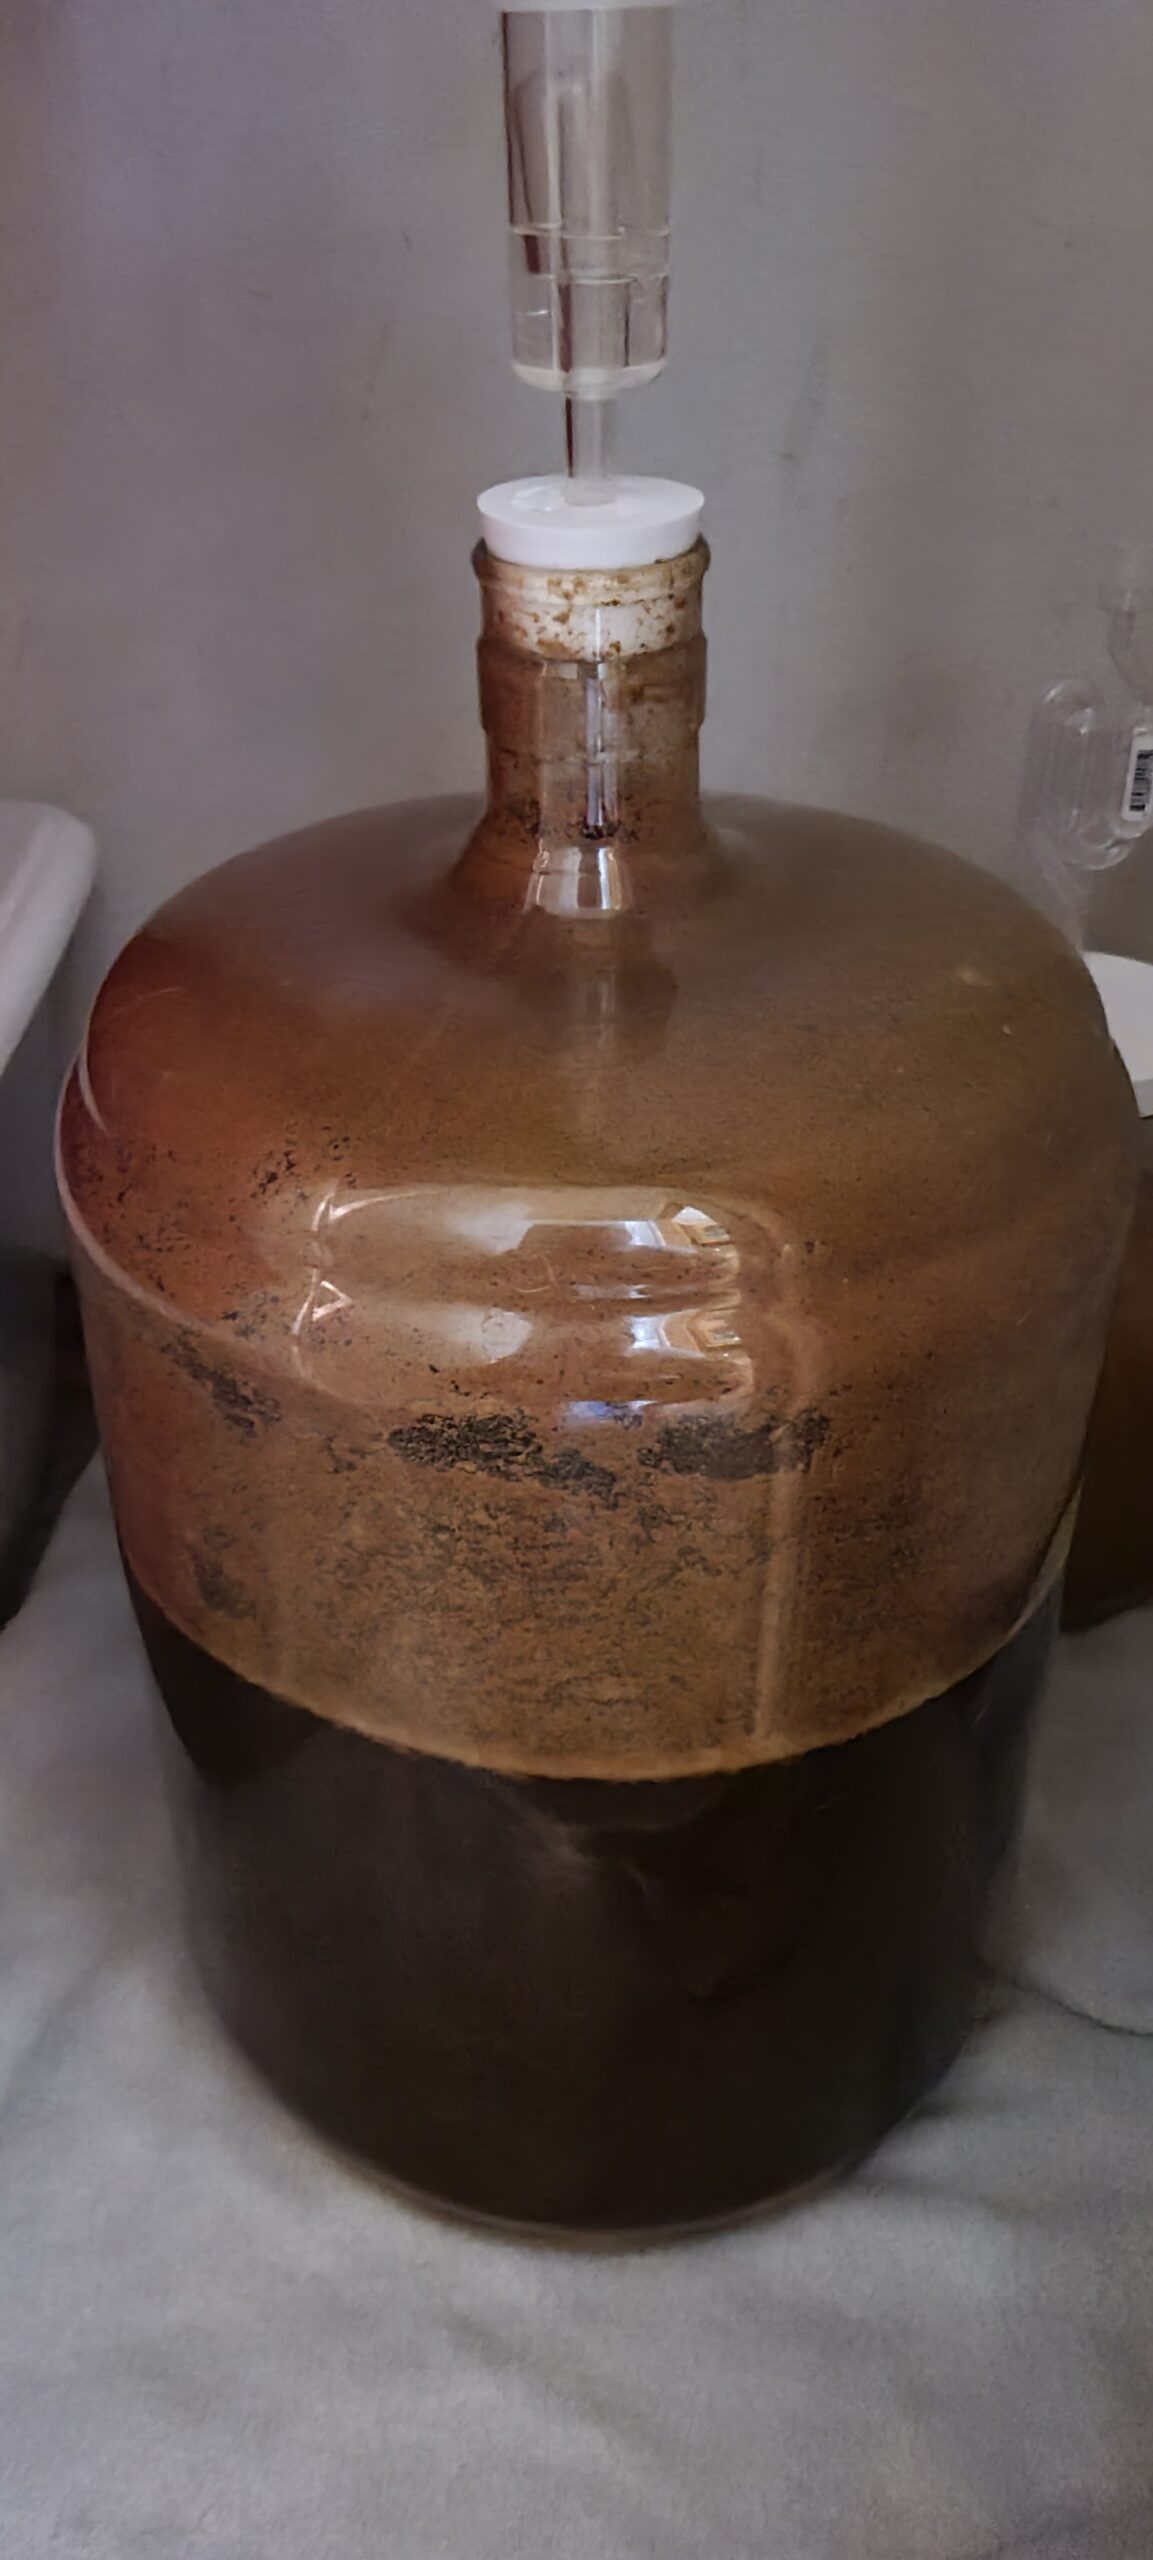
Along the way, I’m sterilizing everything and anything that might touch the wort with Star San Sanitizer, including the inside of the carboy, the rubber stopper, and air lock. The reason for this is to eliminate any wild yeast (bacteria) that might be alive on these surfaces and could start fermenting your beer and competing with your intended yeast. This can cause all sort of problems, the least of which being a sour taste.
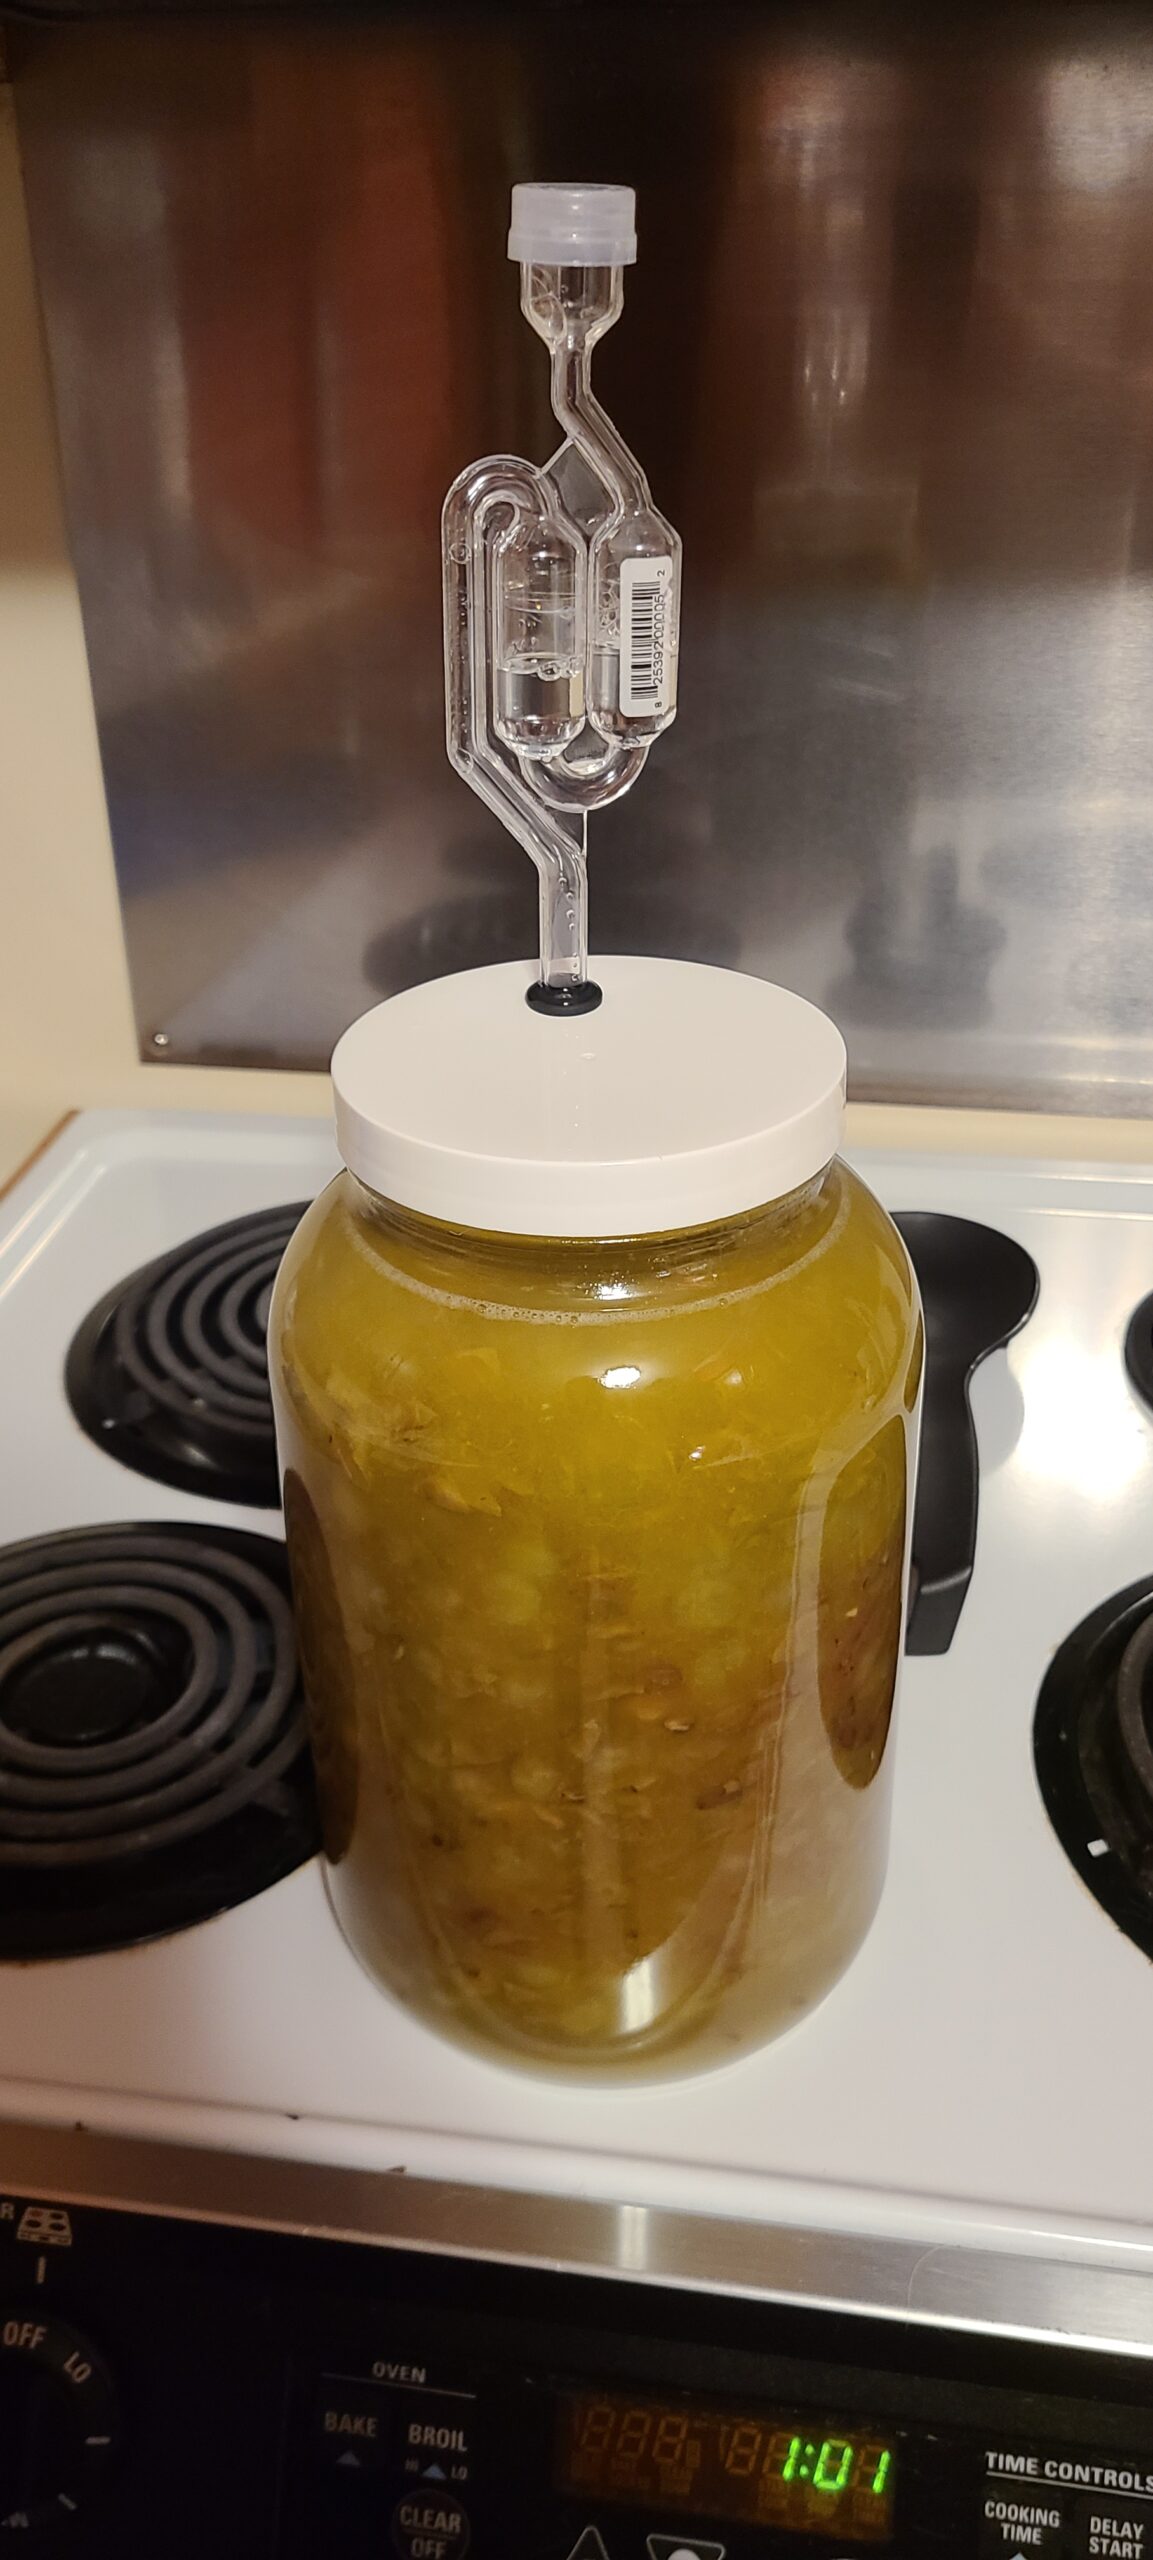
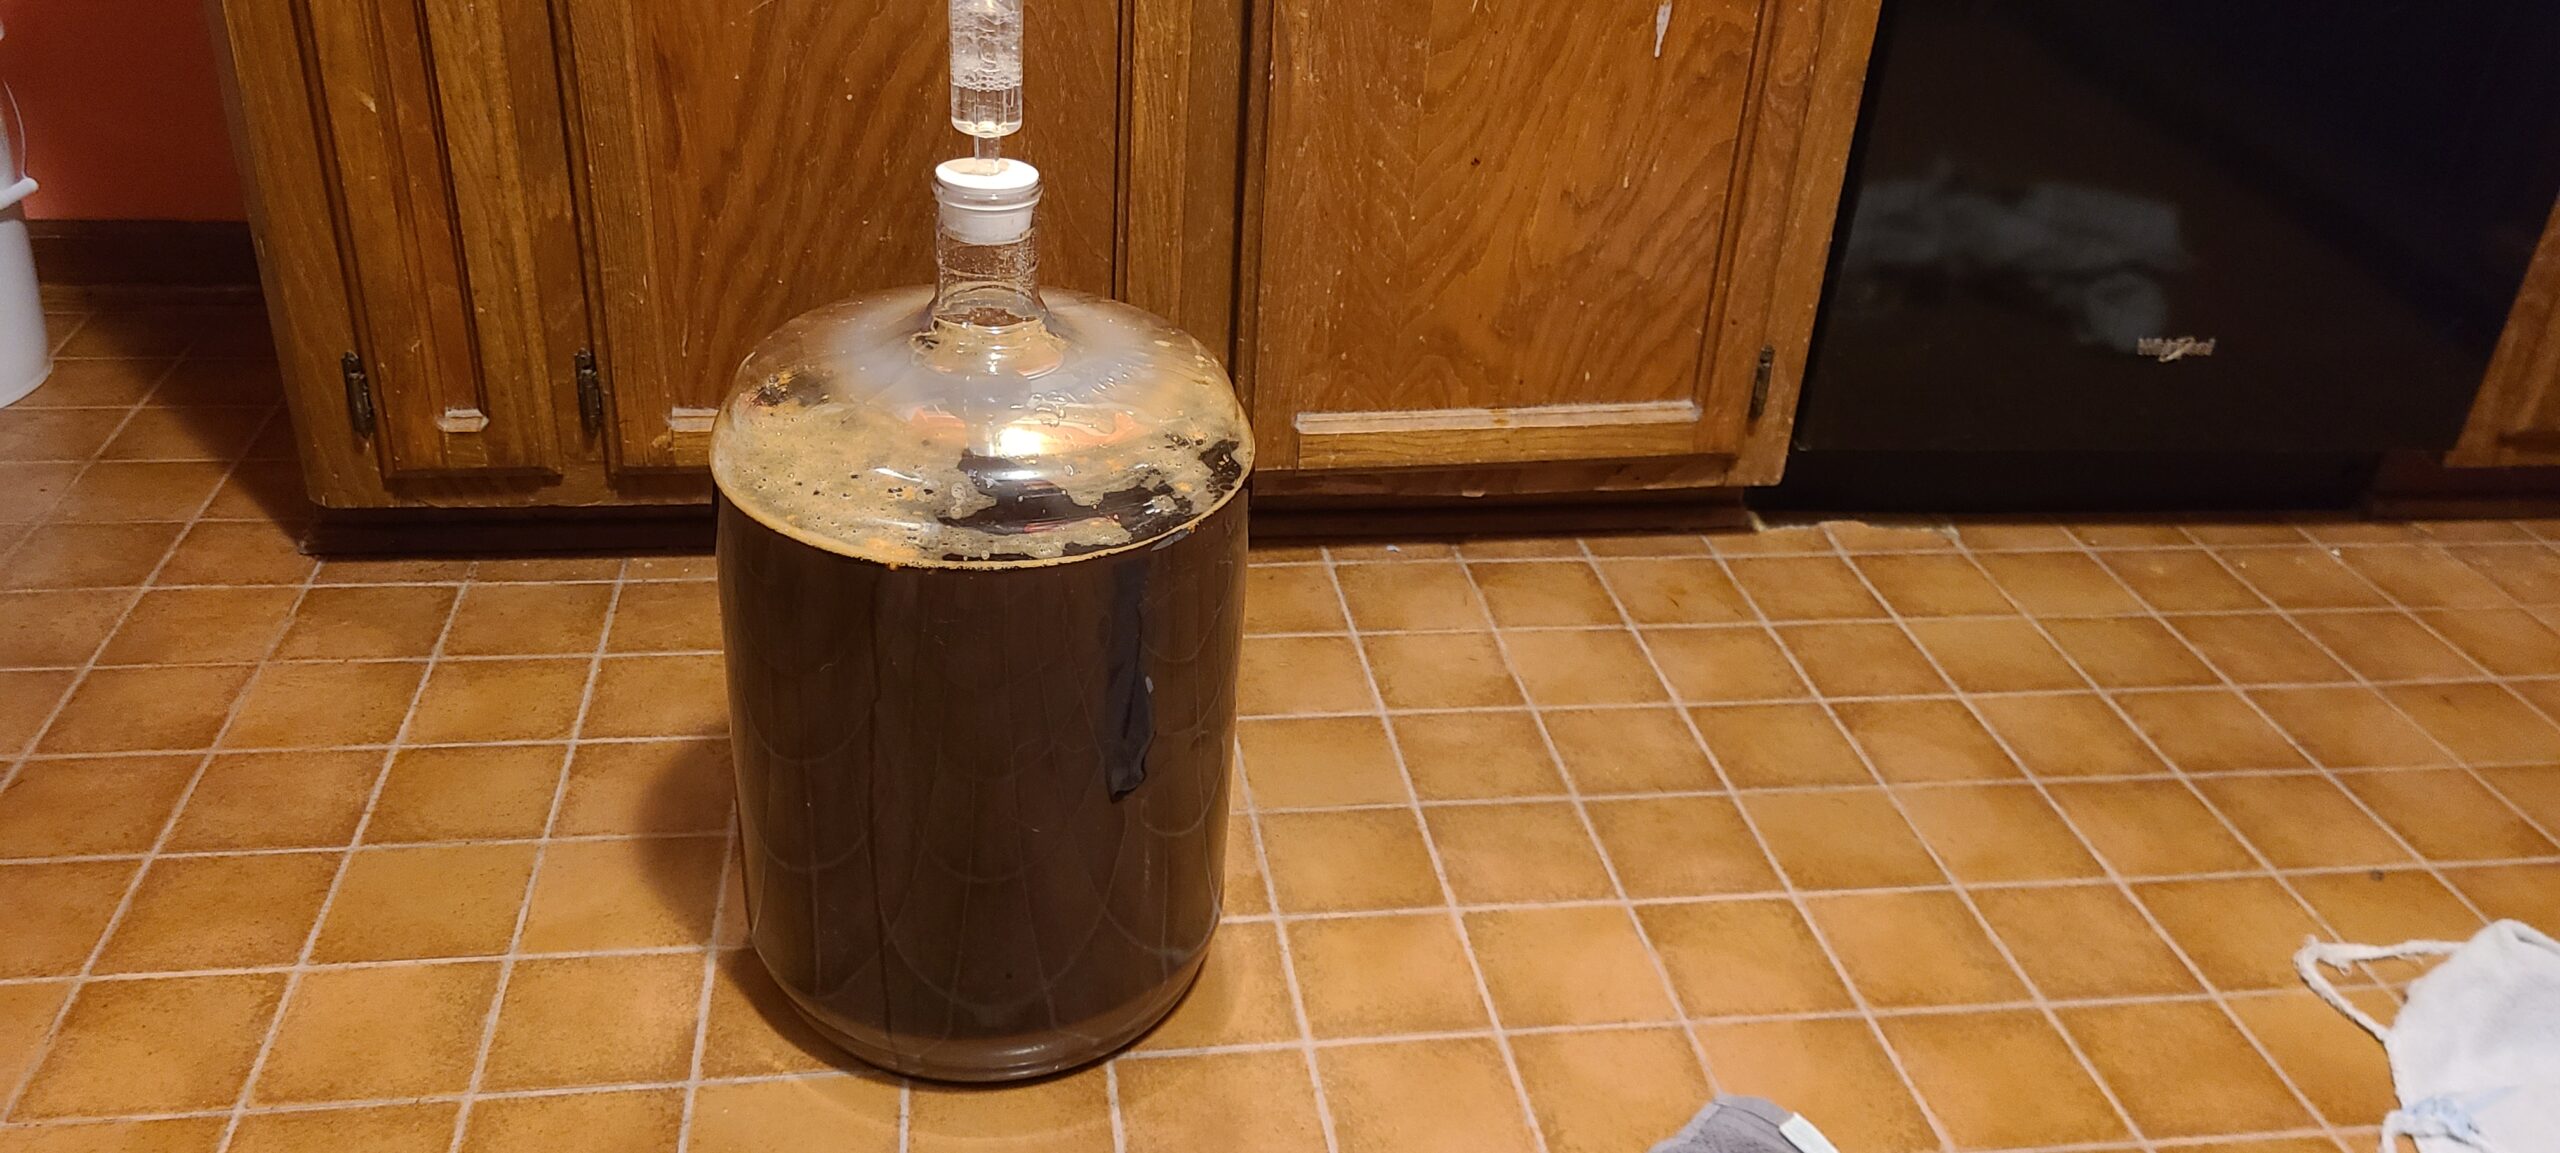
You also have to cap the carboy to prevent further oxygen intrusion. Too much oxygen can also ruin the beer. The airlock in the picture above lets the carbon dioxide produced as the yeast feeds on the sugar and makes alcohol escape, while preventing oxygen from getting into the brew. So, it’s supposed to release the pressure building inside the carboy, but as I found out, when the fermentation gets too energetic, the air lock can’t keep up.
And then you get a beer bomb. I stored by carboy in my hall closet where it would be kept dark and at a reasonable temperature for the process, but the fermentation went so wild, so quickly, a build up of foam and gas blew the stopper and airlock off my carboy in my closet.

Semi-fermented, sticky beer sprayed on the walls and leaked across the floor and got on other items in the closet. I lost about a gallon of beer from the initial eruption and managed to get the carboy into the hall bathroom shower, where it continued to foam over into the tub. I quickly went to work cleaning and sterilizing my siphon, plastic tubing, and stopper/airlock and siphoned out an additional gallon or so of beer into the top so I would have enough headspace to keep the beer from foaming over again. And then sealed it with the airlock, hoping it would be all right but also closing the shower curtain just in case.
I eventually moved the beer back to the closet where it sat for a couple of weeks. I didn’t know how the beer would turn out given the additional oxygen exposure and the contamination risks. I was also gambling that the pumpkin spice I did add during the boil wouldn’t overpower the final product but would also be part of the flavor (I probably should have used more pumpkin spice in retrospect).
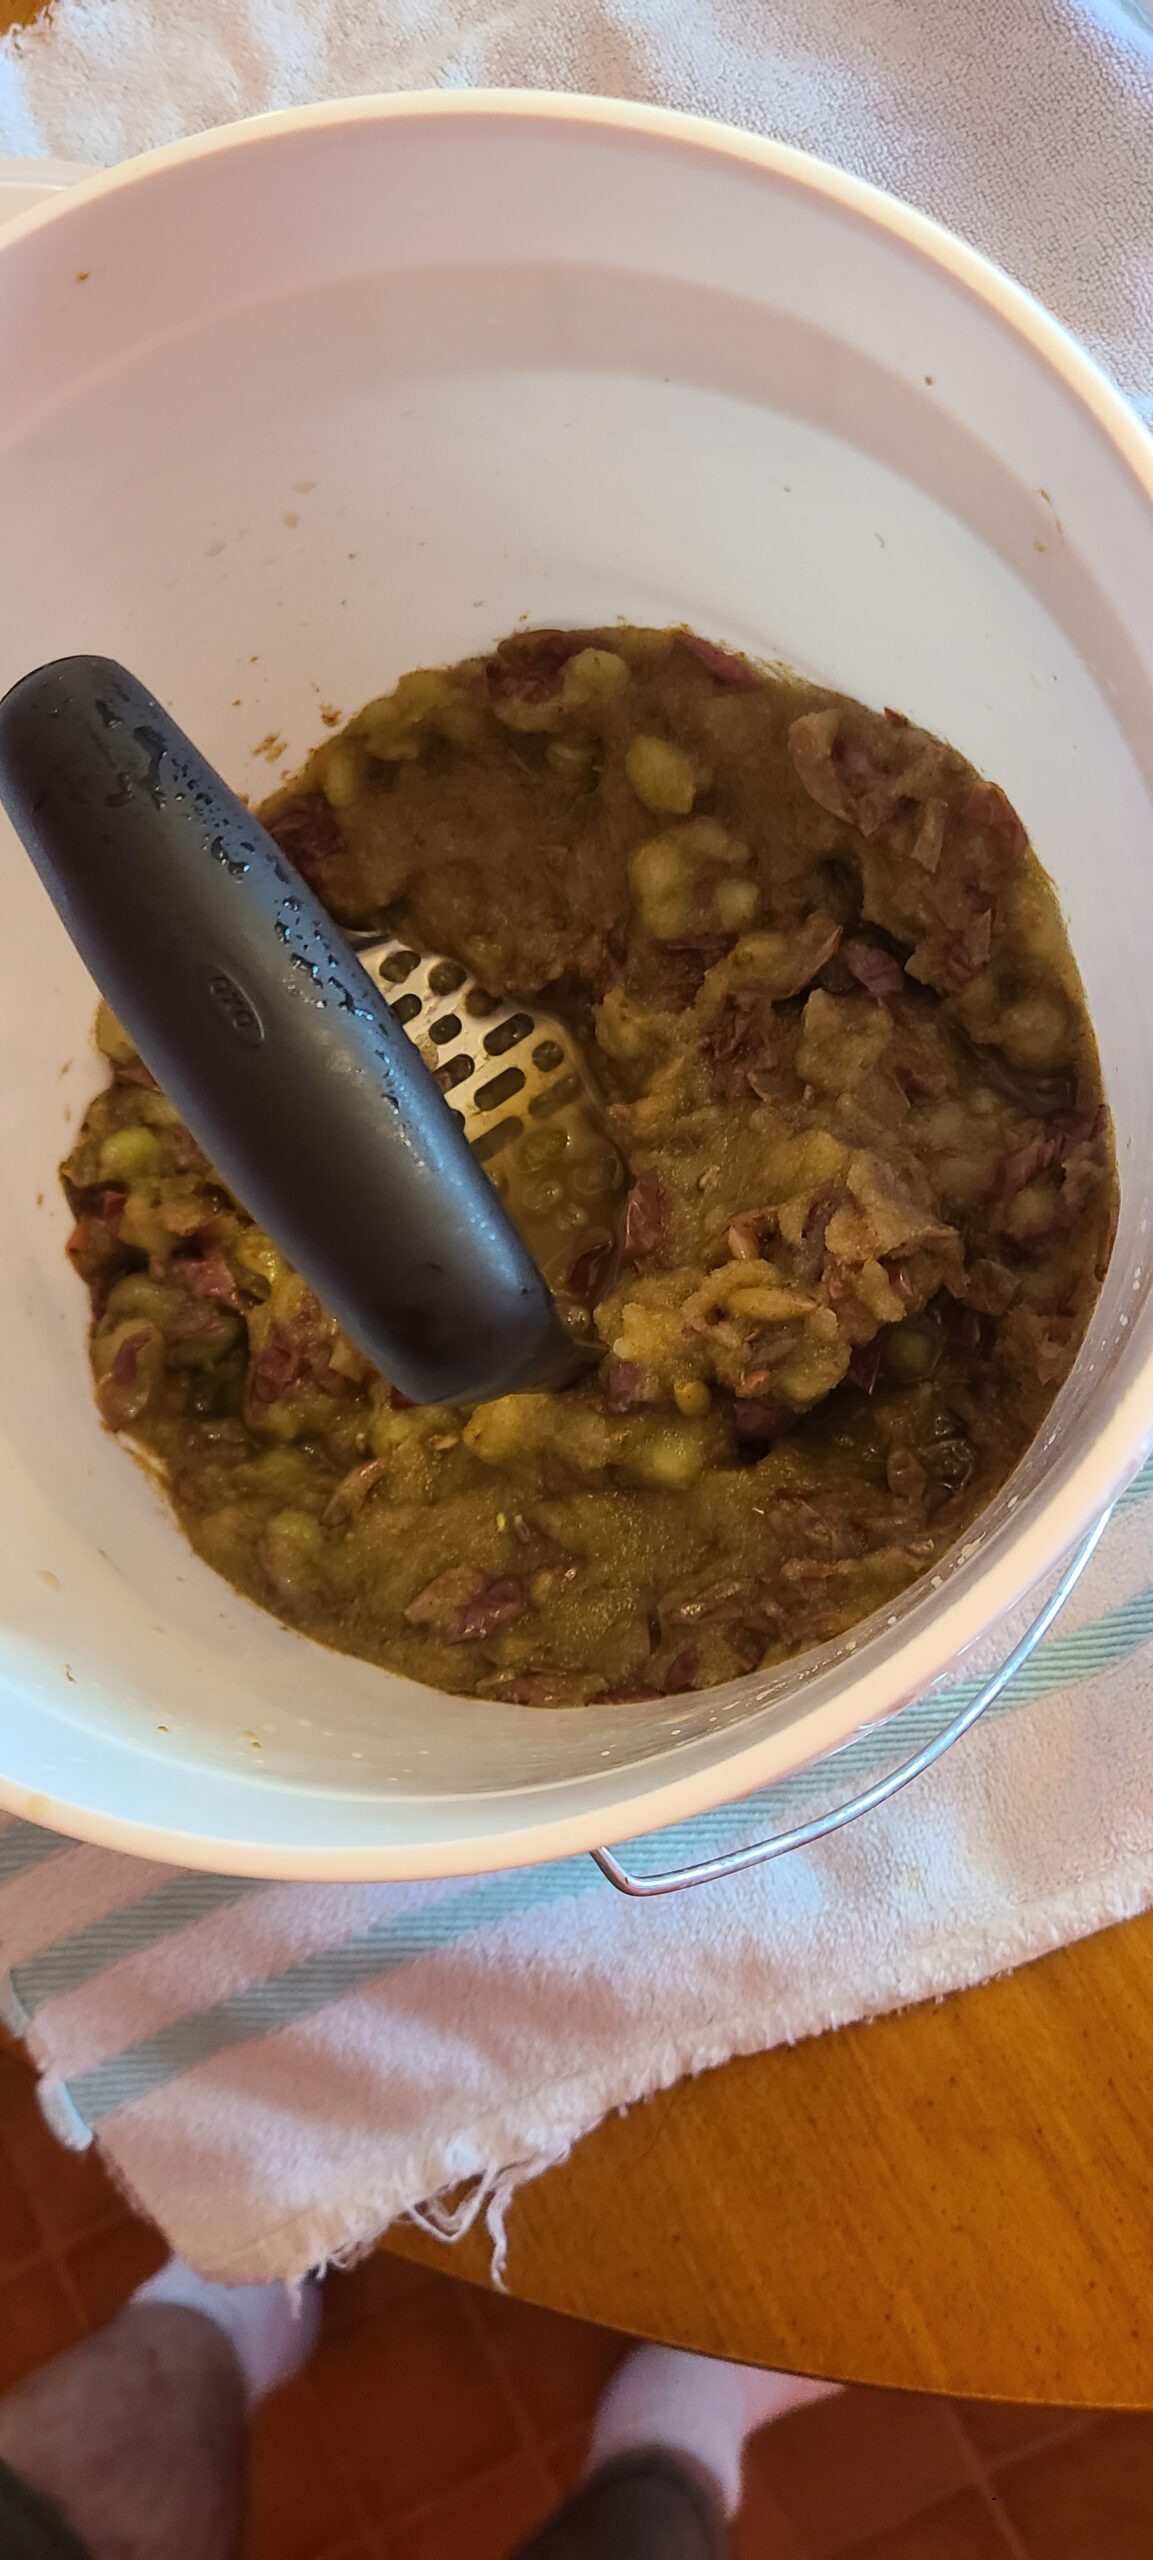
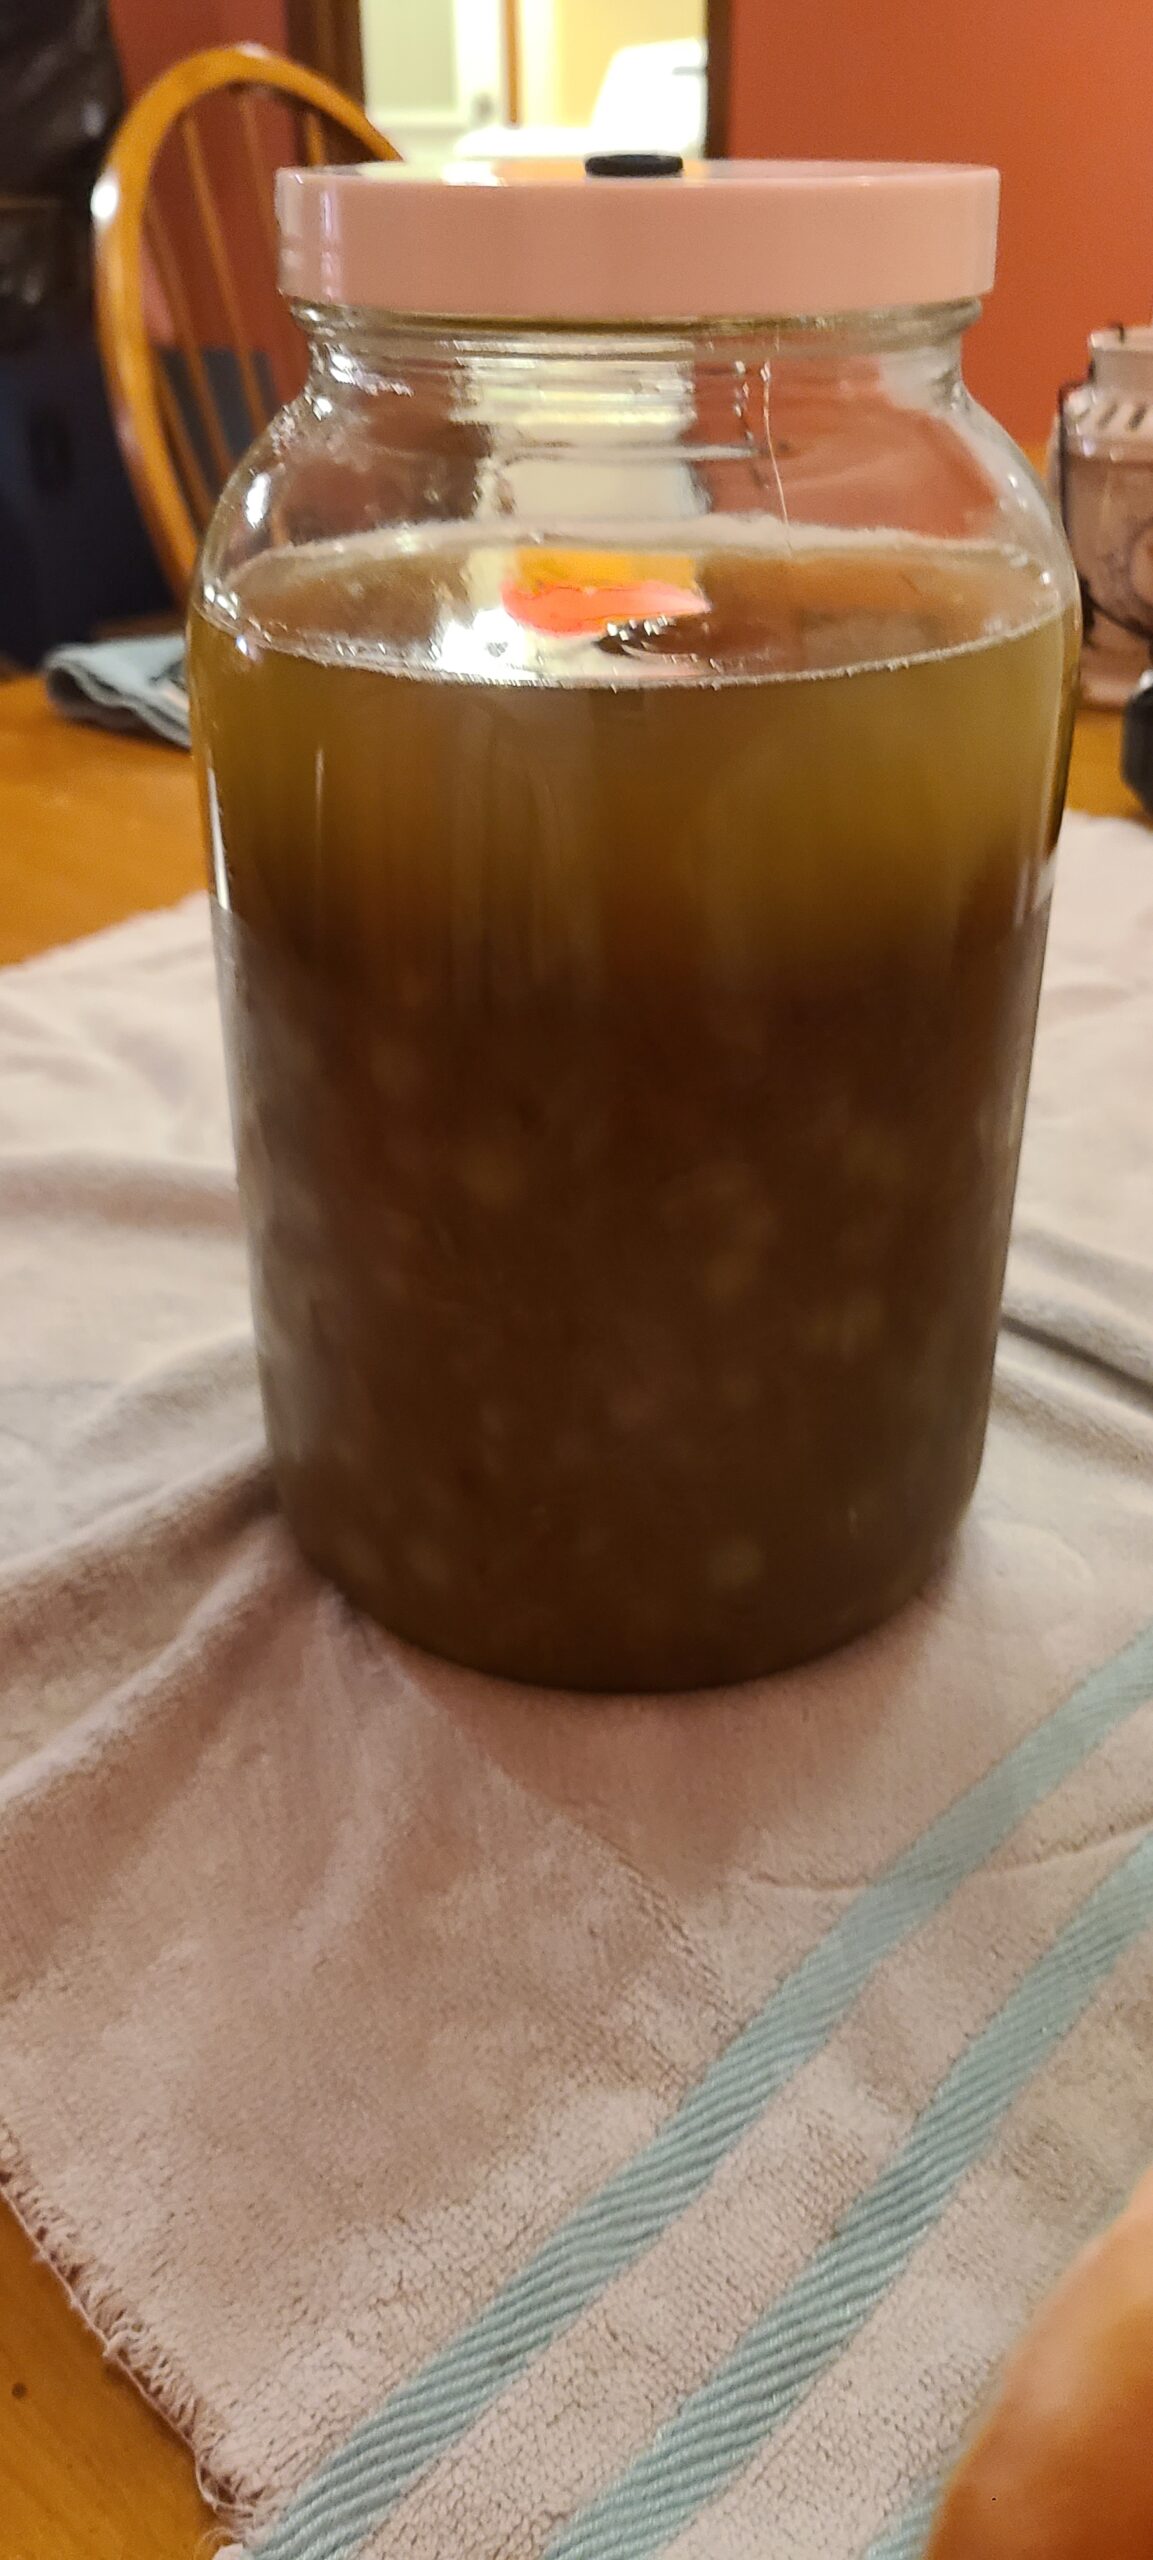
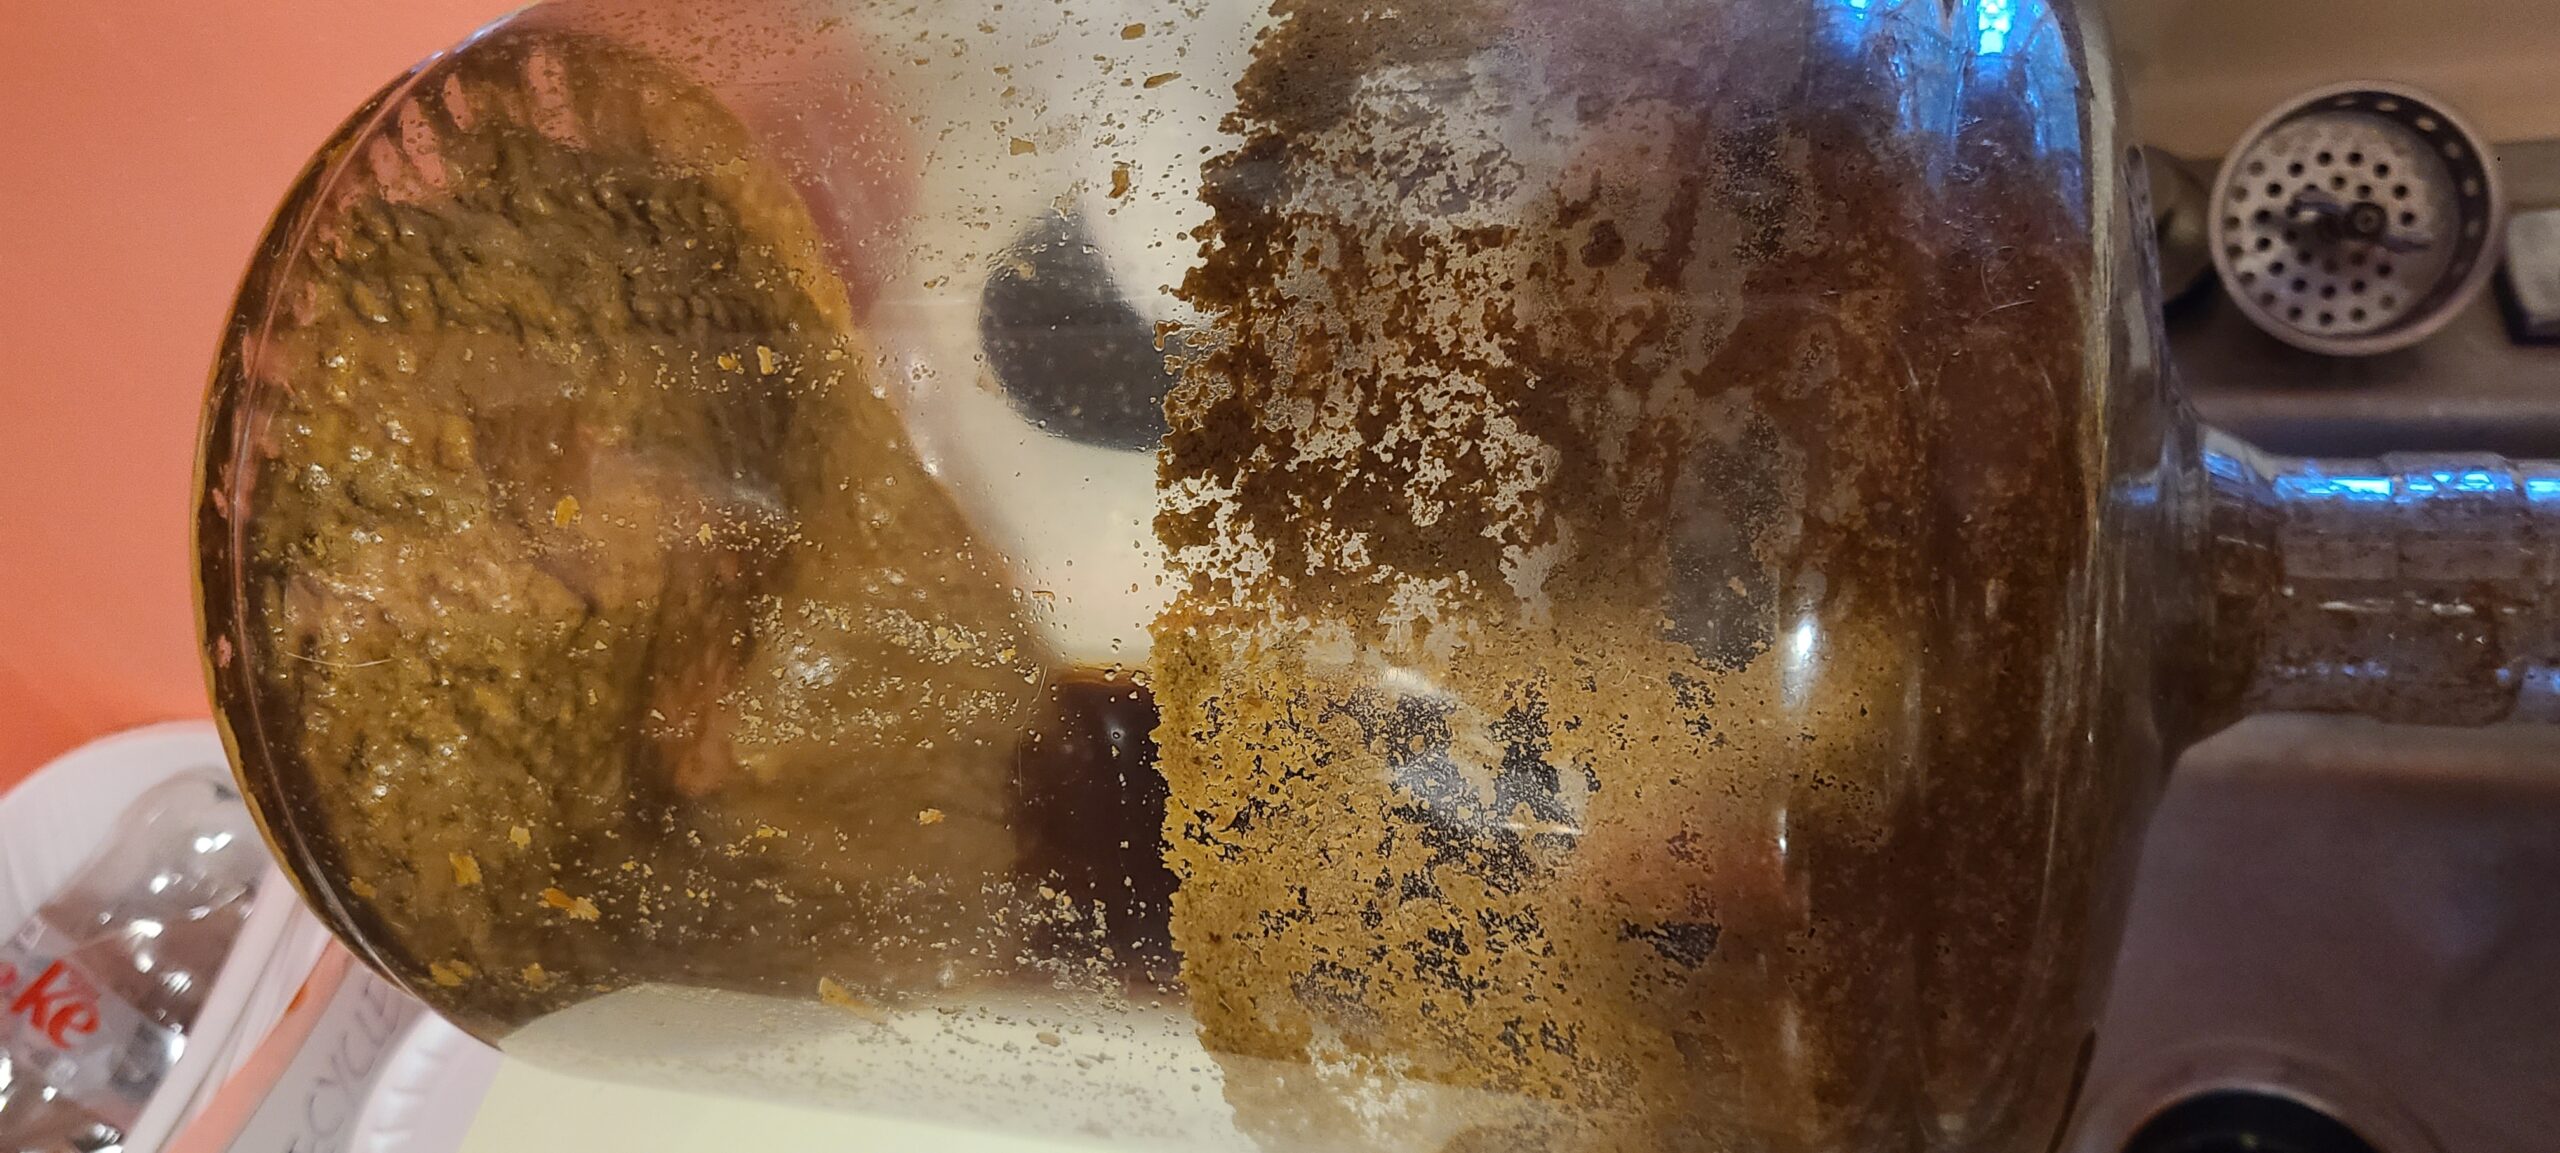
The fermentation process that began like a storm, slowly fizzled out and the yeast and other solid ingredients in the wort began to settle into a sludge on the bottom of the carboy.
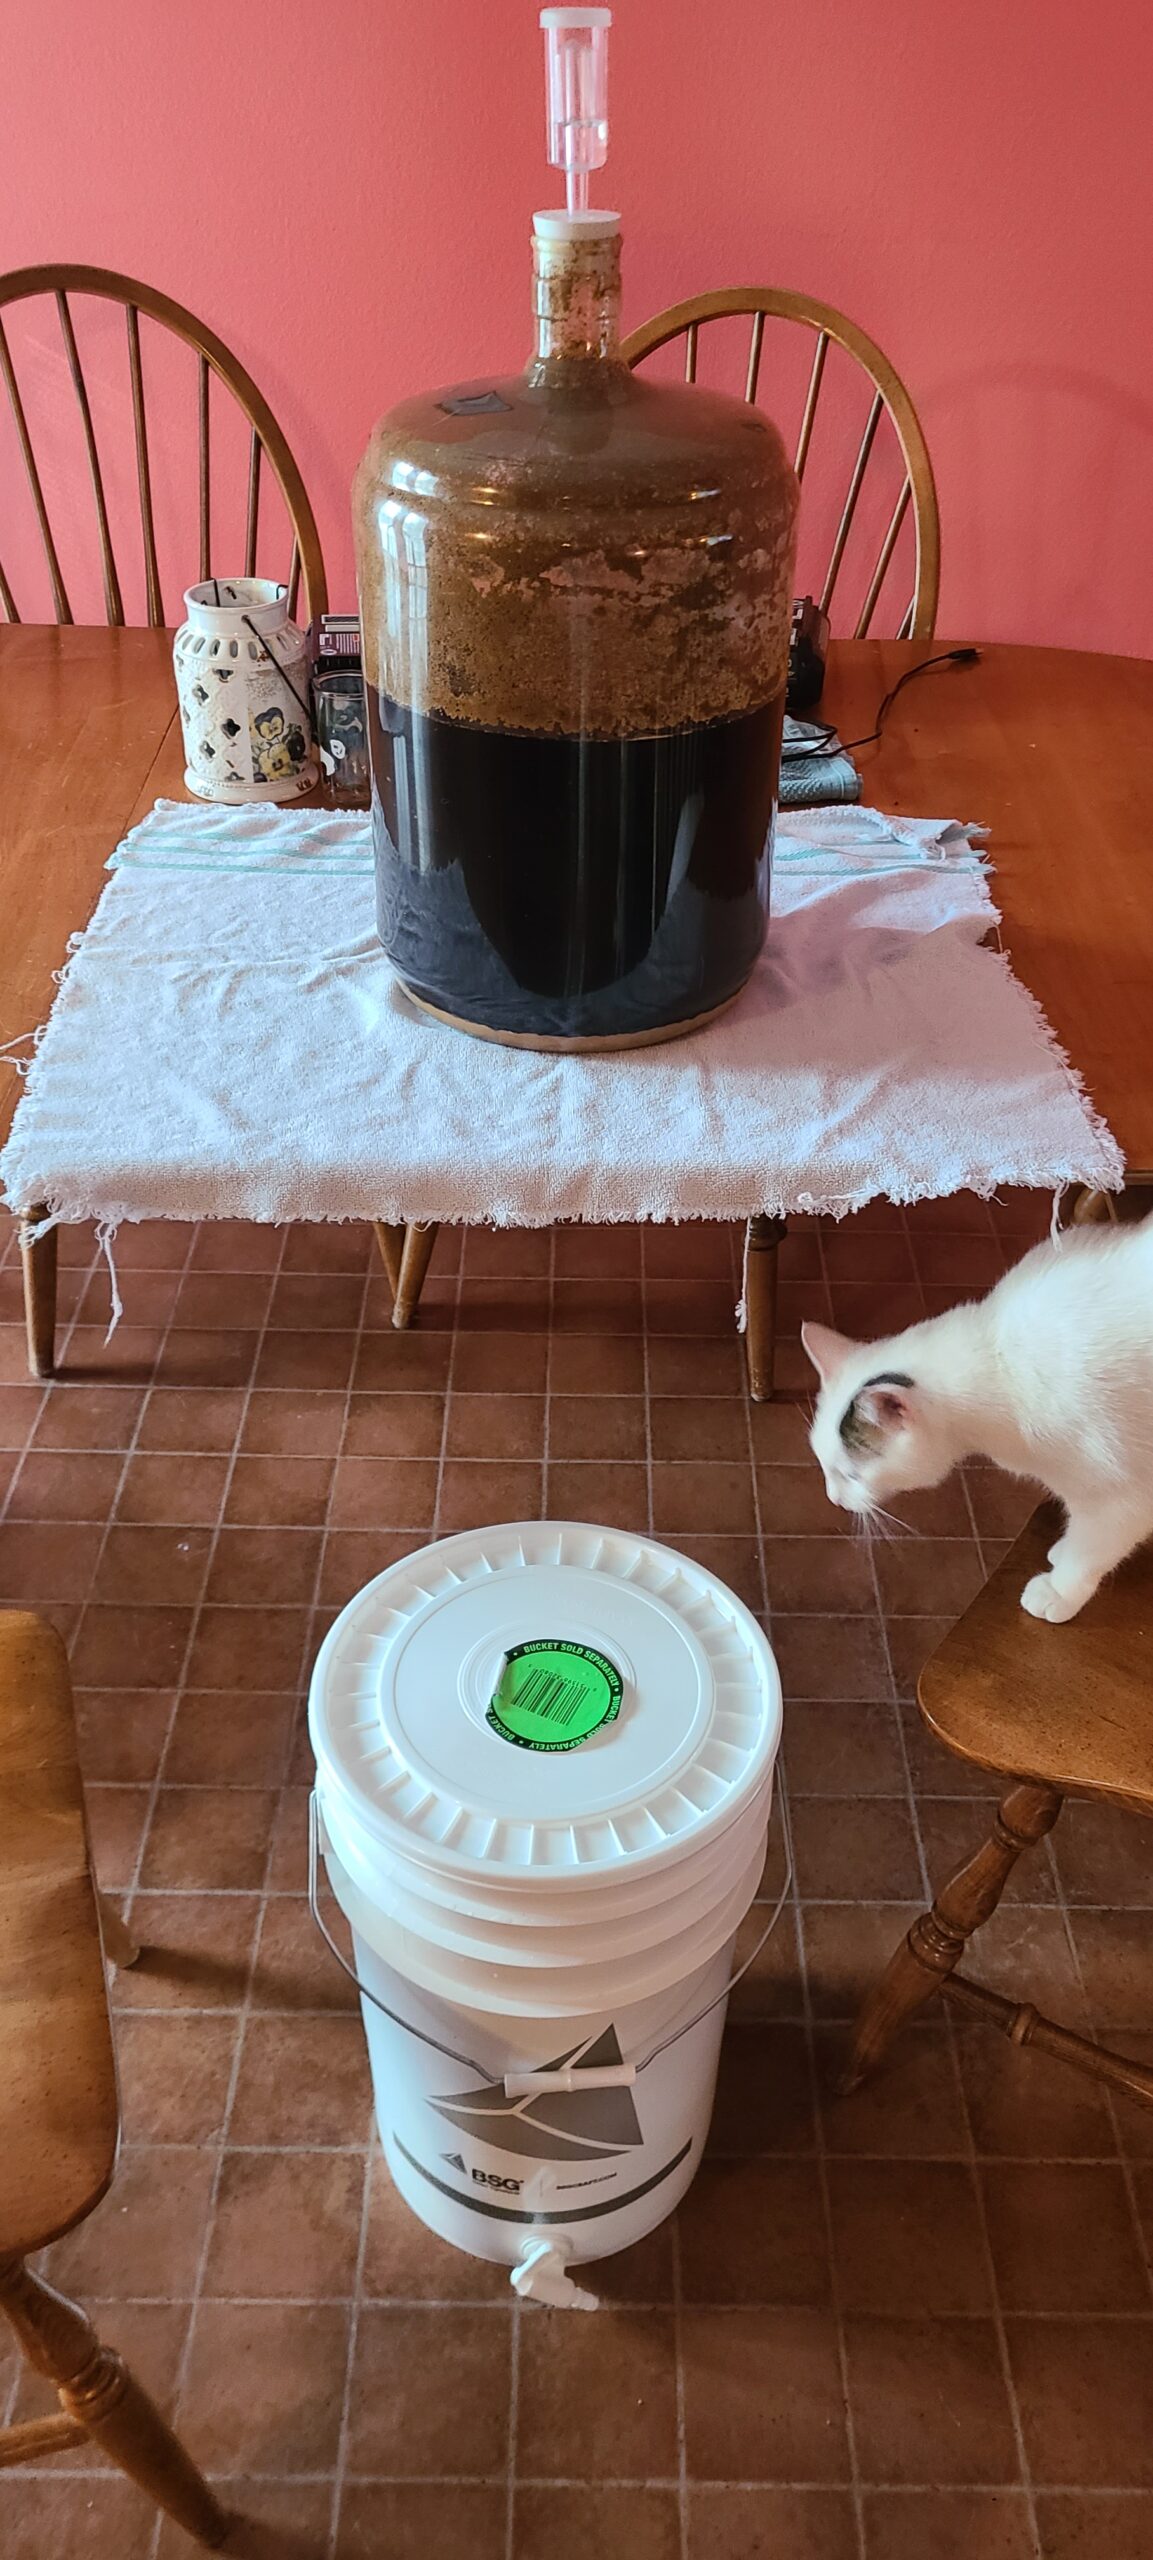
This is one of the main reasons you siphon the beer from the carboy into the bottling bucket with sanitized equipment so you can filter out this gunk.
I finally got to taste the flat version of the beer before attempting to bottle it. I was surprised how well it did turn out. It wasn’t the best Imperial Pumpkin Stout I’ve ever tasted but it was pretty good. I tossed in the provided pack of bottling sugar, mixed it into the beer, and went through the tedious process of sanitizing and filling 40 or so beer bottles and then capping each one. It also reduces the oxygen exposure.
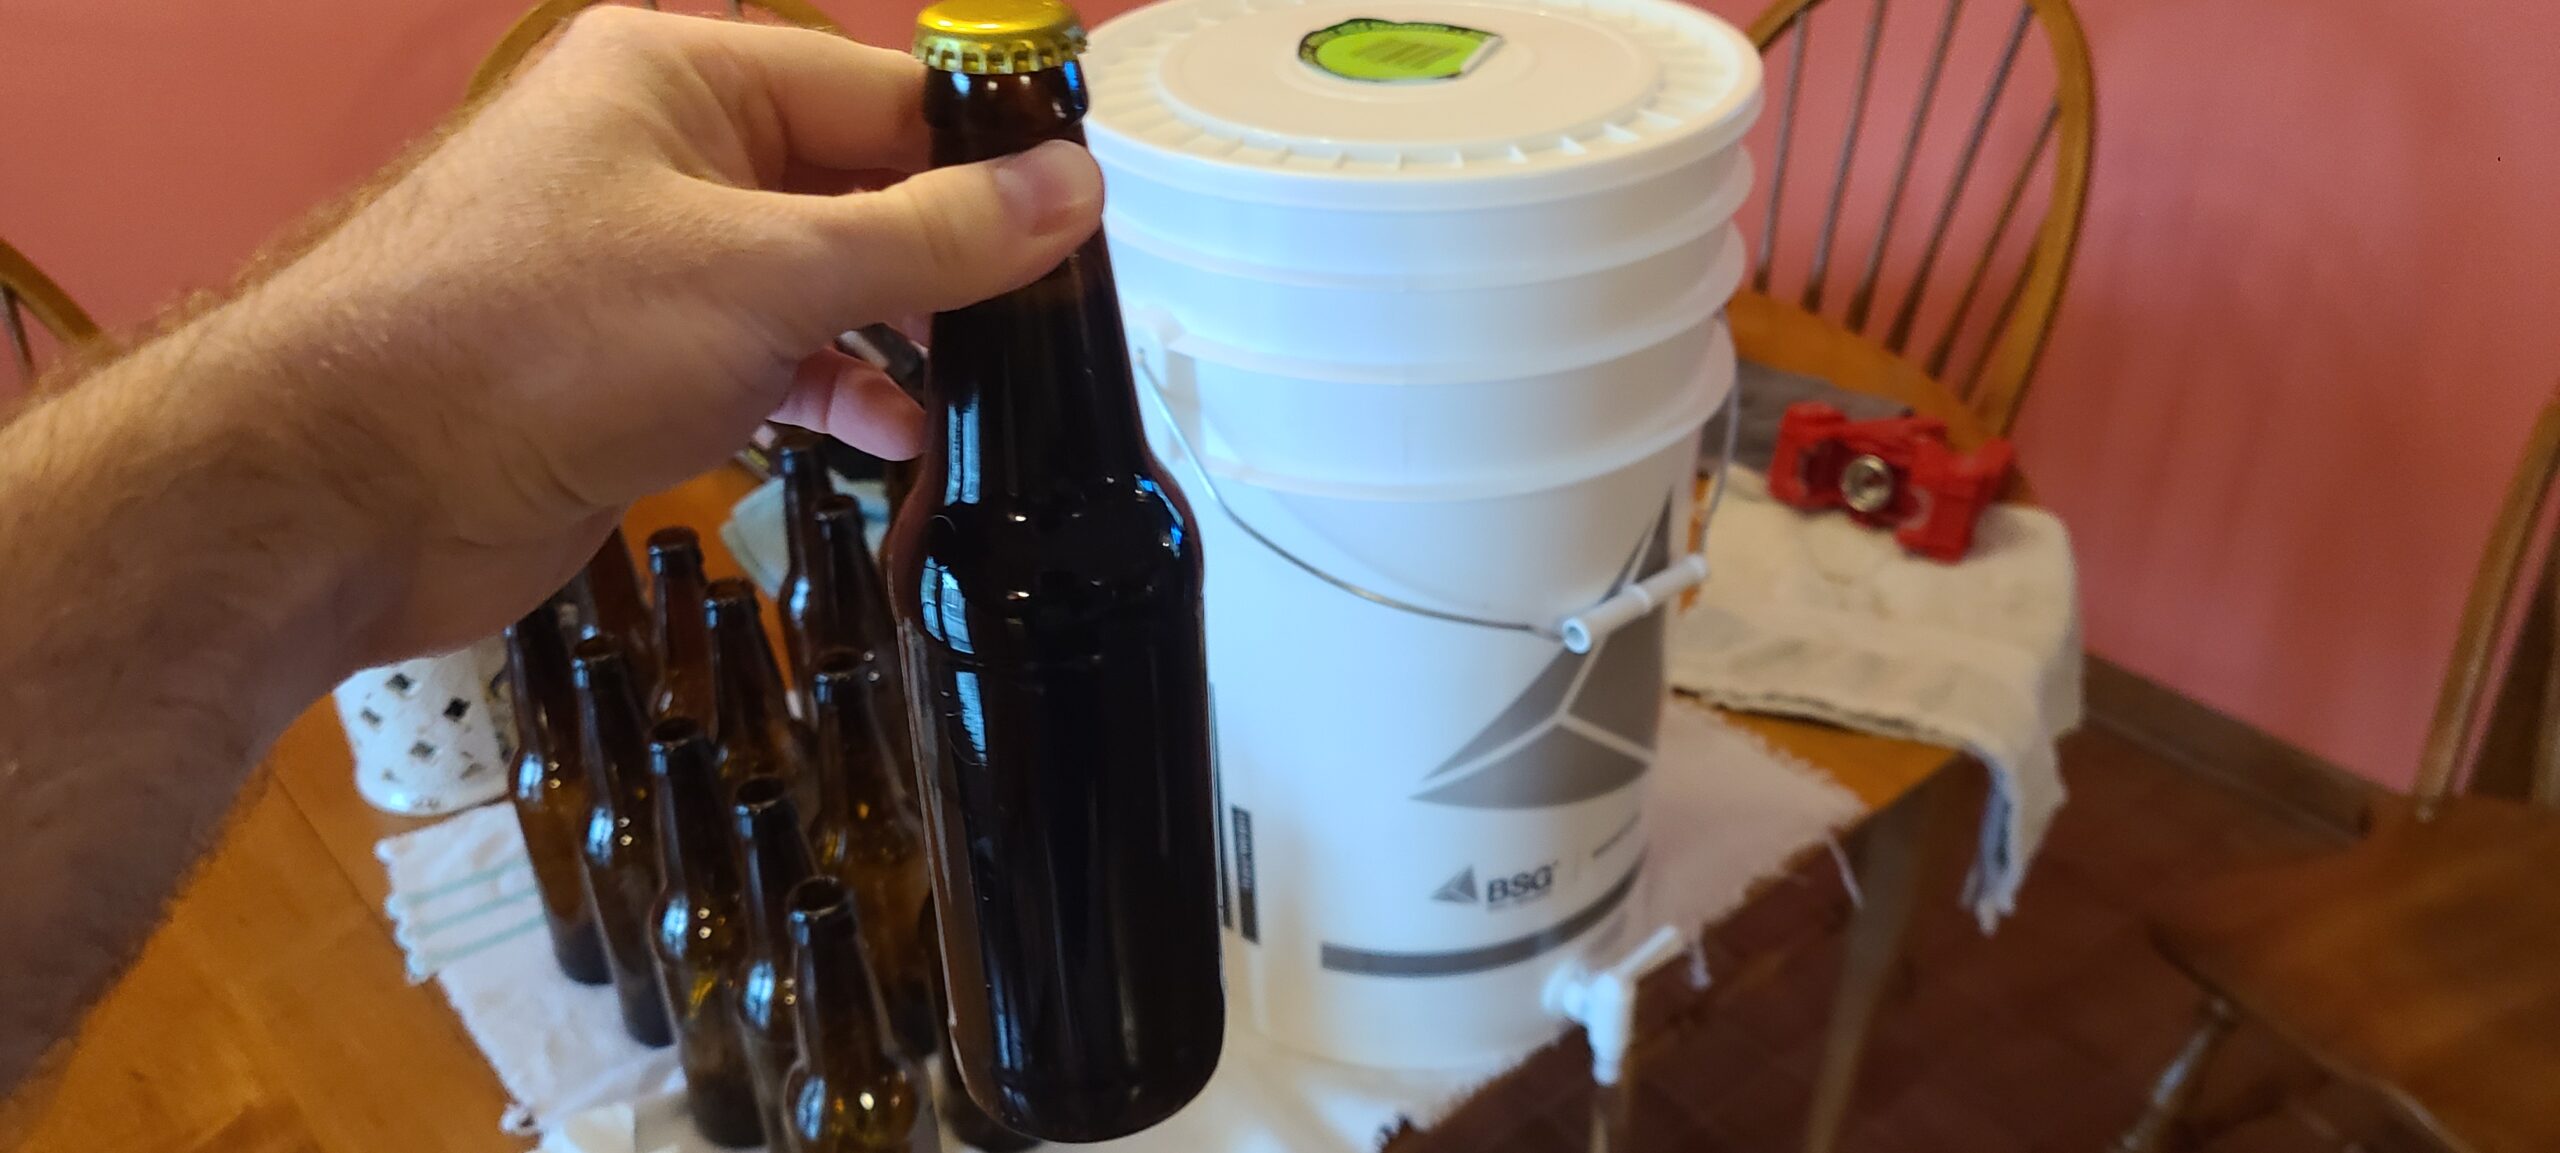
I learned that I should let the beer age in the bottles instead of the carboy to allow the flavor to mature and more of the sediment to drop out into the bottles and that’s what I did. This is also when a new small fermentation process begins in the bottles, requiring metal caps to hold back the pressure, to give the beer its carbonization. I let my beer sit for almost two months on the lead up to Halloween. But I honestly didn’t notice much of a difference as I sampled a bottle or two or three during the aging process.

I didn’t forget to take that final gravity reading before the bottling. It was still pretty bubbly but it was at least at room temperature. If you run both numbers through the ABV formula, the result is nonsensical. But I found that if I used the Original Gravity number on the recipe box and my second reading, my ABV stood within the recipe’s specified range, about 8.6%. I called it a win and the final product tasted like a beer in that range.
I still have about half a dozen bottles left. It’s surprising just how many bottles you can fill and cap from just a few gallons. It’s cost effective in the long run if you drink beer on the regular and eat the upfront costs of purchasing the equipment.
I’d compare the process to a mix of lab experiment, cooking, and gardening. It’s not hard to do but may seem overwhelming until you go through the process. I totally recommend using OxyClean powder to clean your carboy and bottles. It works great and doesn’t linger with endless suds like dishwasher detergent. Star San Sanitizer is expensive but it’s amazing for this kind of stuff. A couple of ounces can make five gallons of sanitizing solution.
I didn’t get anywhere near recreating Crown Valley’s beer, but what I did brew scratched an itch and was a fun experience. I just finished brewing a Witbier and it’s fermenting in my hall closet right now. But this time I opted for a blow off tube setup instead of the airlock. Any overflow will just wind up in a plastic gallon bottle. So, no explosions so far.